If you’ve owned or still own an NA/NB Mazda Miata, then you know very well that the frame rails are made of papier-mâché. Place the jack wrong, and the rails will collapse under pressure like a 4th grade national spelling bee contestant.
Some Money to Burn
Ever since Milton brought the Mi-azda home, one of the first things I wanted to do was install a set of frame rails. They’re considered one of the go-to mods for first and second generation Miatas. In typical fashion, we did nearly everything but that. What finally gave this project the green light was Miltyman sitting in the waiting room of the doctor’s office, and his exhaust was not going to be shipped in time. “Well, what else can I buy today?” Financial wisdom for the masses.
So what’s the point of this install? Besides protecting the delicate frame rails from getting bashed on driveways, the rail upgrade is supposed to add some much needed structural rigidity to the car. Remember, no roof on a car usually goes hand in hand with less chassis stiffness. Anything to make the body stiffer without installing a jungle gym in the already tight quarters of the interior is worth the old college try.
-
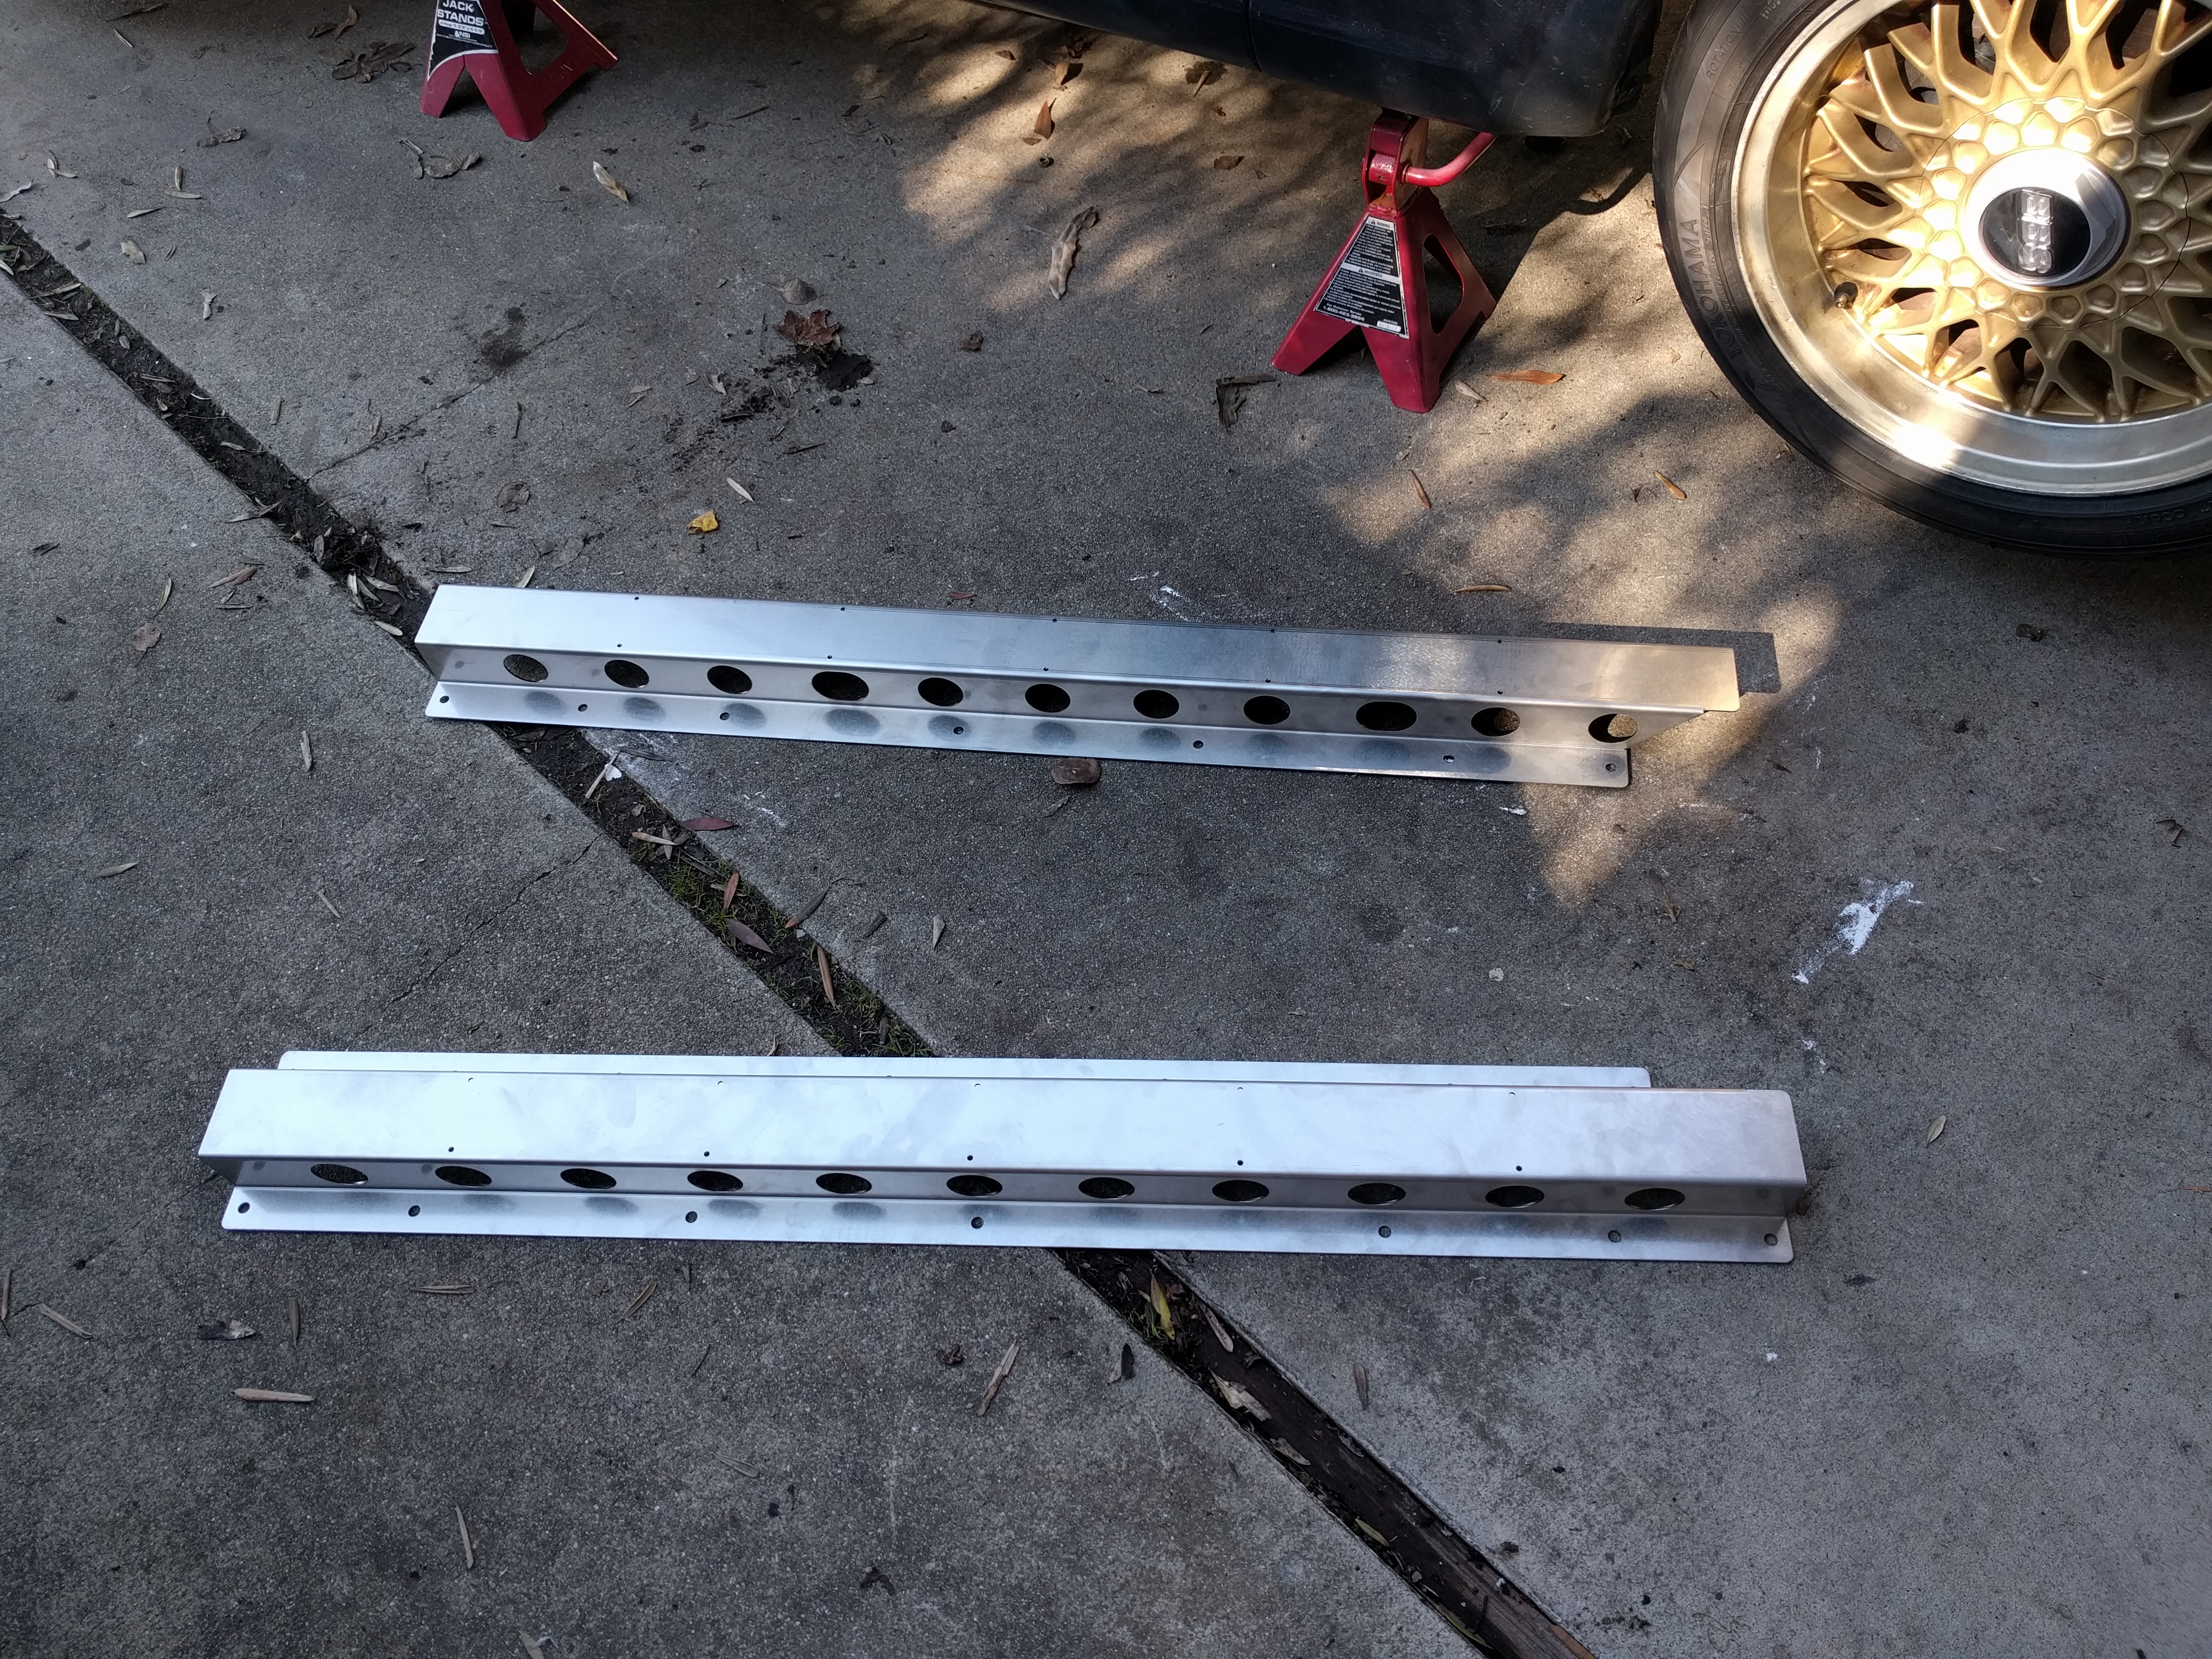
- The Garage Star Frame Rails fresh out of their packaging. Not pictured is the assorted hardware that also comes with the kit.
-
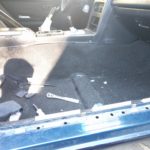
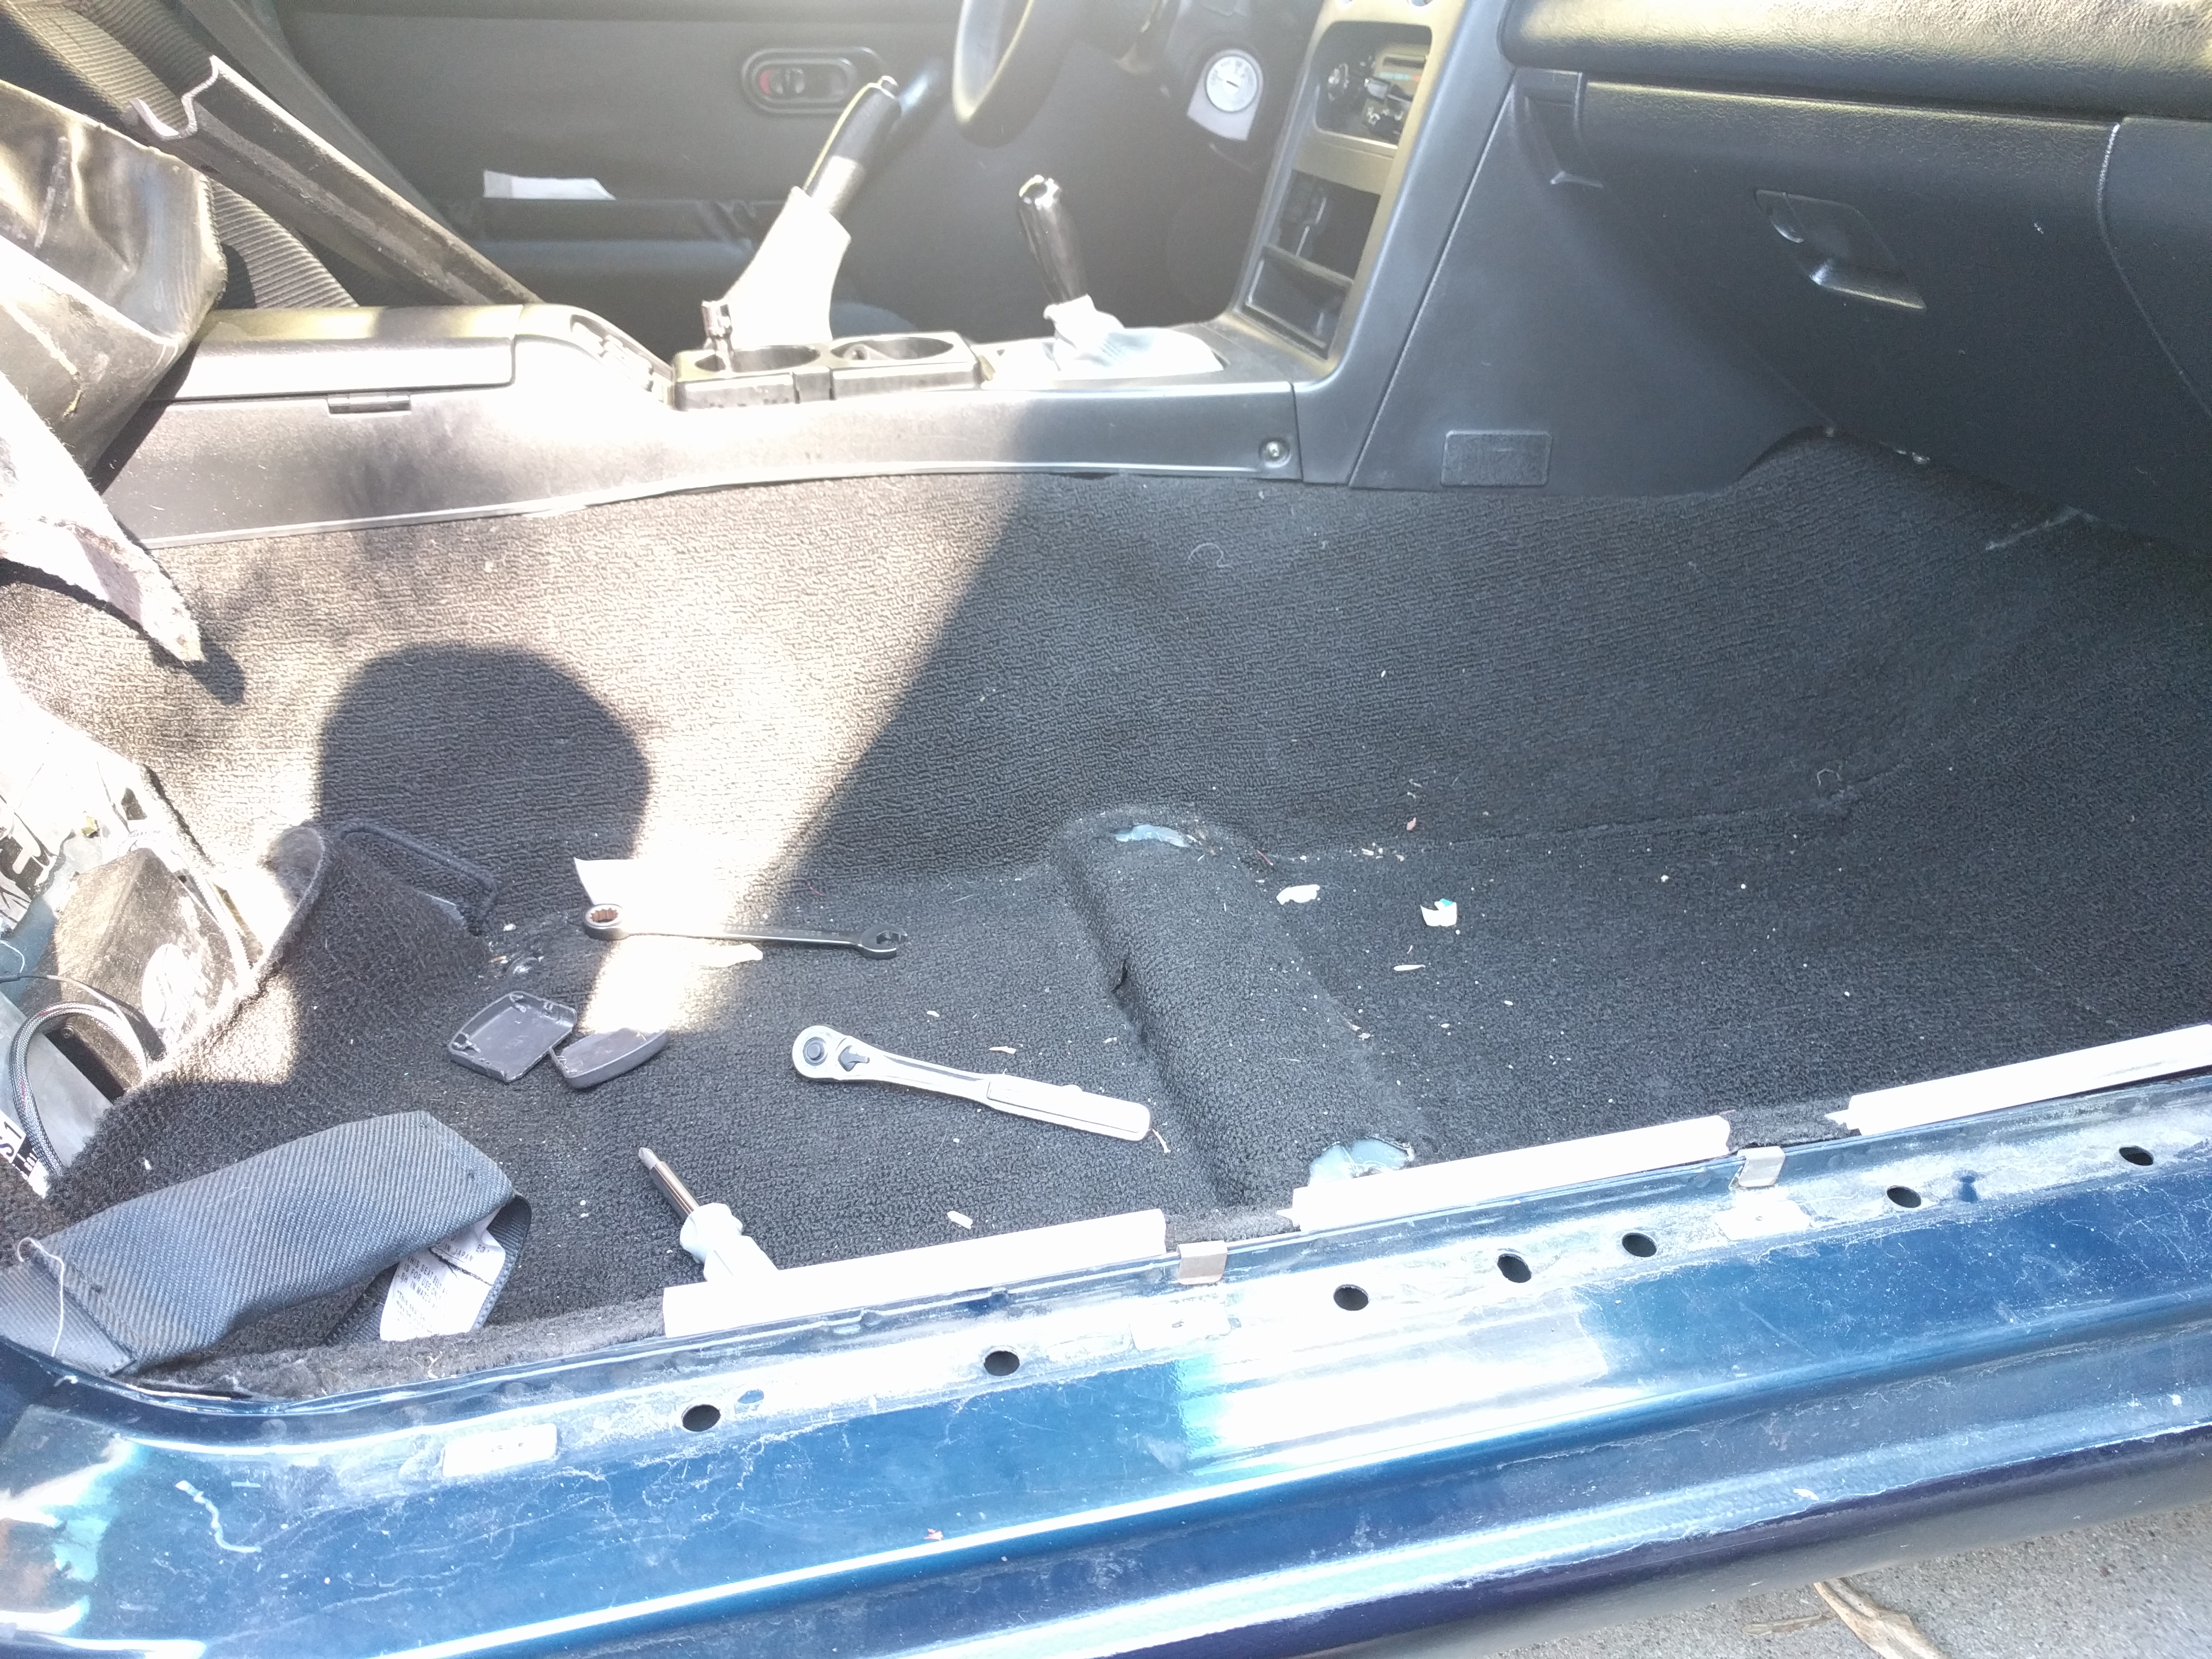
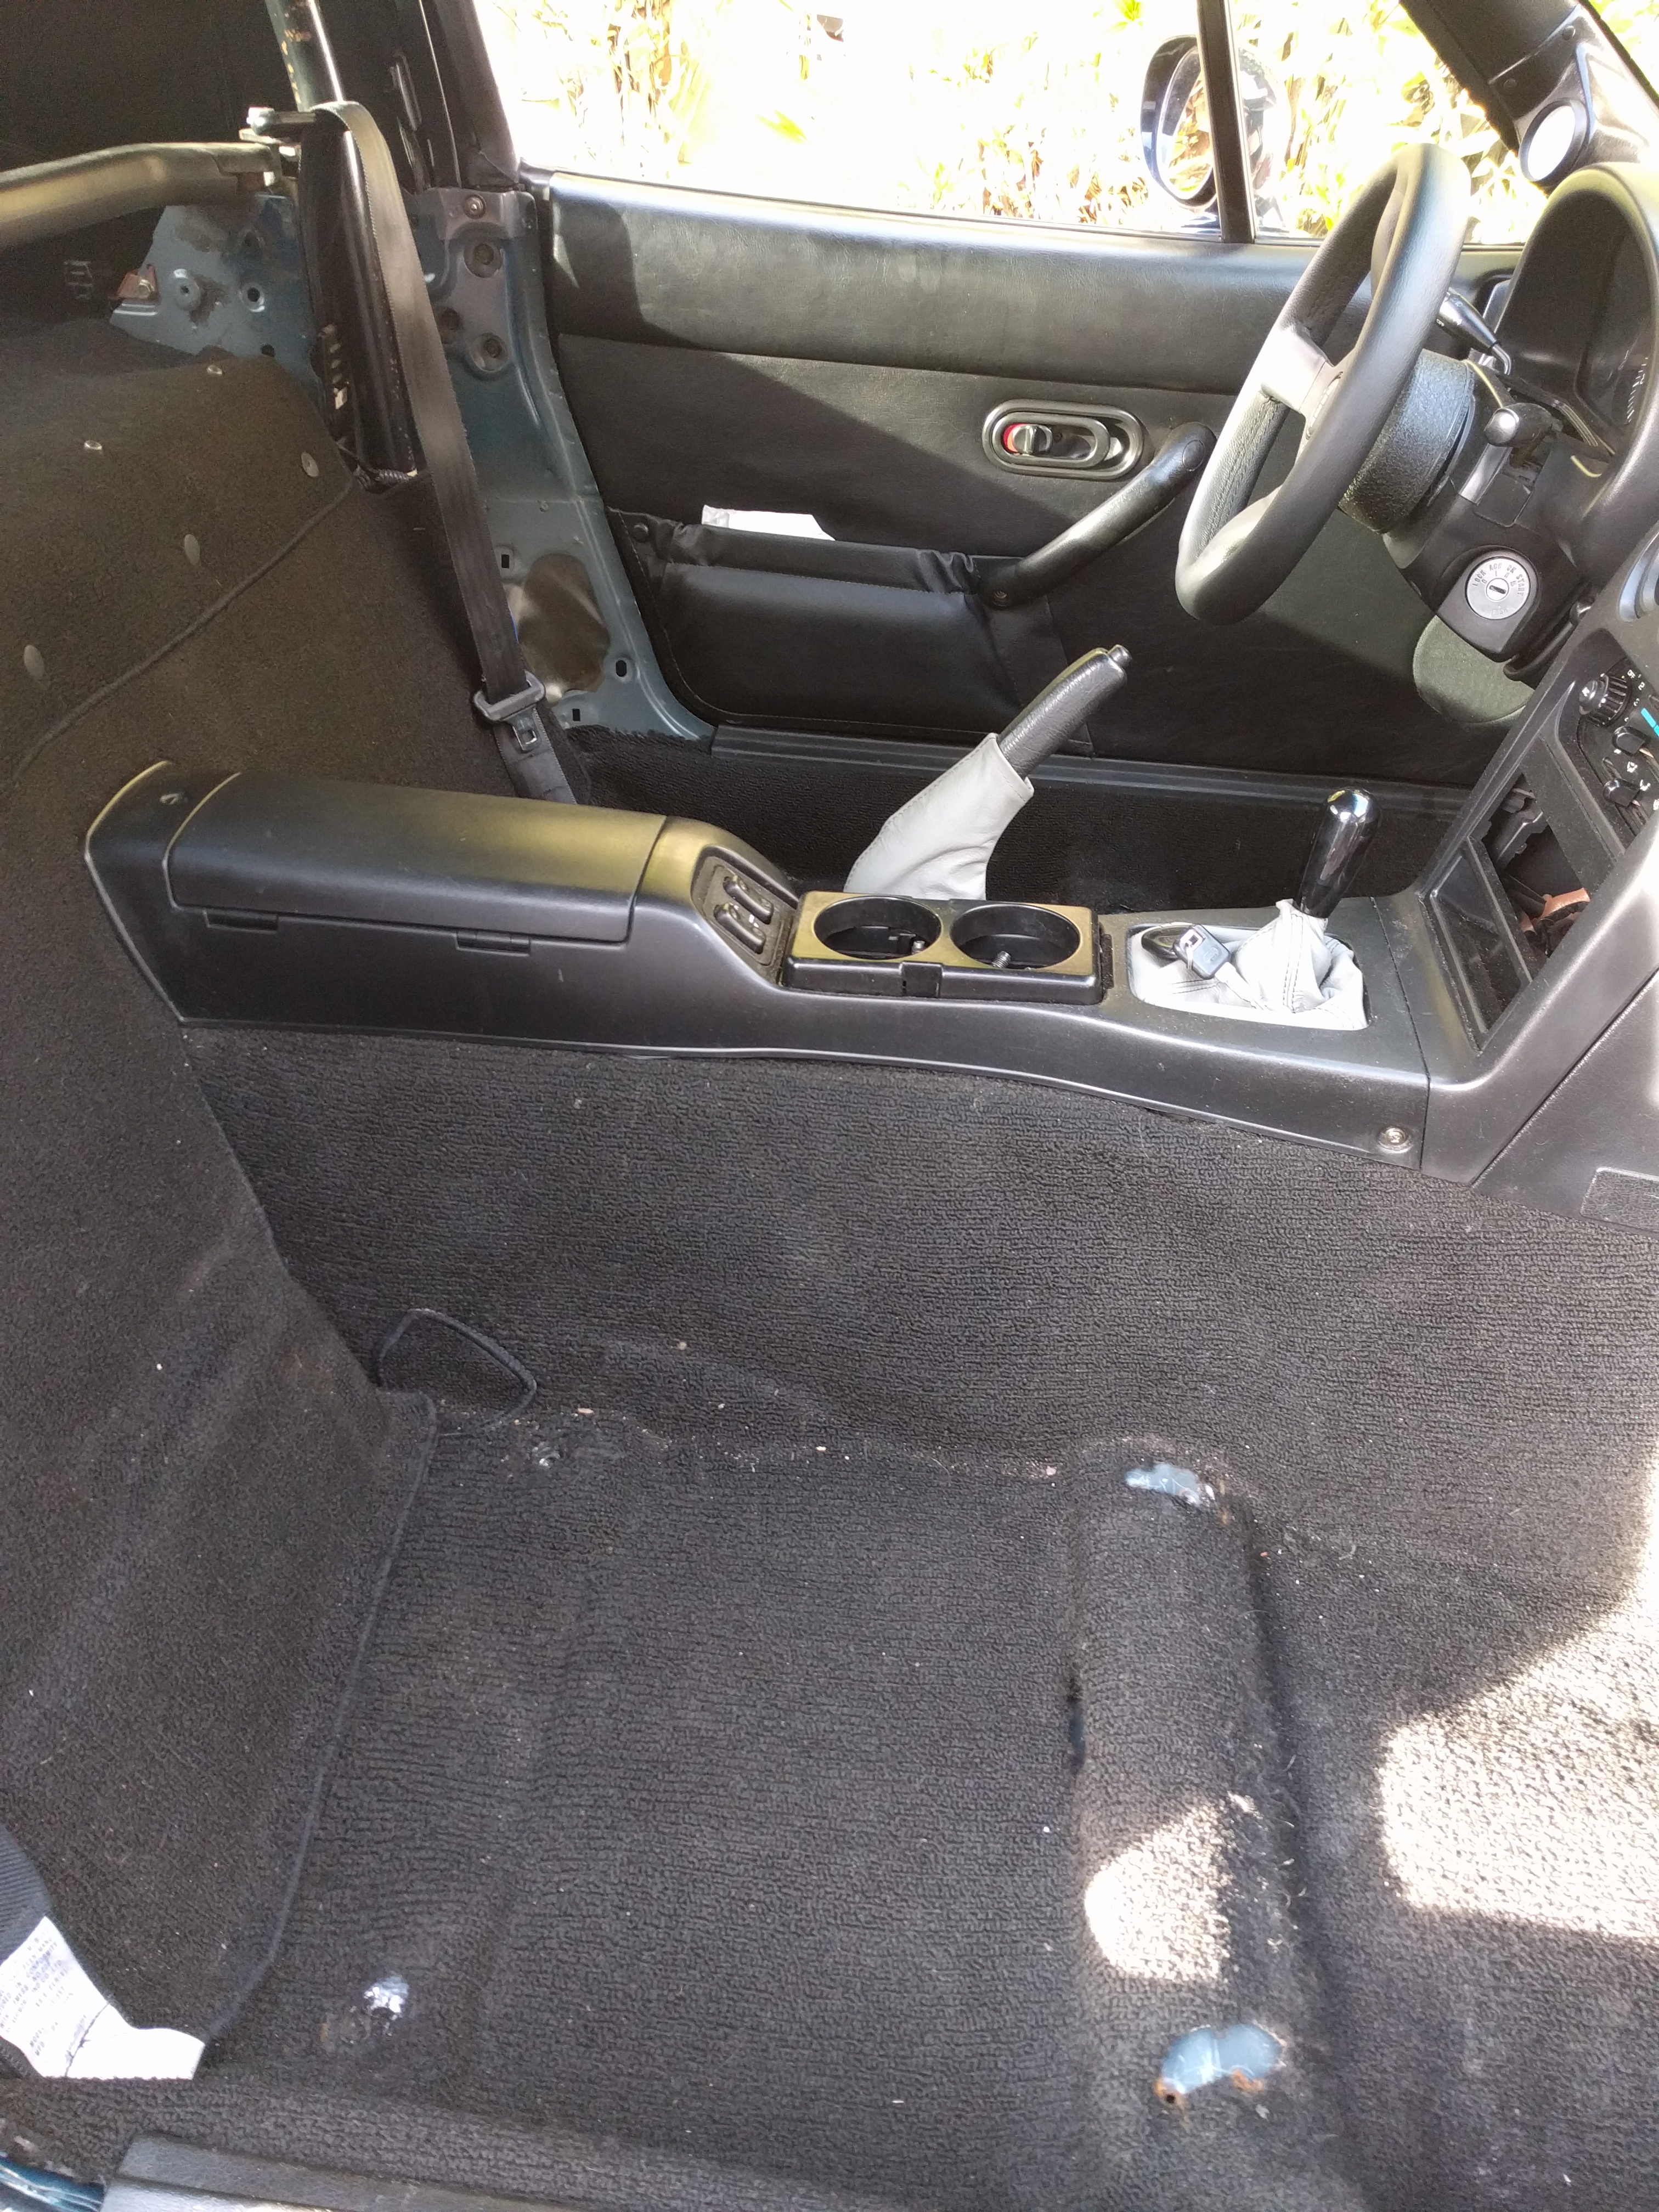
- Removal of the seats are the first step towards gaining access to the floorboards.
Frame rail upgrades are a very popular modification, so there’s plenty of brands to choose from. Flyin’ Miata, Boss Frog, and V8 Roadster all sell frame rails, but we wanted quick shipping. Garage Star was our pick since they’re produced just two hours away in Sacramento, and they seem to be quite reputable in the Miata community (we’ve also used their door bushings with good results). Price-wise, the Garage Star rails were $150 bucks before tax and shipping. They’re also stainless steel, so they’ll be less prone to rusting when the careless mechanic takes the wrong angle up a driveway and scrapes them on the pavement. Oops.
Channel Your Inner Strength
Before the install can begin, the interior has to be disassembled. The rails bolt to the floor boards, which means the seats and carpet have to be moved out of the way. On later NA cars, the ECU sits right behind the passenger seat, so be extra careful not to punch the drill bit through the wiring harness. With the interior in pieces, it’s time to get under the car.
Some cars might have battered factory frame rails from use and abuse over the years, so they needed to be massaged back into form before the new rails can be slipped over the existing ones. A hammer and a C-clamp should be able to take care of this. This particular Miata didn’t seem to have that problem though. Using one of the body seams, we got the rails lined up and then pressed them into place using the jack. Begin the drilling…
-
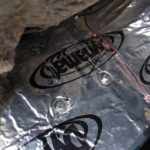
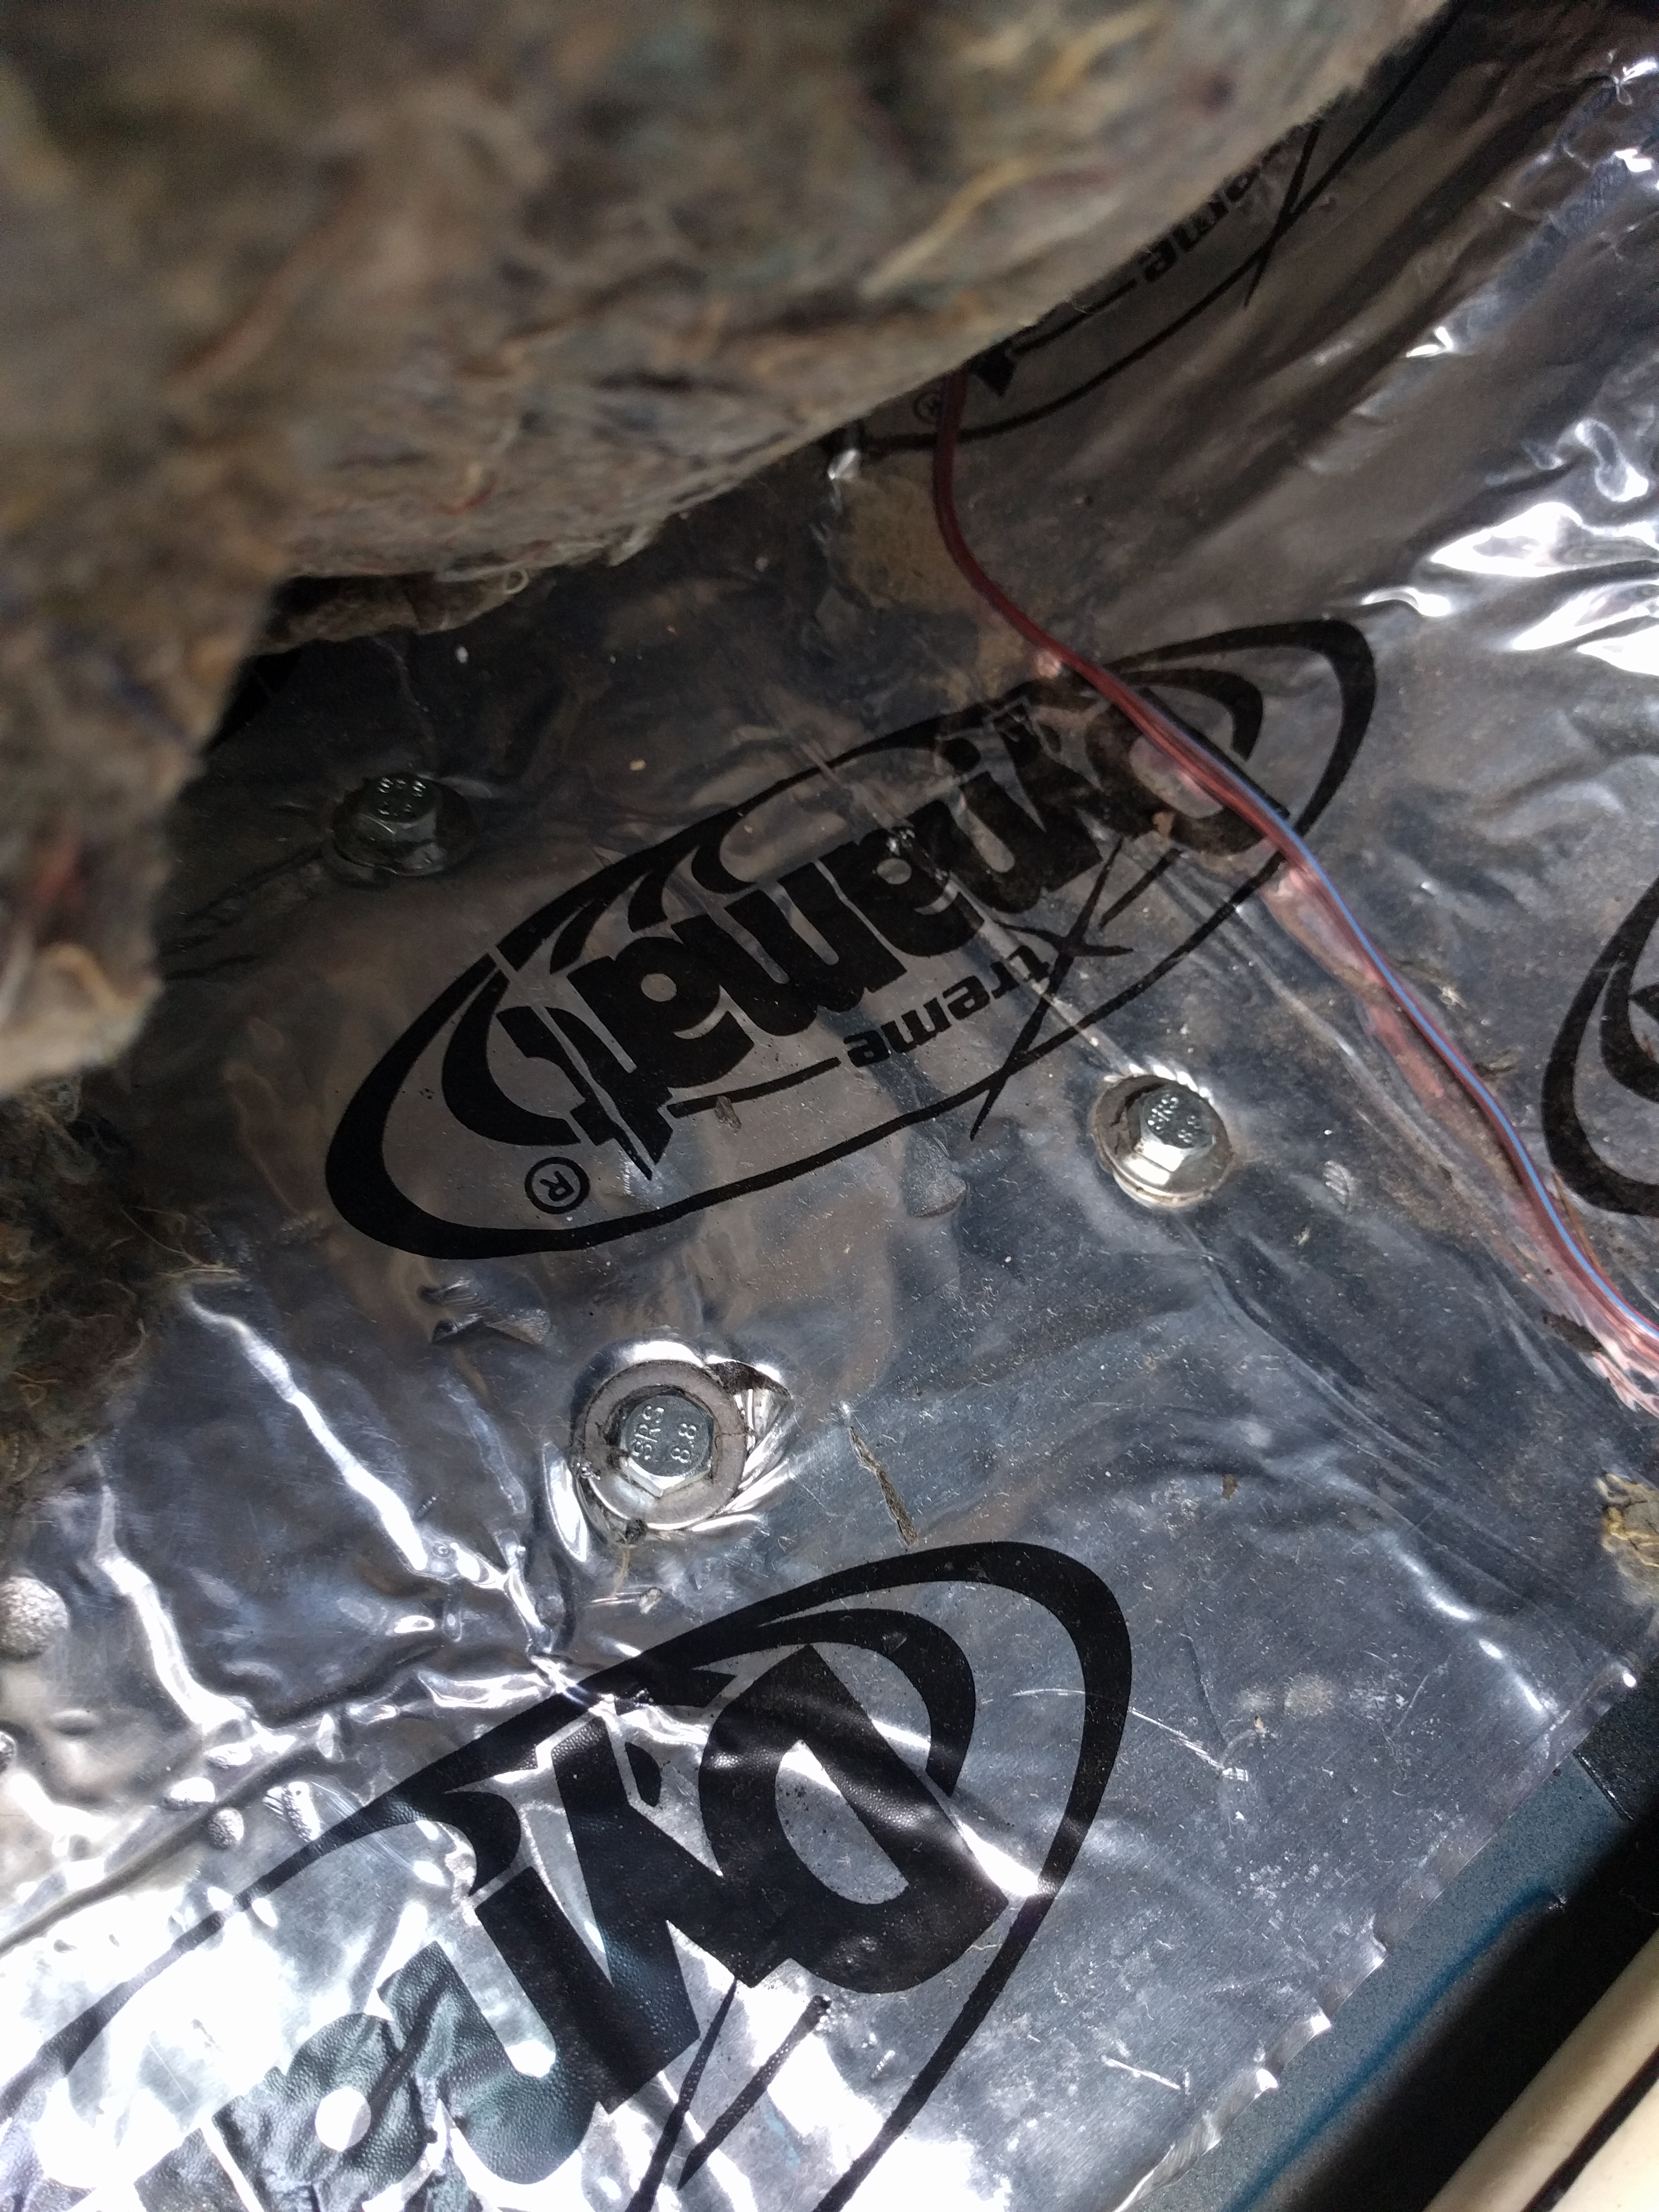
- The Dynamat is fairly thick stuff, so getting the bolts to seat properly was a bit of a chore. The benefit though is that the cabin isn’t as noisy as a stock Miata.
-
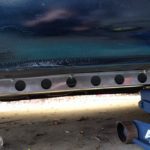
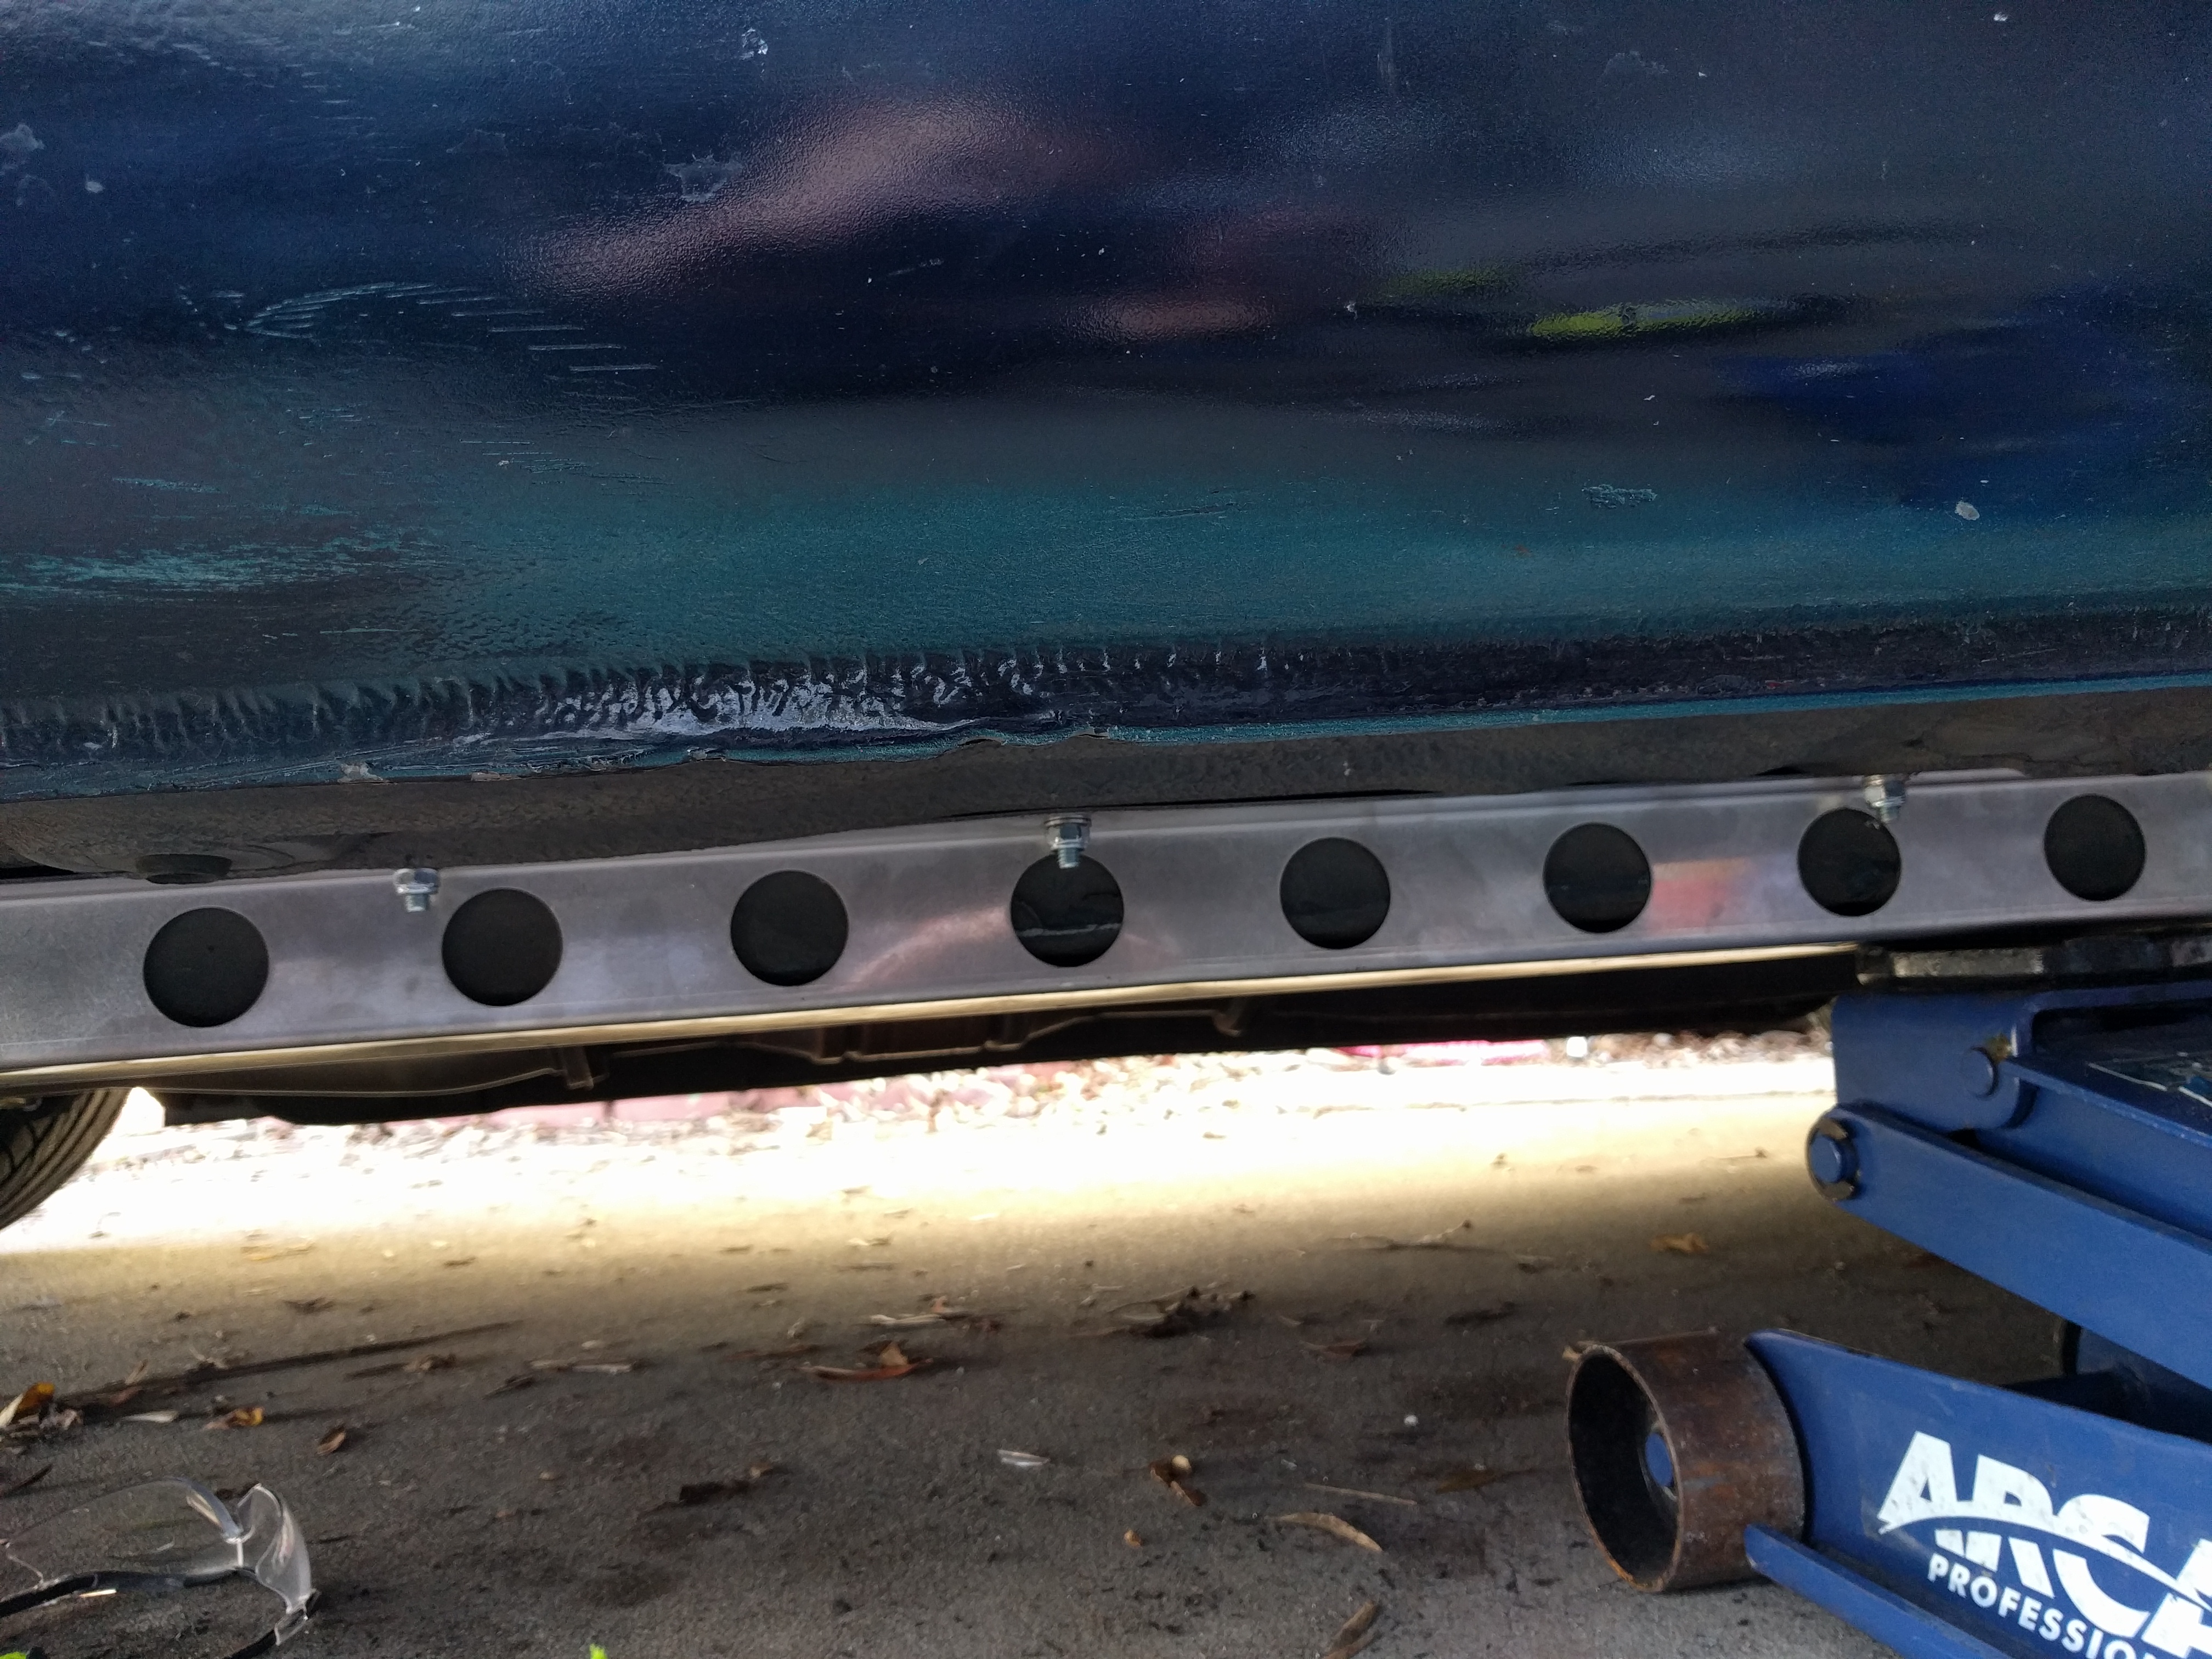
- Seen here are the new frame rails bolted on top of the existing factory frame rails. The jack was used to get them properly seated.
The previous owner of the Miata had done us both a favor and a disservice by installing Dynamat on the floorboards. It’s great for keeping noise and heat out, but it was also another layer the drill bit had to get through. Each side of the car took about an hour to drill the required 5/16″ holes and get the bolts installed. One person can do it, but an extra set of hands definitely speeds up the process. It should be noted on the passenger side you’ll have to move the fuel and brake lines out of the way as you drill holes. Undo the clip and there’s plenty of clearance for the drill and bolts to get through.
Any Difference?
This was definitely an exhausting install. Constantly crawling under the car and being underpowered in the arm strength department took it’s toll on the angry mechanic. Reinstalling the interior was a quick procedure though. For laughs we tried driving the car without seats, and it’s definitely possible. Who would’ve guessed a Miata could have so much headroom!
With the seats actually installed, immediately we felt the improved chassis rigidity leaving the driveway. Around town and on tight corners, chassis response is improved, but that’s in conjunction with the stiffer suspension. What stands out most is the car’s ability to drive over uneven pavement. Before installing the rails, the chassis would go limp the moment the roads became uneven. Even newer cars will have trouble if the going gets too tough. Now the little Mazda keeps its composure, making the car feel quite a bit newer than 21 years would lead you to believe.
-
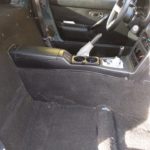
- The interior going back together. If you’re tall enough, you don’t even need seats to drive the car!
-

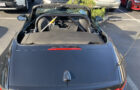
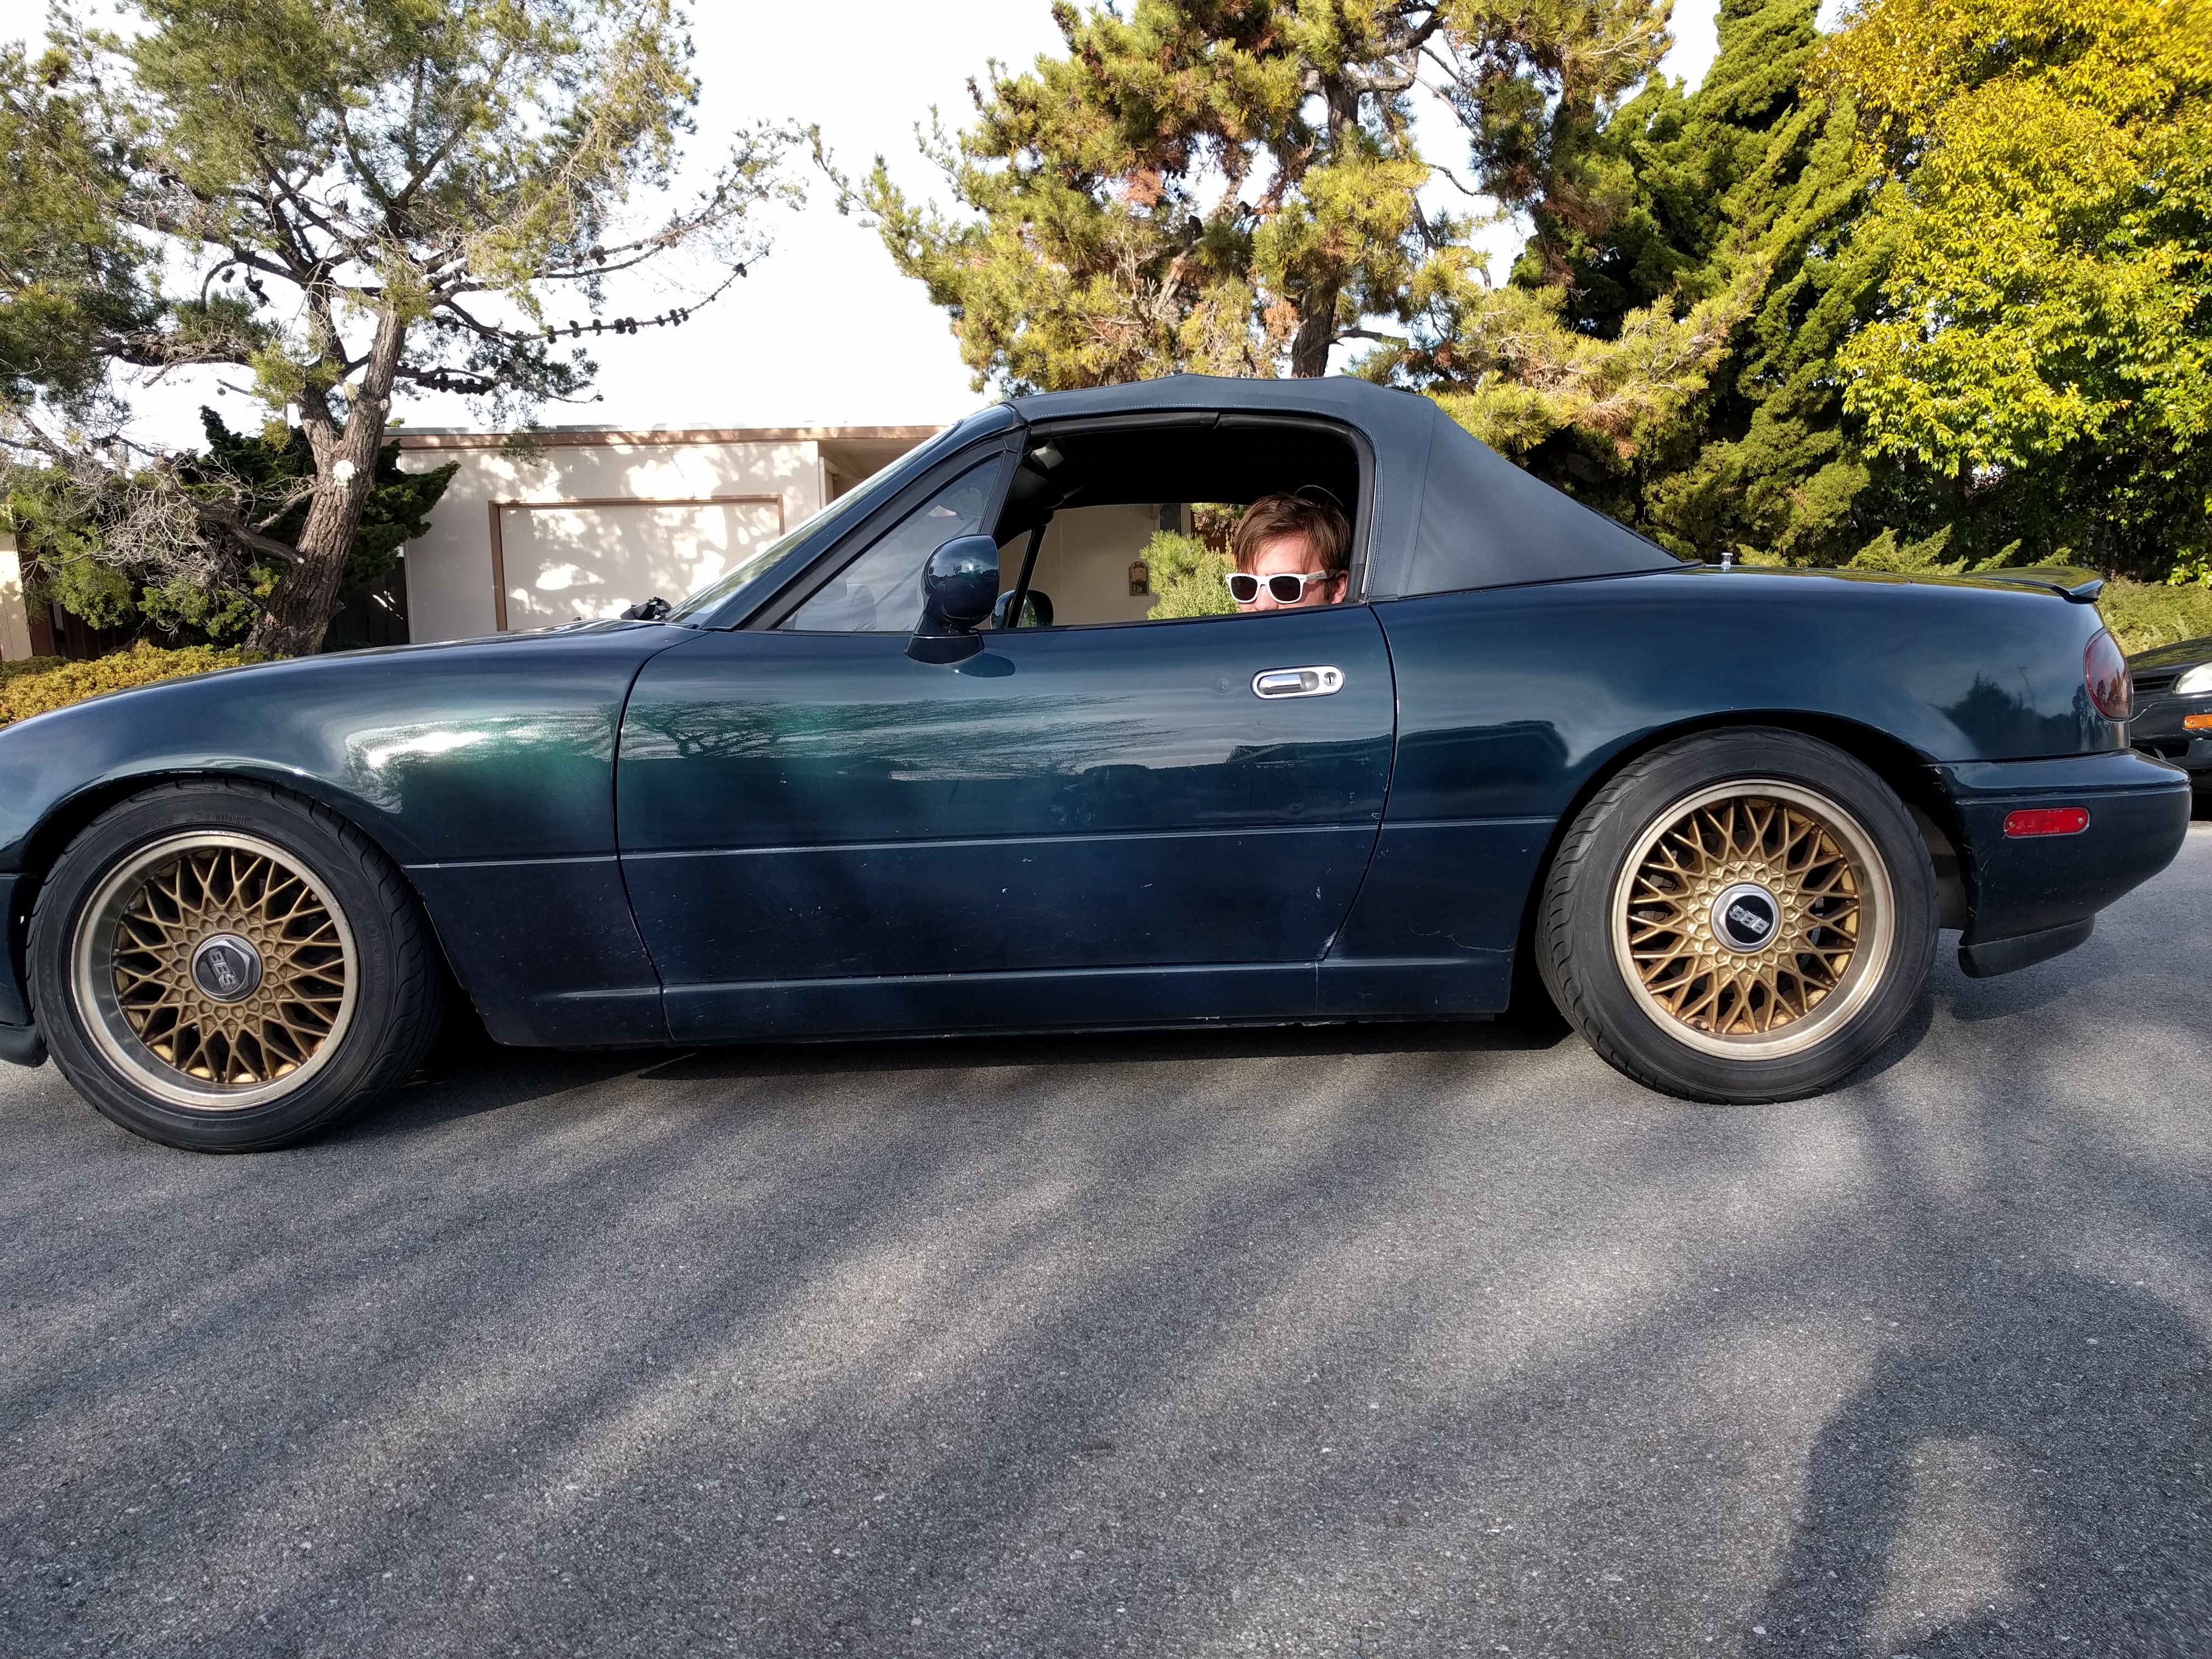
- Some say he might just be too cool to admit it. He talked to his girl and she said he ain’t with it.
If I were to do this again, I think I would have taken the sound deadening off the floor. It would have made the install much smoother, and the bolt heads wouldn’t protrude as much into the carpet . From a quality perspective, the Garage Star pieces were more than up to the task, but I can’t imagine any of the cheaper alternatives would have yielded drastically different results. To really take advantage of the increased chassis stiffness though, two things need to happen: The car needs a hardtop to tie the whole chassis package together, and its driver needs to enter an autocross with plenty of tight technical corners. I just hope the poor engine can handle Cole Trickle behind the wheel. Now is probably a good time to get the cherry picker ready.
-JC
Want to stiffen the chassis of your 1990-2005 Miata? These were the parts we used for this article: