With the addition of the Miata, there have been some changes that Milton and I are still adjusting to. Coming from German cars, the Miata seems to be very reliable and leak free. While the European cars might be maintenance “intensive,” their fit and finish is typically the benchmark that others strive to achieve.
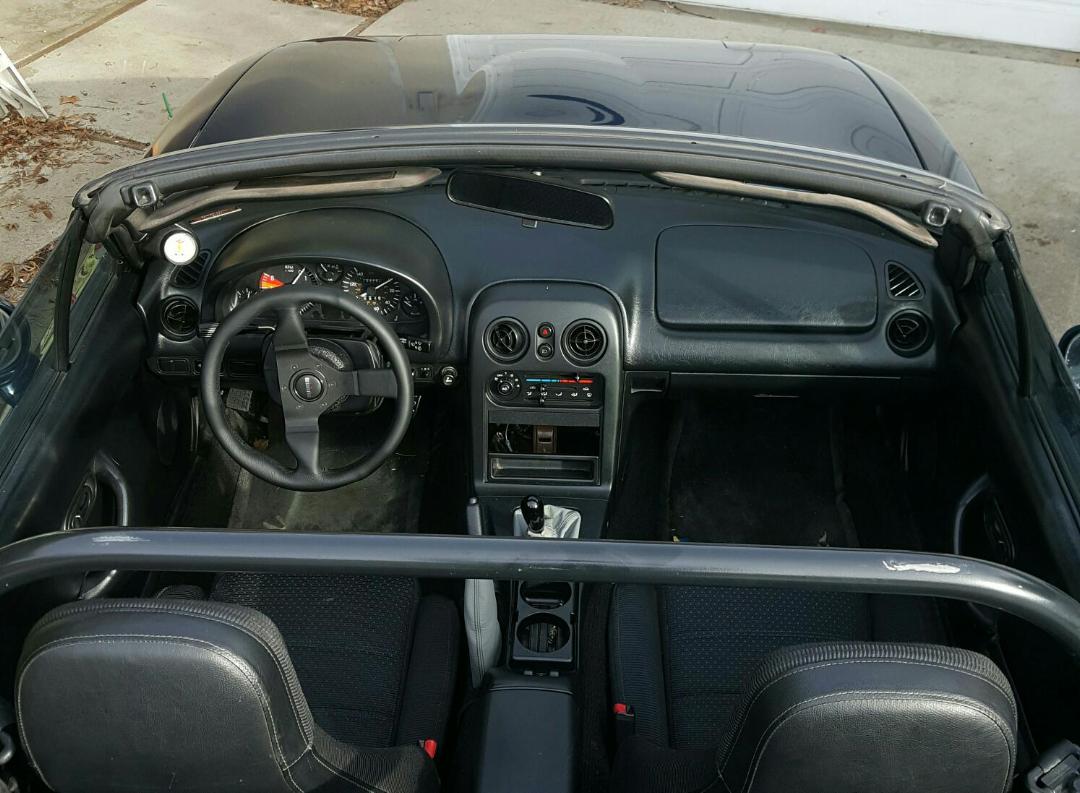
One aspect that’s hard to get over with the Miata is how B-O-RING the interior layout looks. There’s a steering wheel, a few knobs and buttons, and a shift lever. Oh, can’t forget the seats in case you want to drive the car. I understand the Miata continues the Colin Chapman mantra of “Add Lightness,” but 1990’s Japanese plastic isn’t exactly a style statement. Sorry Mazda, but Dirty Dan and his ill-tempered mechanic are going to take some creative liberties.
It’s Not Safe, Daniel
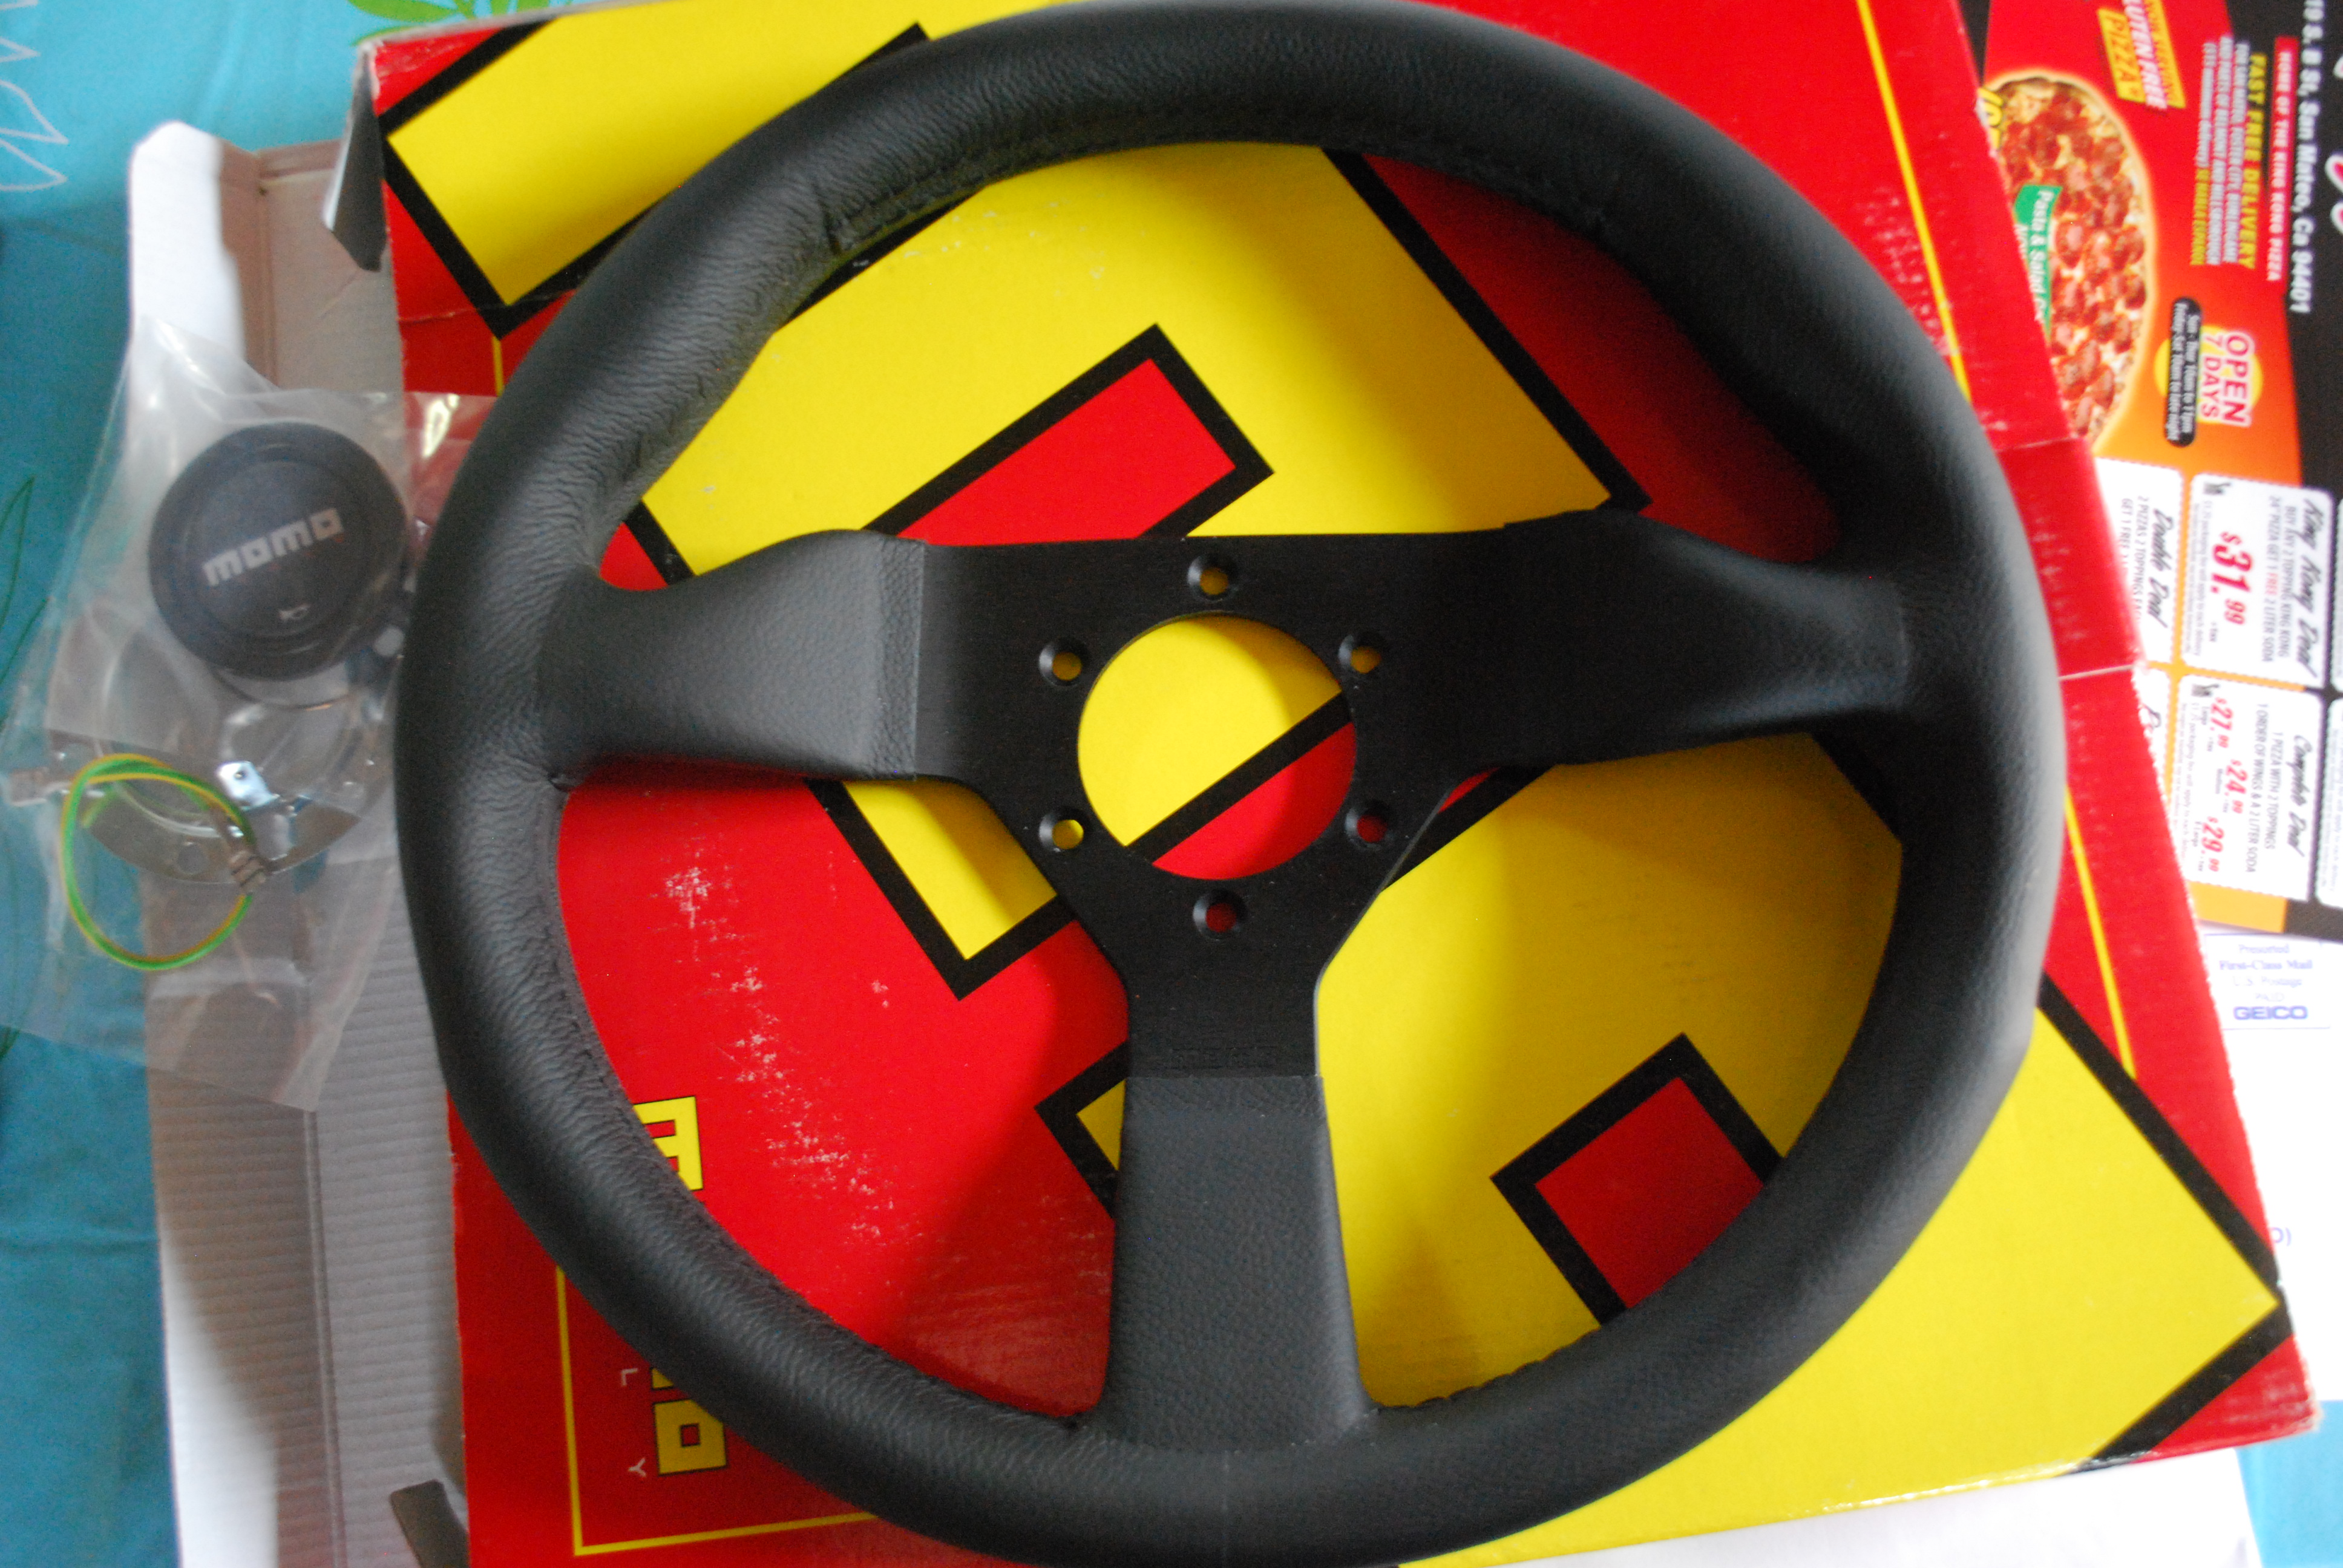
The great thing about the Miata is that production numbers are close to the Earth’s population, so the aftermarket has plenty to choose from. The first order of business was to ditch the ugly airbag steering wheel. If your legs are remotely grown-up sized, then the stock steering wheel is going to get in the way of your footwork. Mr. Milton decided he wanted something with a purposeful look. His trigger happy finger ordered a Momo Monte Carlo steering wheel in a go-kart sized 320mm diameter. Like usual, you can’t simply install one part without needing another…
-
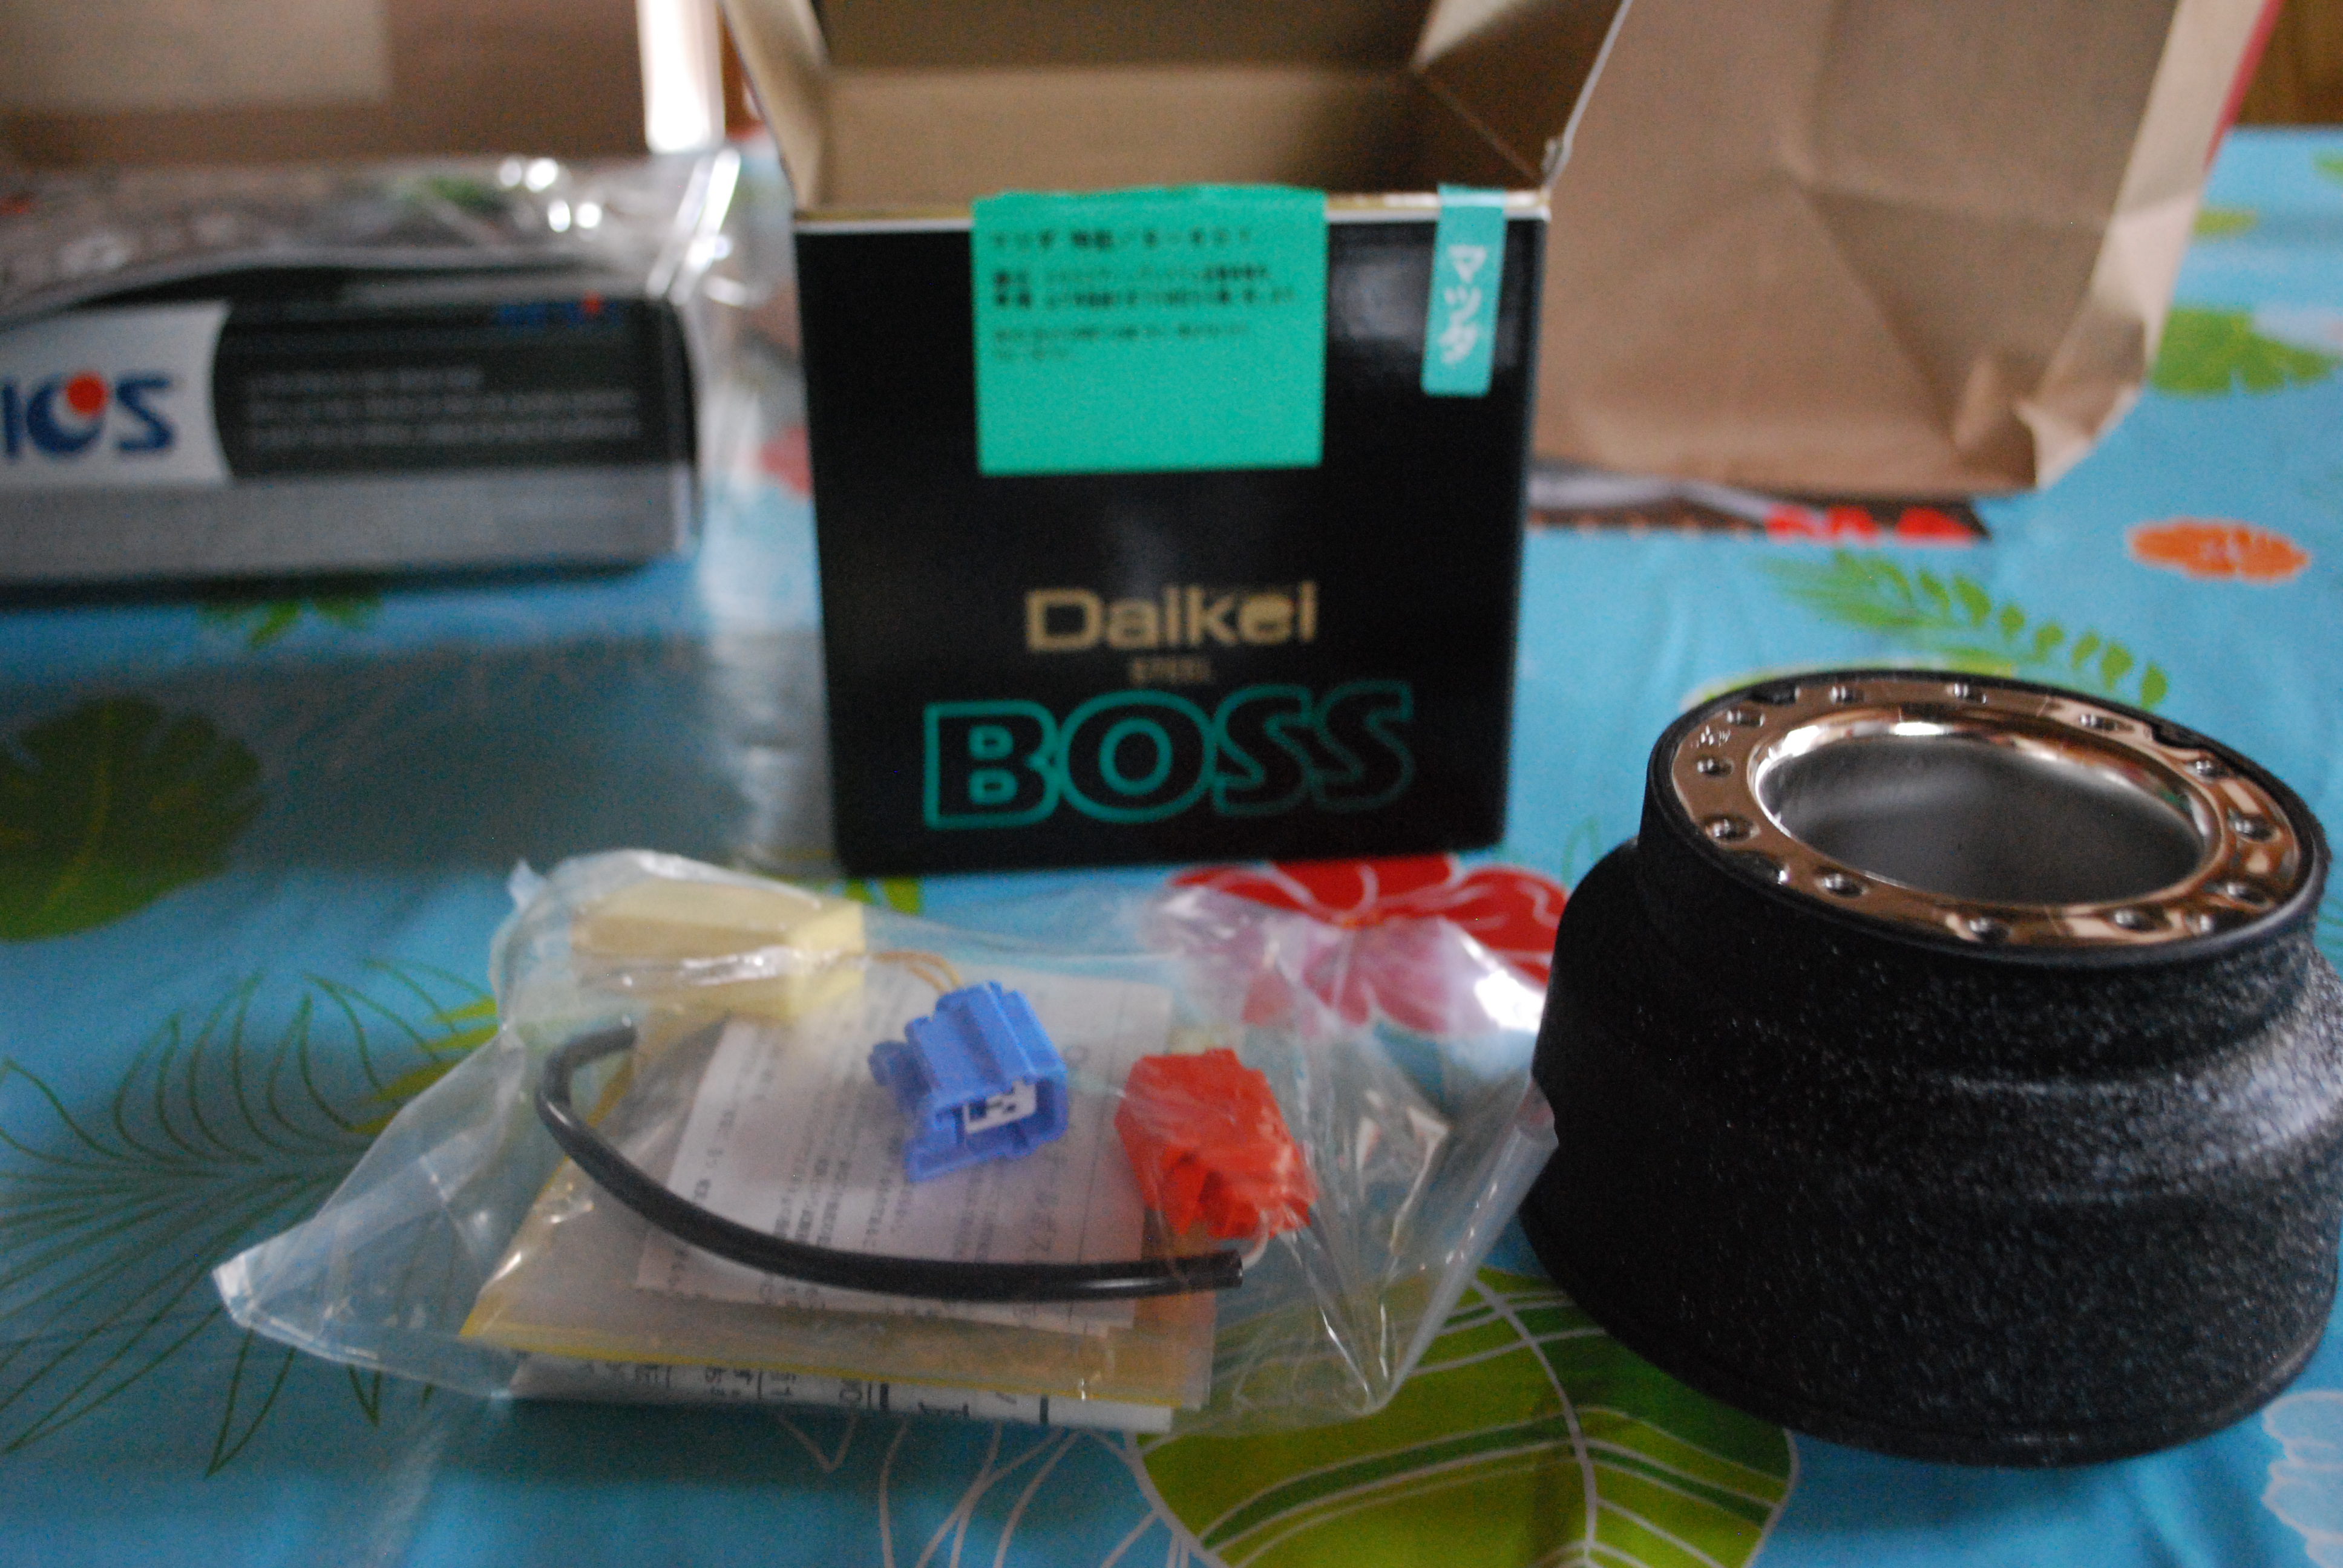
- The 320mm Momo Monte Carlo right out of the packaging.
-

- This is the plug-n-play Daikei Boss hub adapter. The standard Momo hub will work, but requires modification.
-
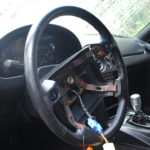
- Disassembly of the stock airbag wheel commences.
-
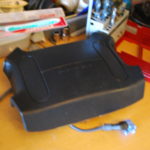
- The bomb has been defused.
-
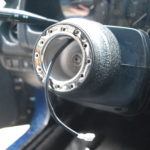
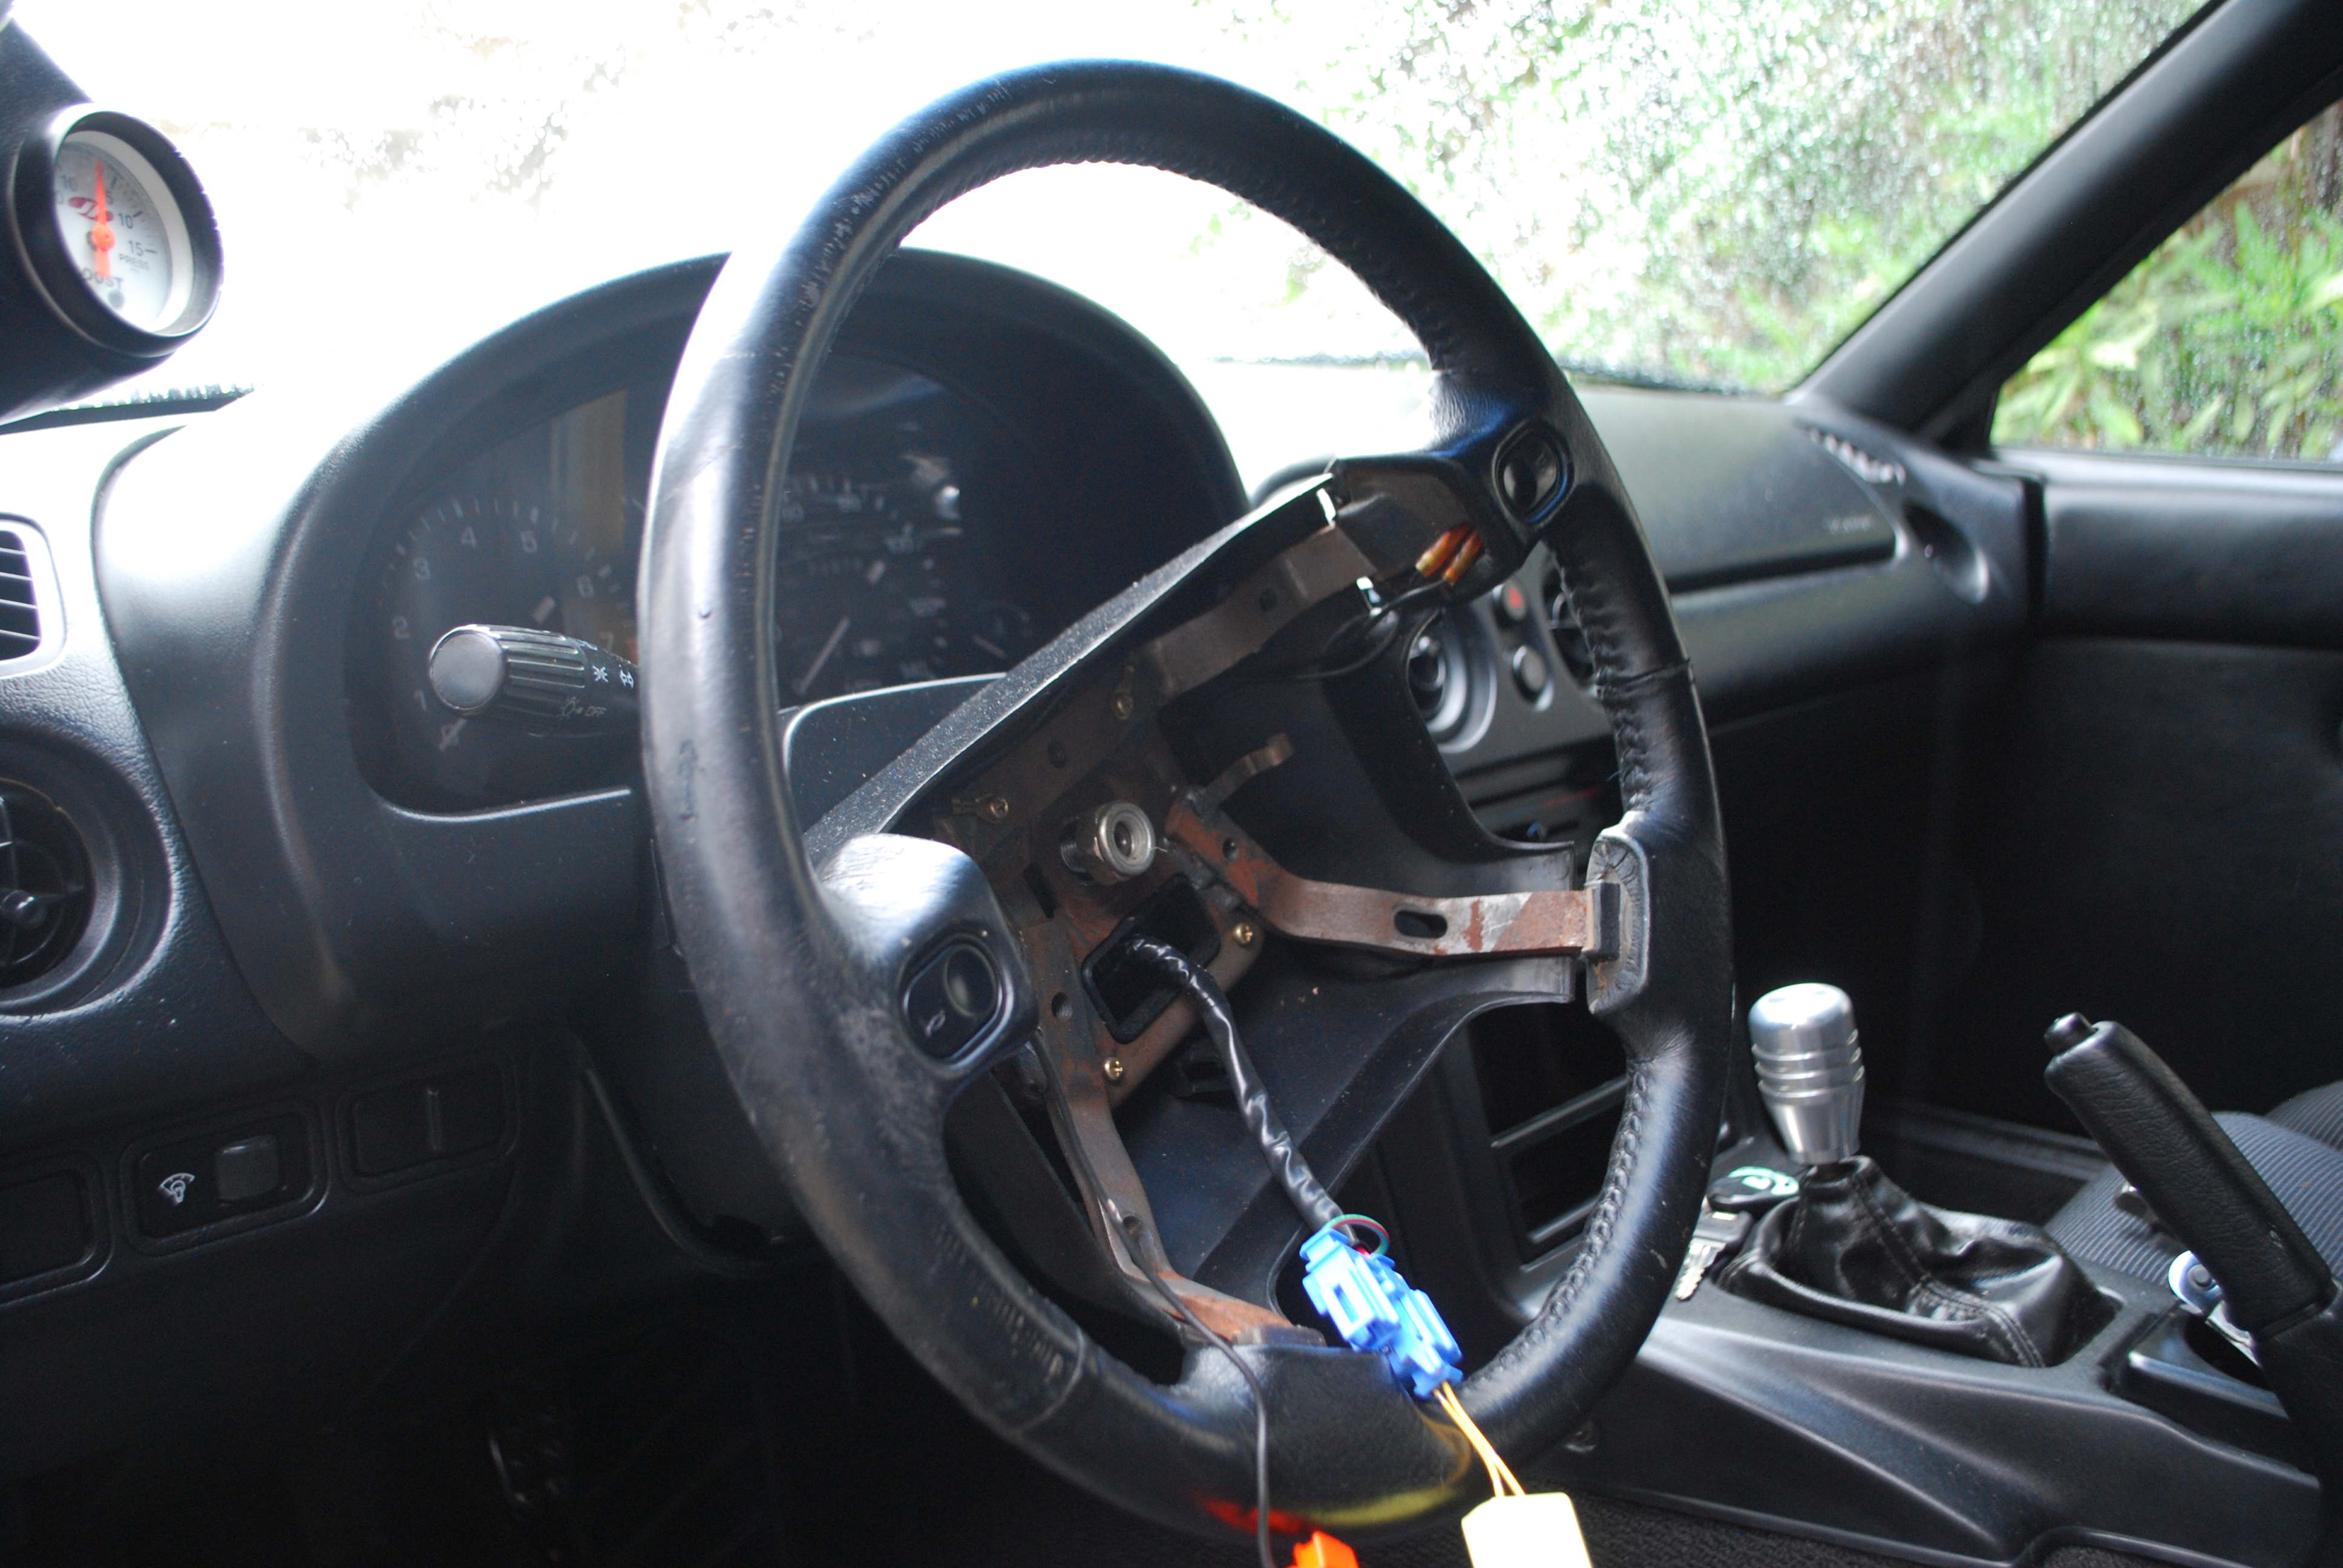
- This is the new hub adapter being installed.

-
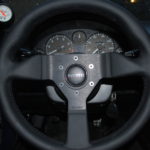
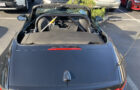
- Looking more like a sports car!
There’s a couple ways to go about installing a Momo (or other aftermarket) steering wheel on the NA Miata. The most common way is to buy a Momo hub adapter. The problemo lies within the clock spring mechanism. The Momo hub adapter is supposed to be used on non-Airbag Miata’s, but us Yanks only got the explosive pillow equipped versions. So you have to Dremel plastic pieces and monkey with the wiring routing. At least for us, we like clean(er) installations, so we opted to purchase the Daikei Boss hub adapter (but costs as much as the steering wheel!). It’s plug and play for an airbag car, and comes in packaging that may even contain a real live Pikachu. Given the trend that our parts swap hands like chips on a Vegas Roulette table, the less marred up we make them, the better.
Tranny Slapstick
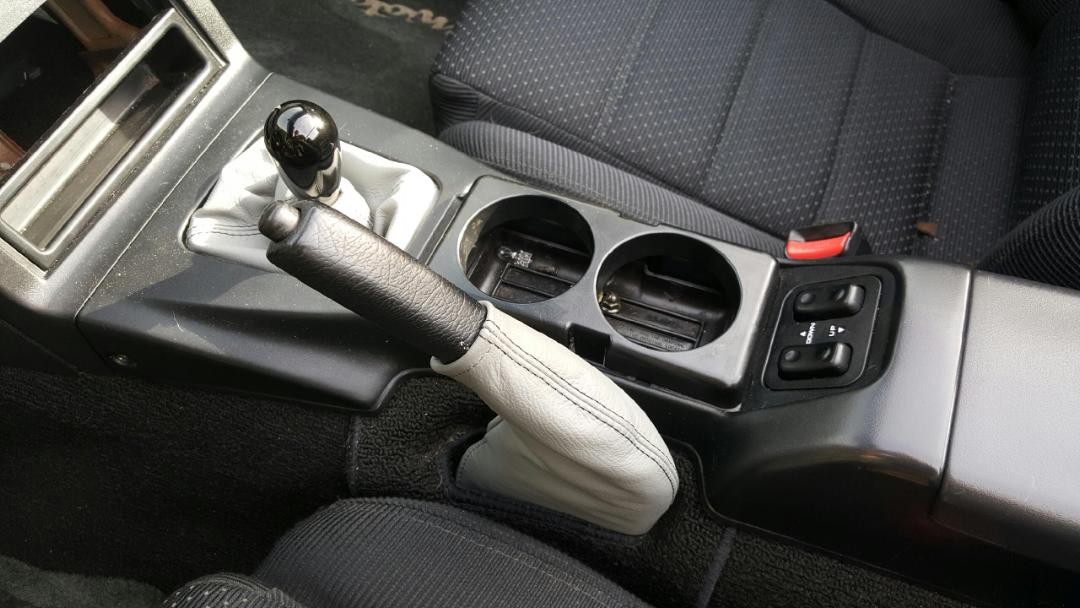
The other eyesore that deemed immediate attention was the shift knob. Albeit simple, the block of metal that was used to row the gears looked more at home in a Fast and the Furious movie. Perusing the various MX-5 forums pointed us in the direction of Team Voodoo shift knobs. The weighted “Pistol Grip” knob in the piano black finish was picked for its OEM style and function. At less than $40, it wasn’t horribly expensive either…well at least compared to the BMW’s. Install is as simple as unscrewing one and threading on the other. To give some contrast, Milton purchased silver leather e-brake and shifter boots. I’m on the fence with the color, but to each their own I suppose.
-
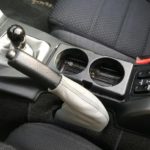
- Matching shifter and e-brake boots.
-

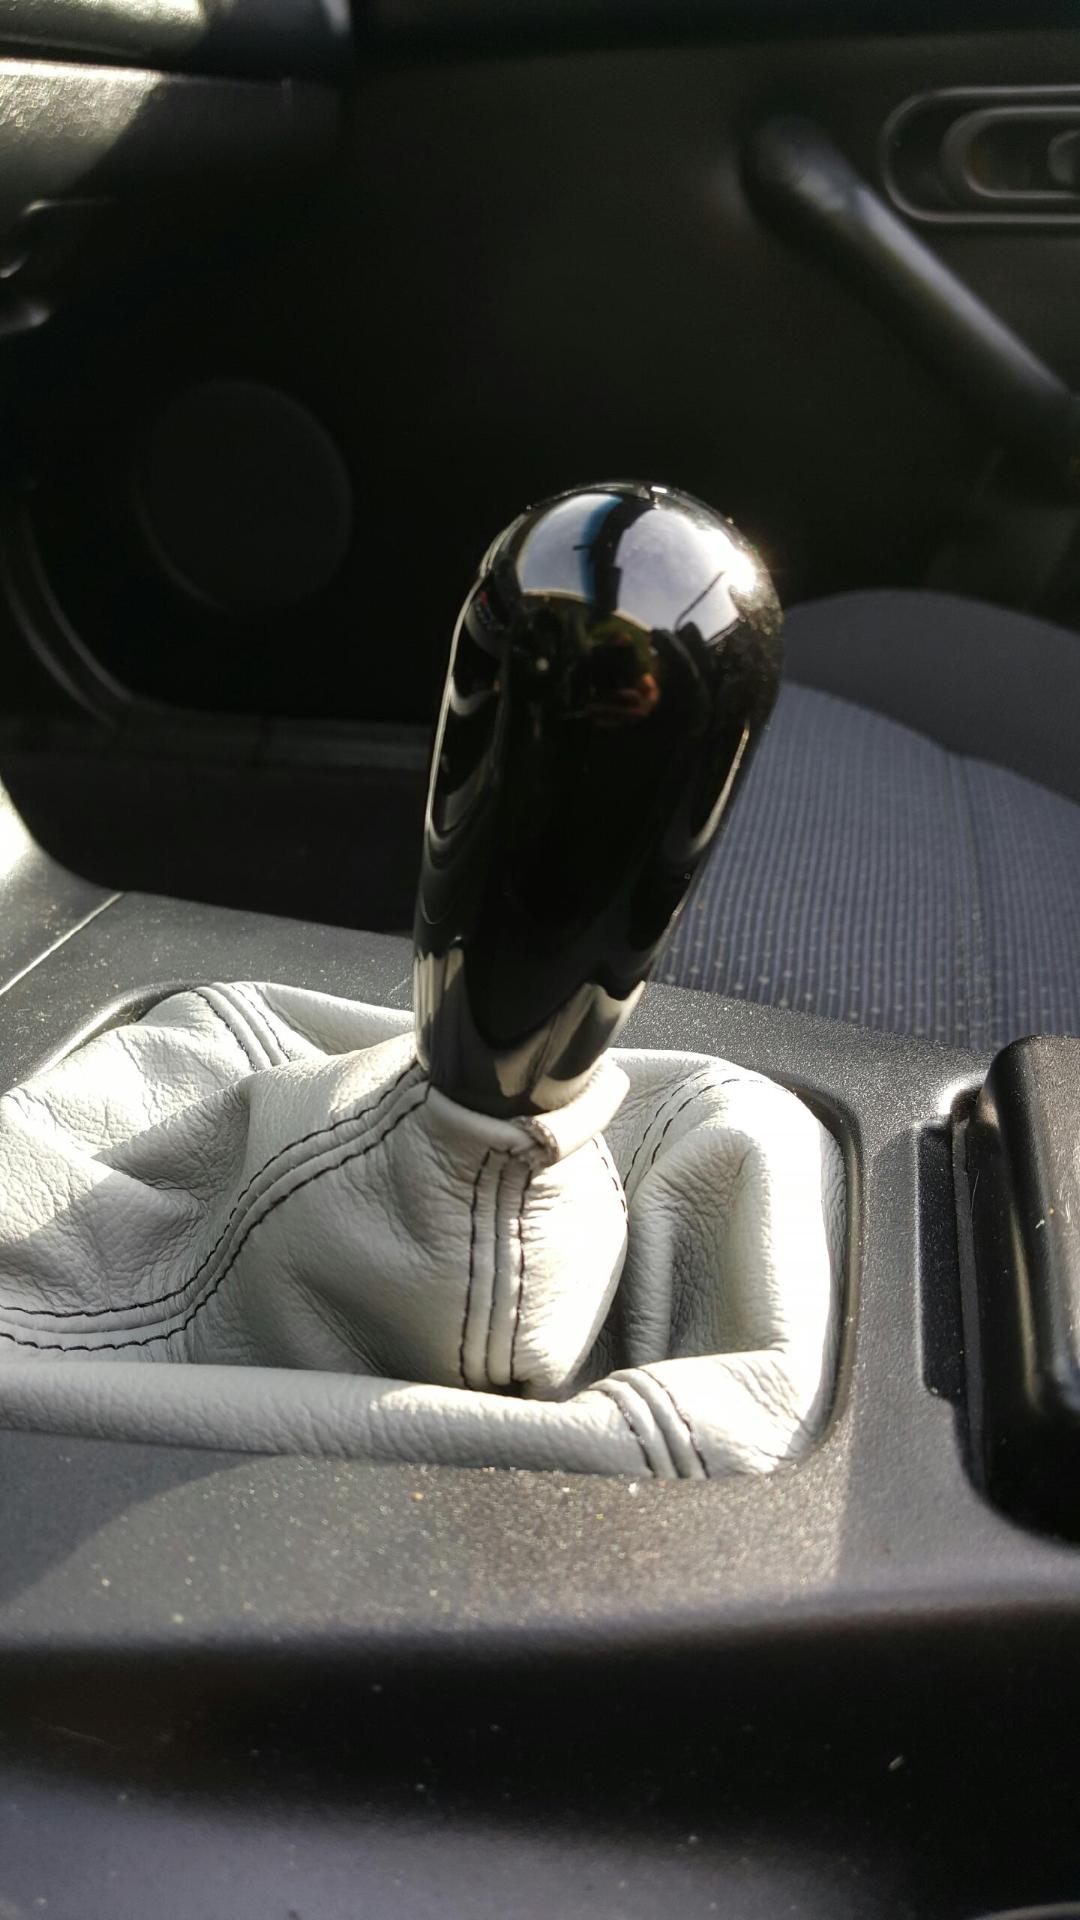
- The Team Voodoo Pistol Grip shift knob has a nice weight and feel for easy shift action.
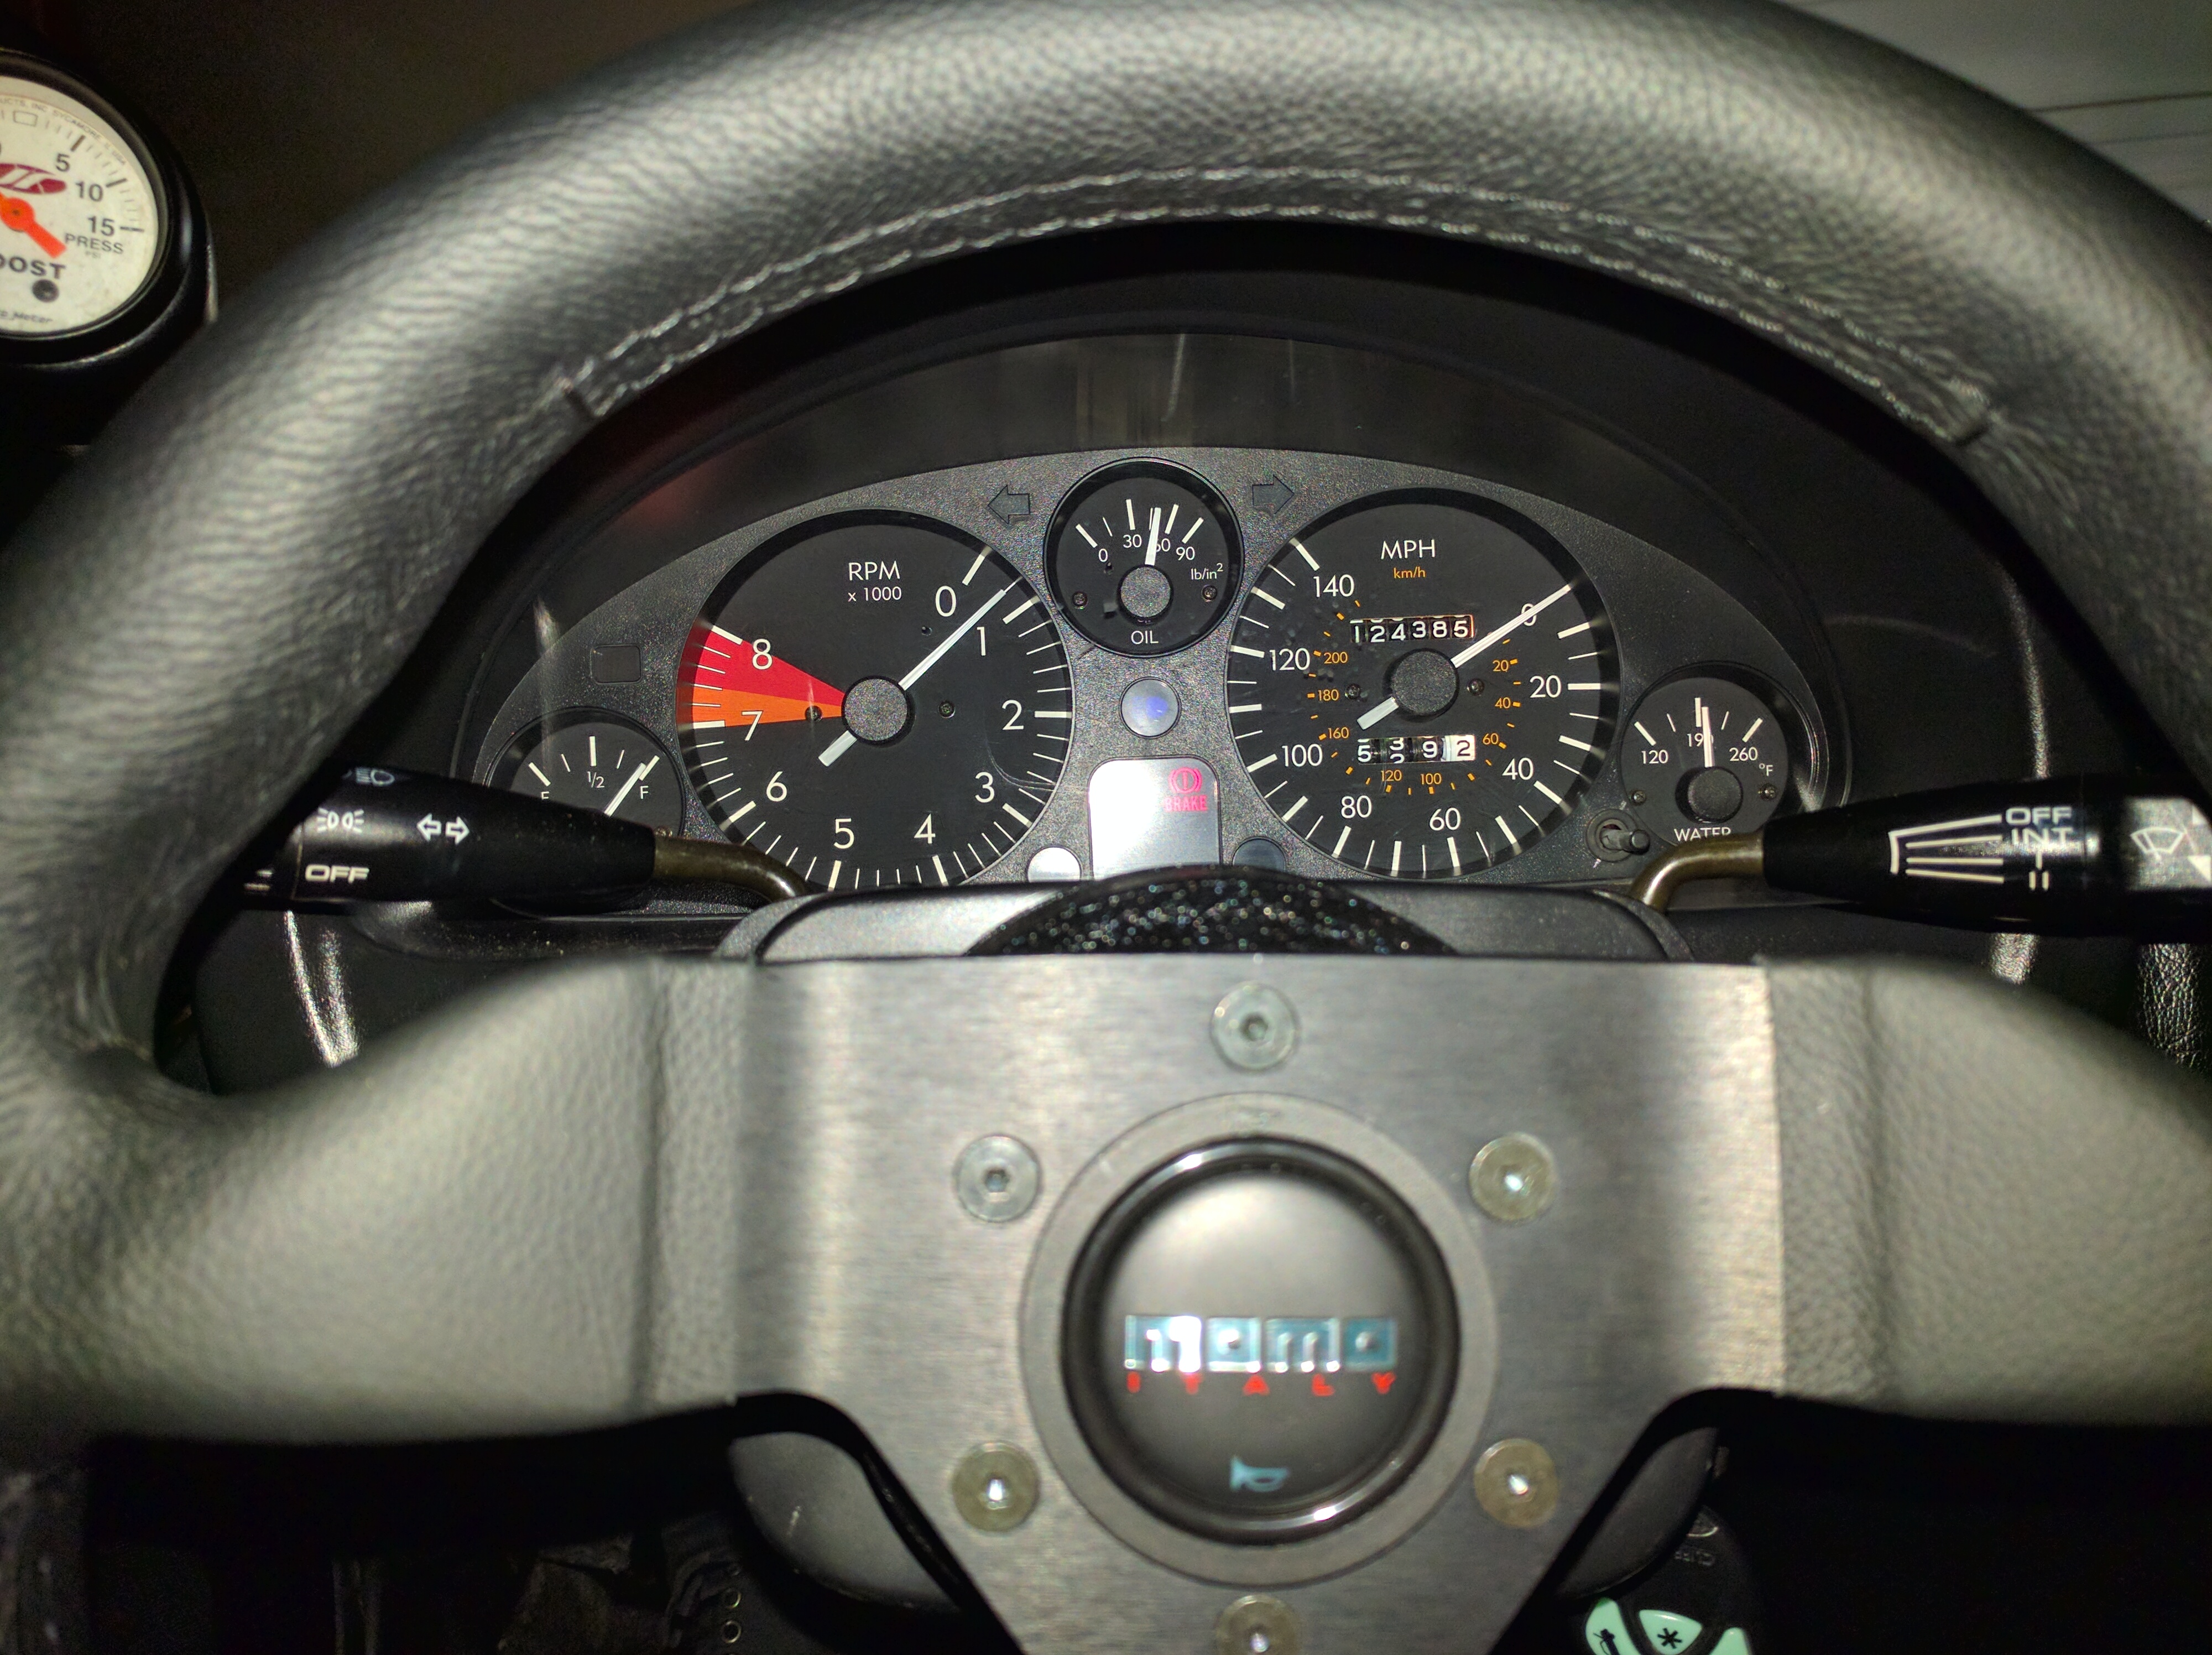
With our instant interior makeover going smoothly, we thought nothing could slow us down. Then we went for a drive and noticed that the fancy new steering wheel blocked the top portions the gauges, specifically the area of the speedometer that can send you to traffic court.
Gauging the Interest
If we wanted to be lazy, the tachometer could be rotated every which way but loose, Clyde. Unfortunately the speedo can’t be adjusted as easy because the odometer and trip meters are fixed and dictate the gauge face placement. The solution came from a site called revlimiter.net
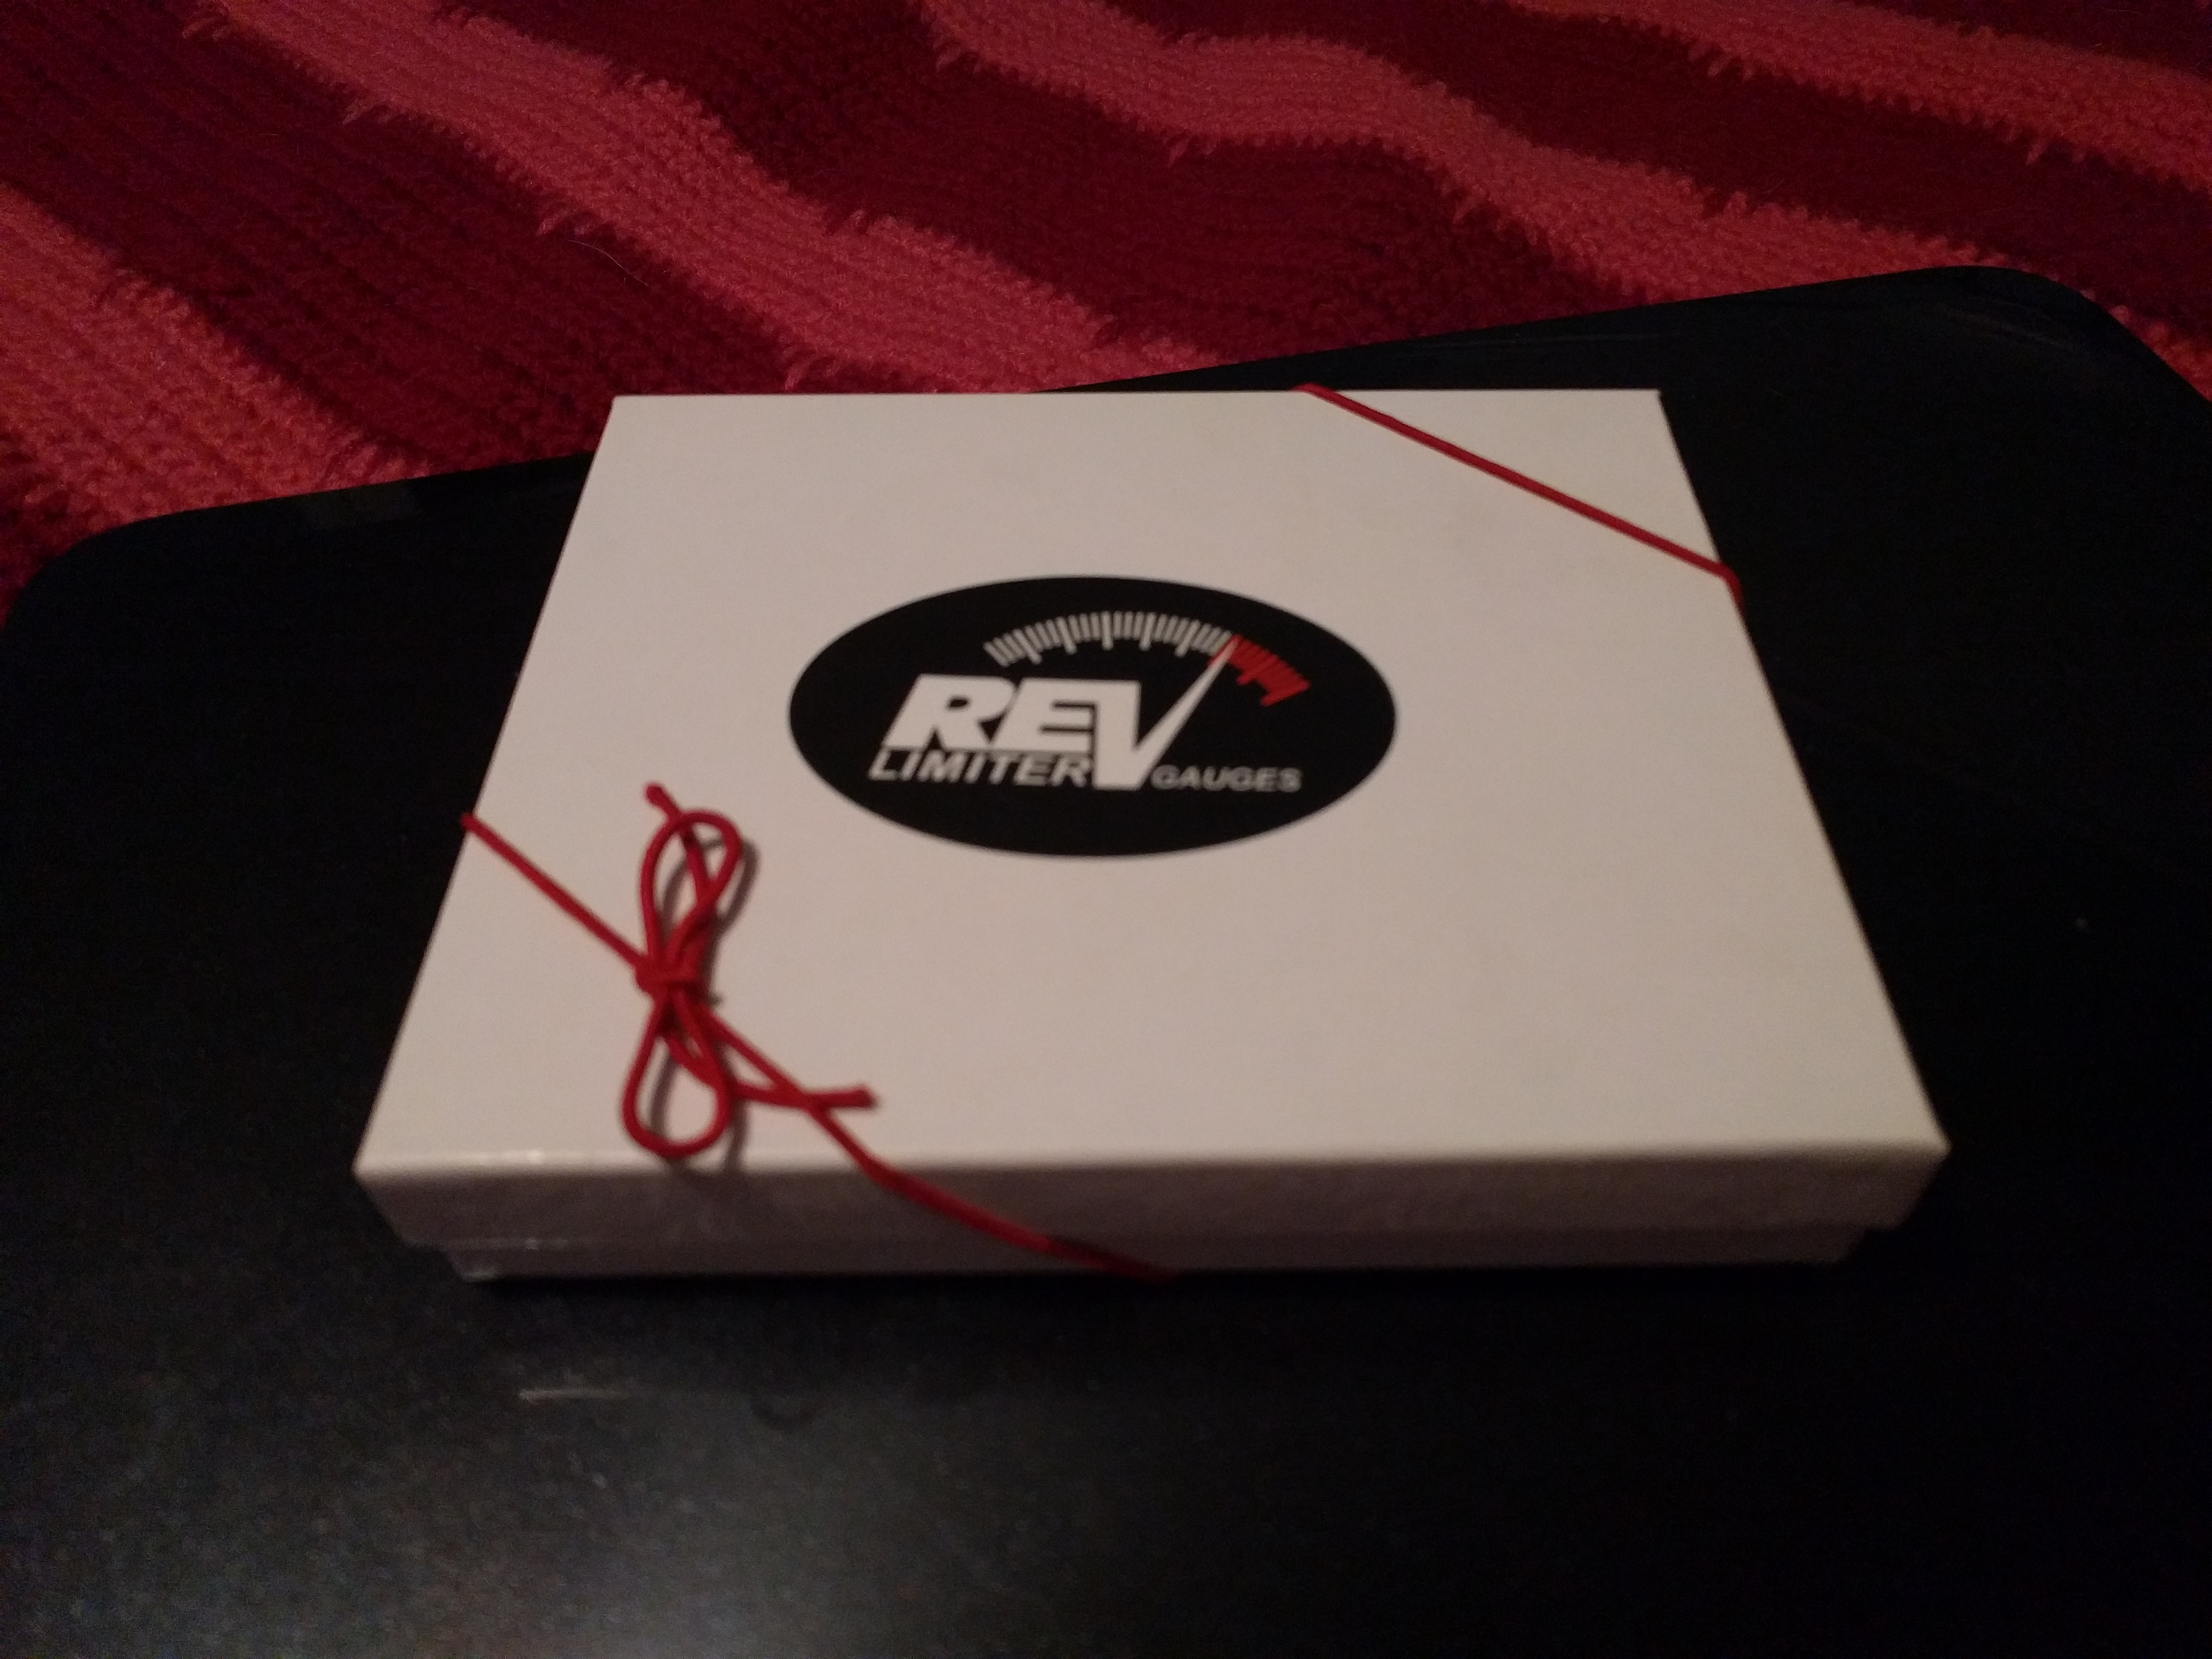
Miataphiles probably know about this site already, but for those that don’t, revlimiter.net is the place get custom gauge faces for your Miata. There’s also an array of other cool curios like horn buttons and shift knobs should you want to really customize the interior of your roadster. With our new Momo blocking the gauges, we ordered the “Prototipo” set of gauge faces. They have a clean legible font, and more importantly move the crucial ranges of the tach and speedo directly into your line of sight.
-

- The Revlimiter.net gauges come nicely packaged.
-
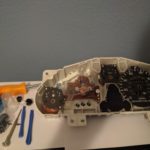
- Disassembly begins of the cluster.
-
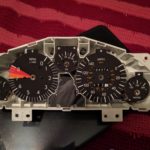
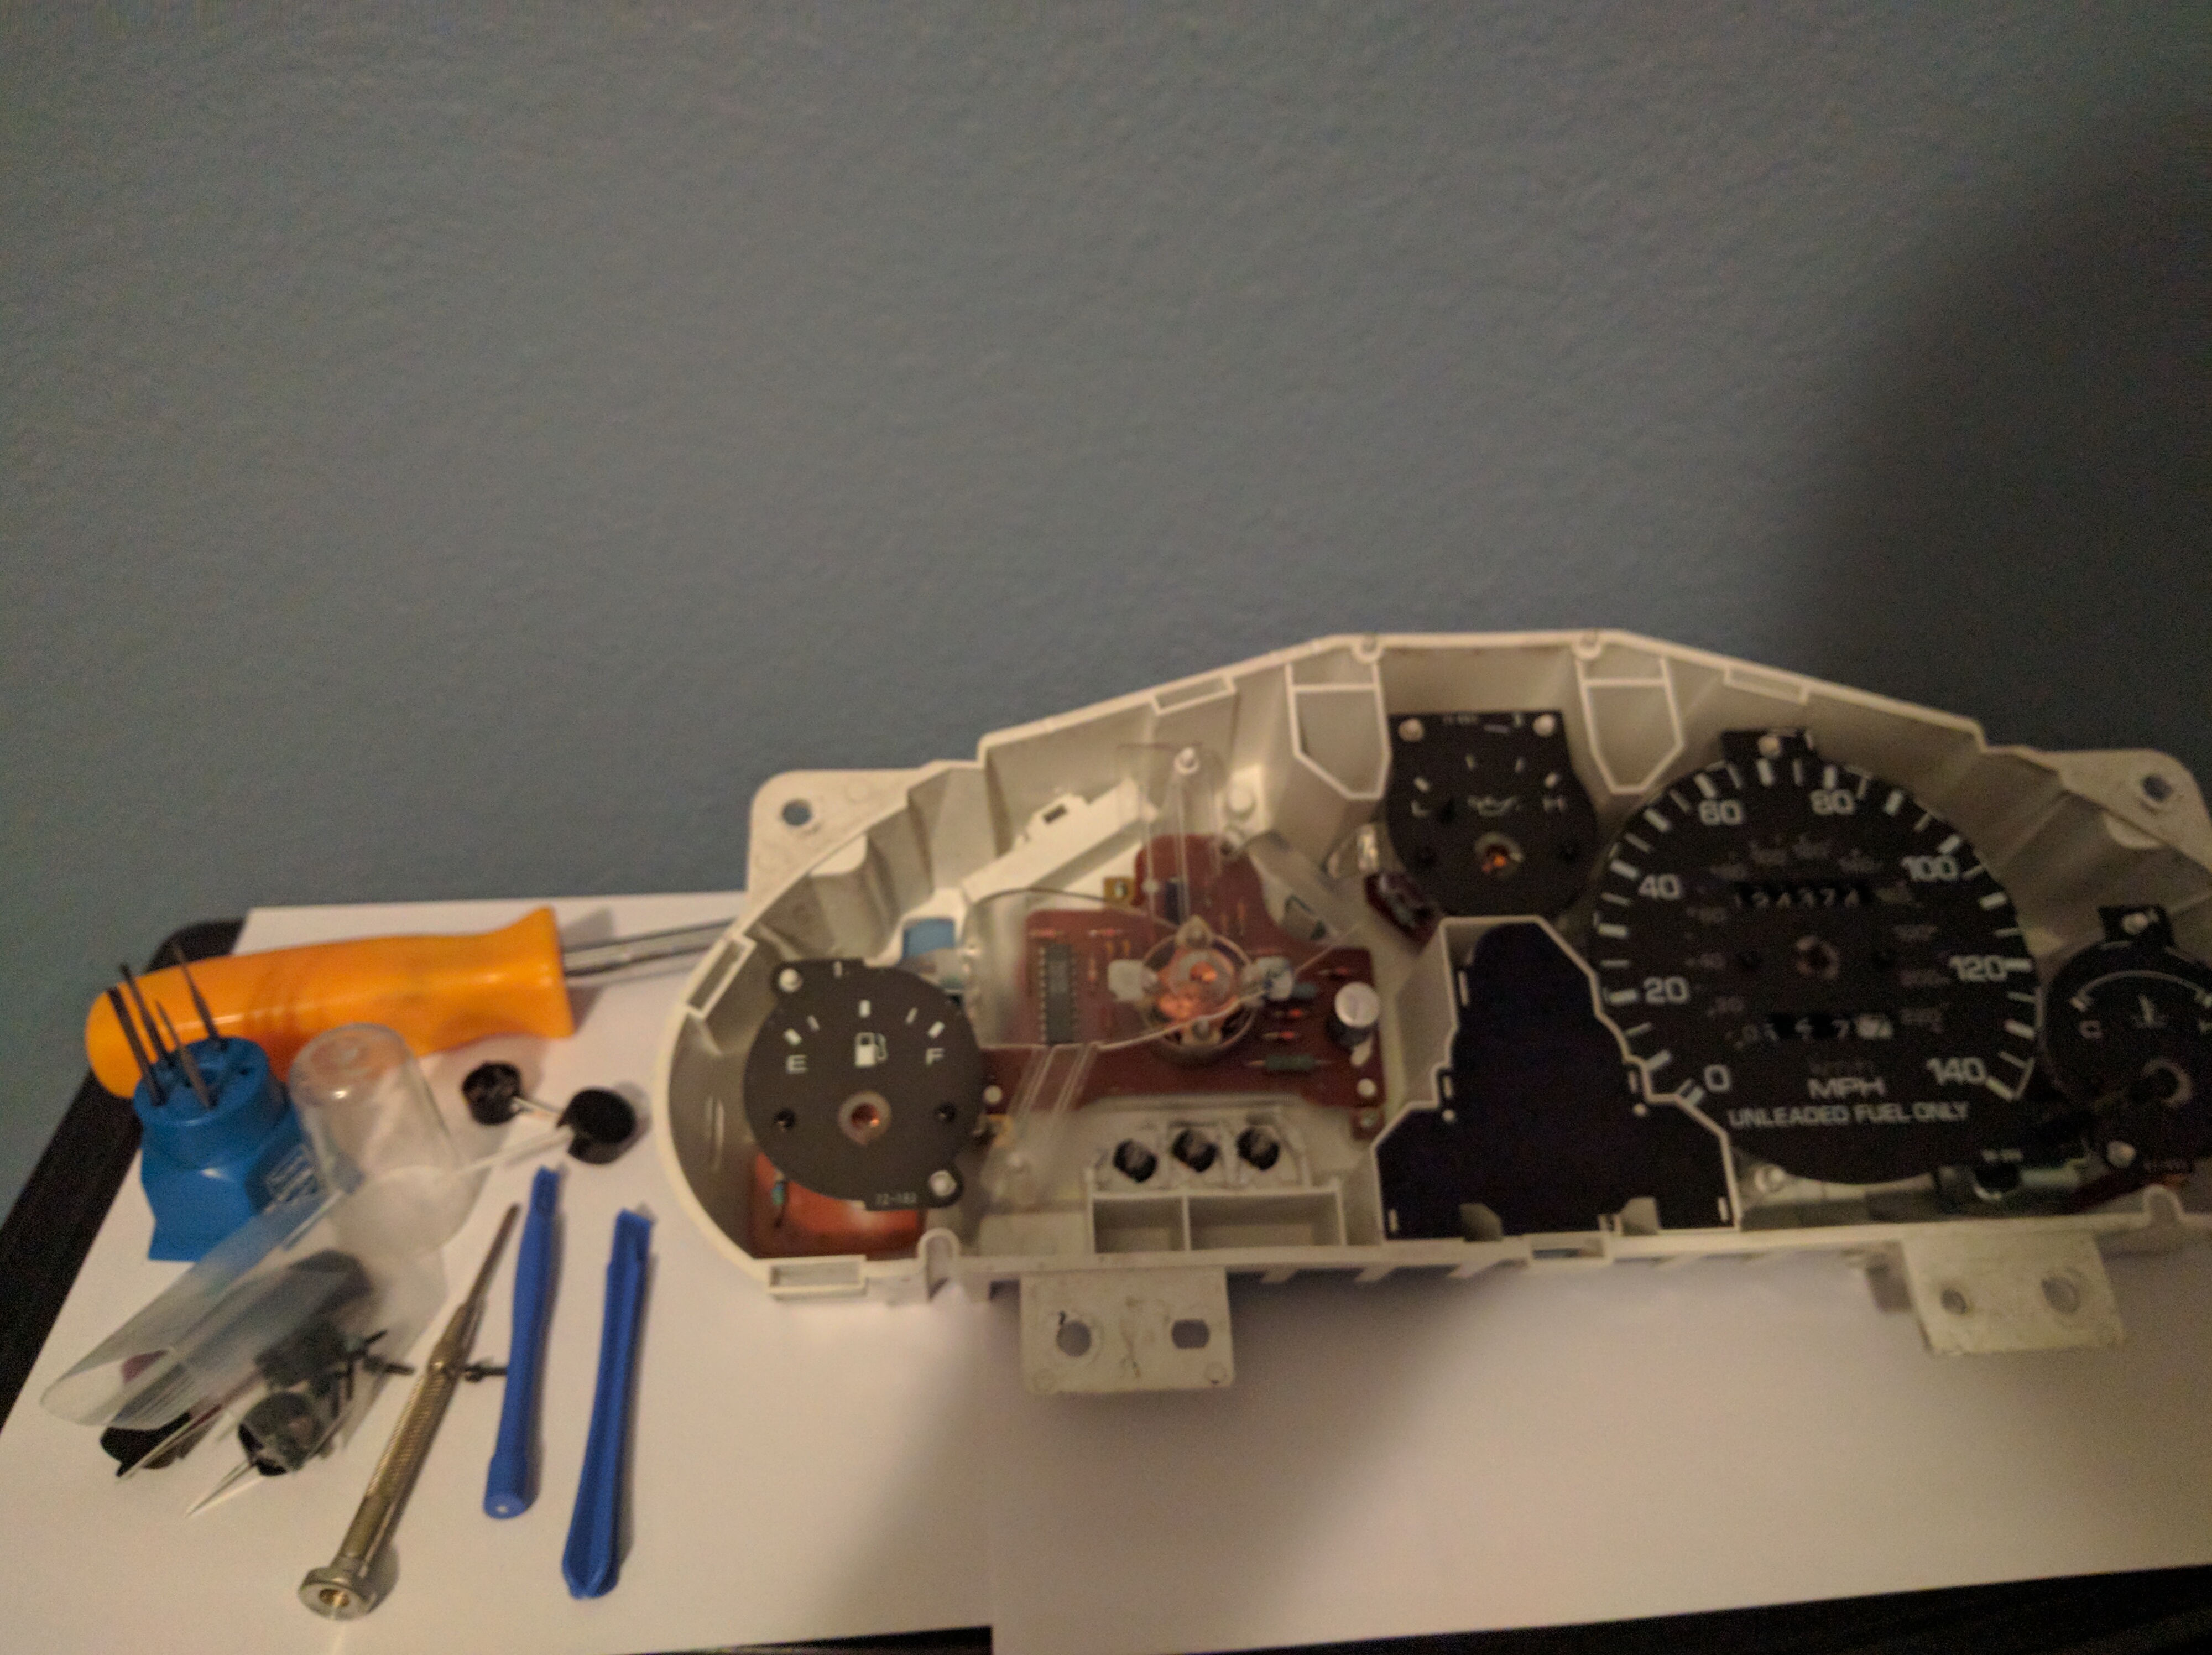
- The new gauge faces have moved in and they’re here to stay.
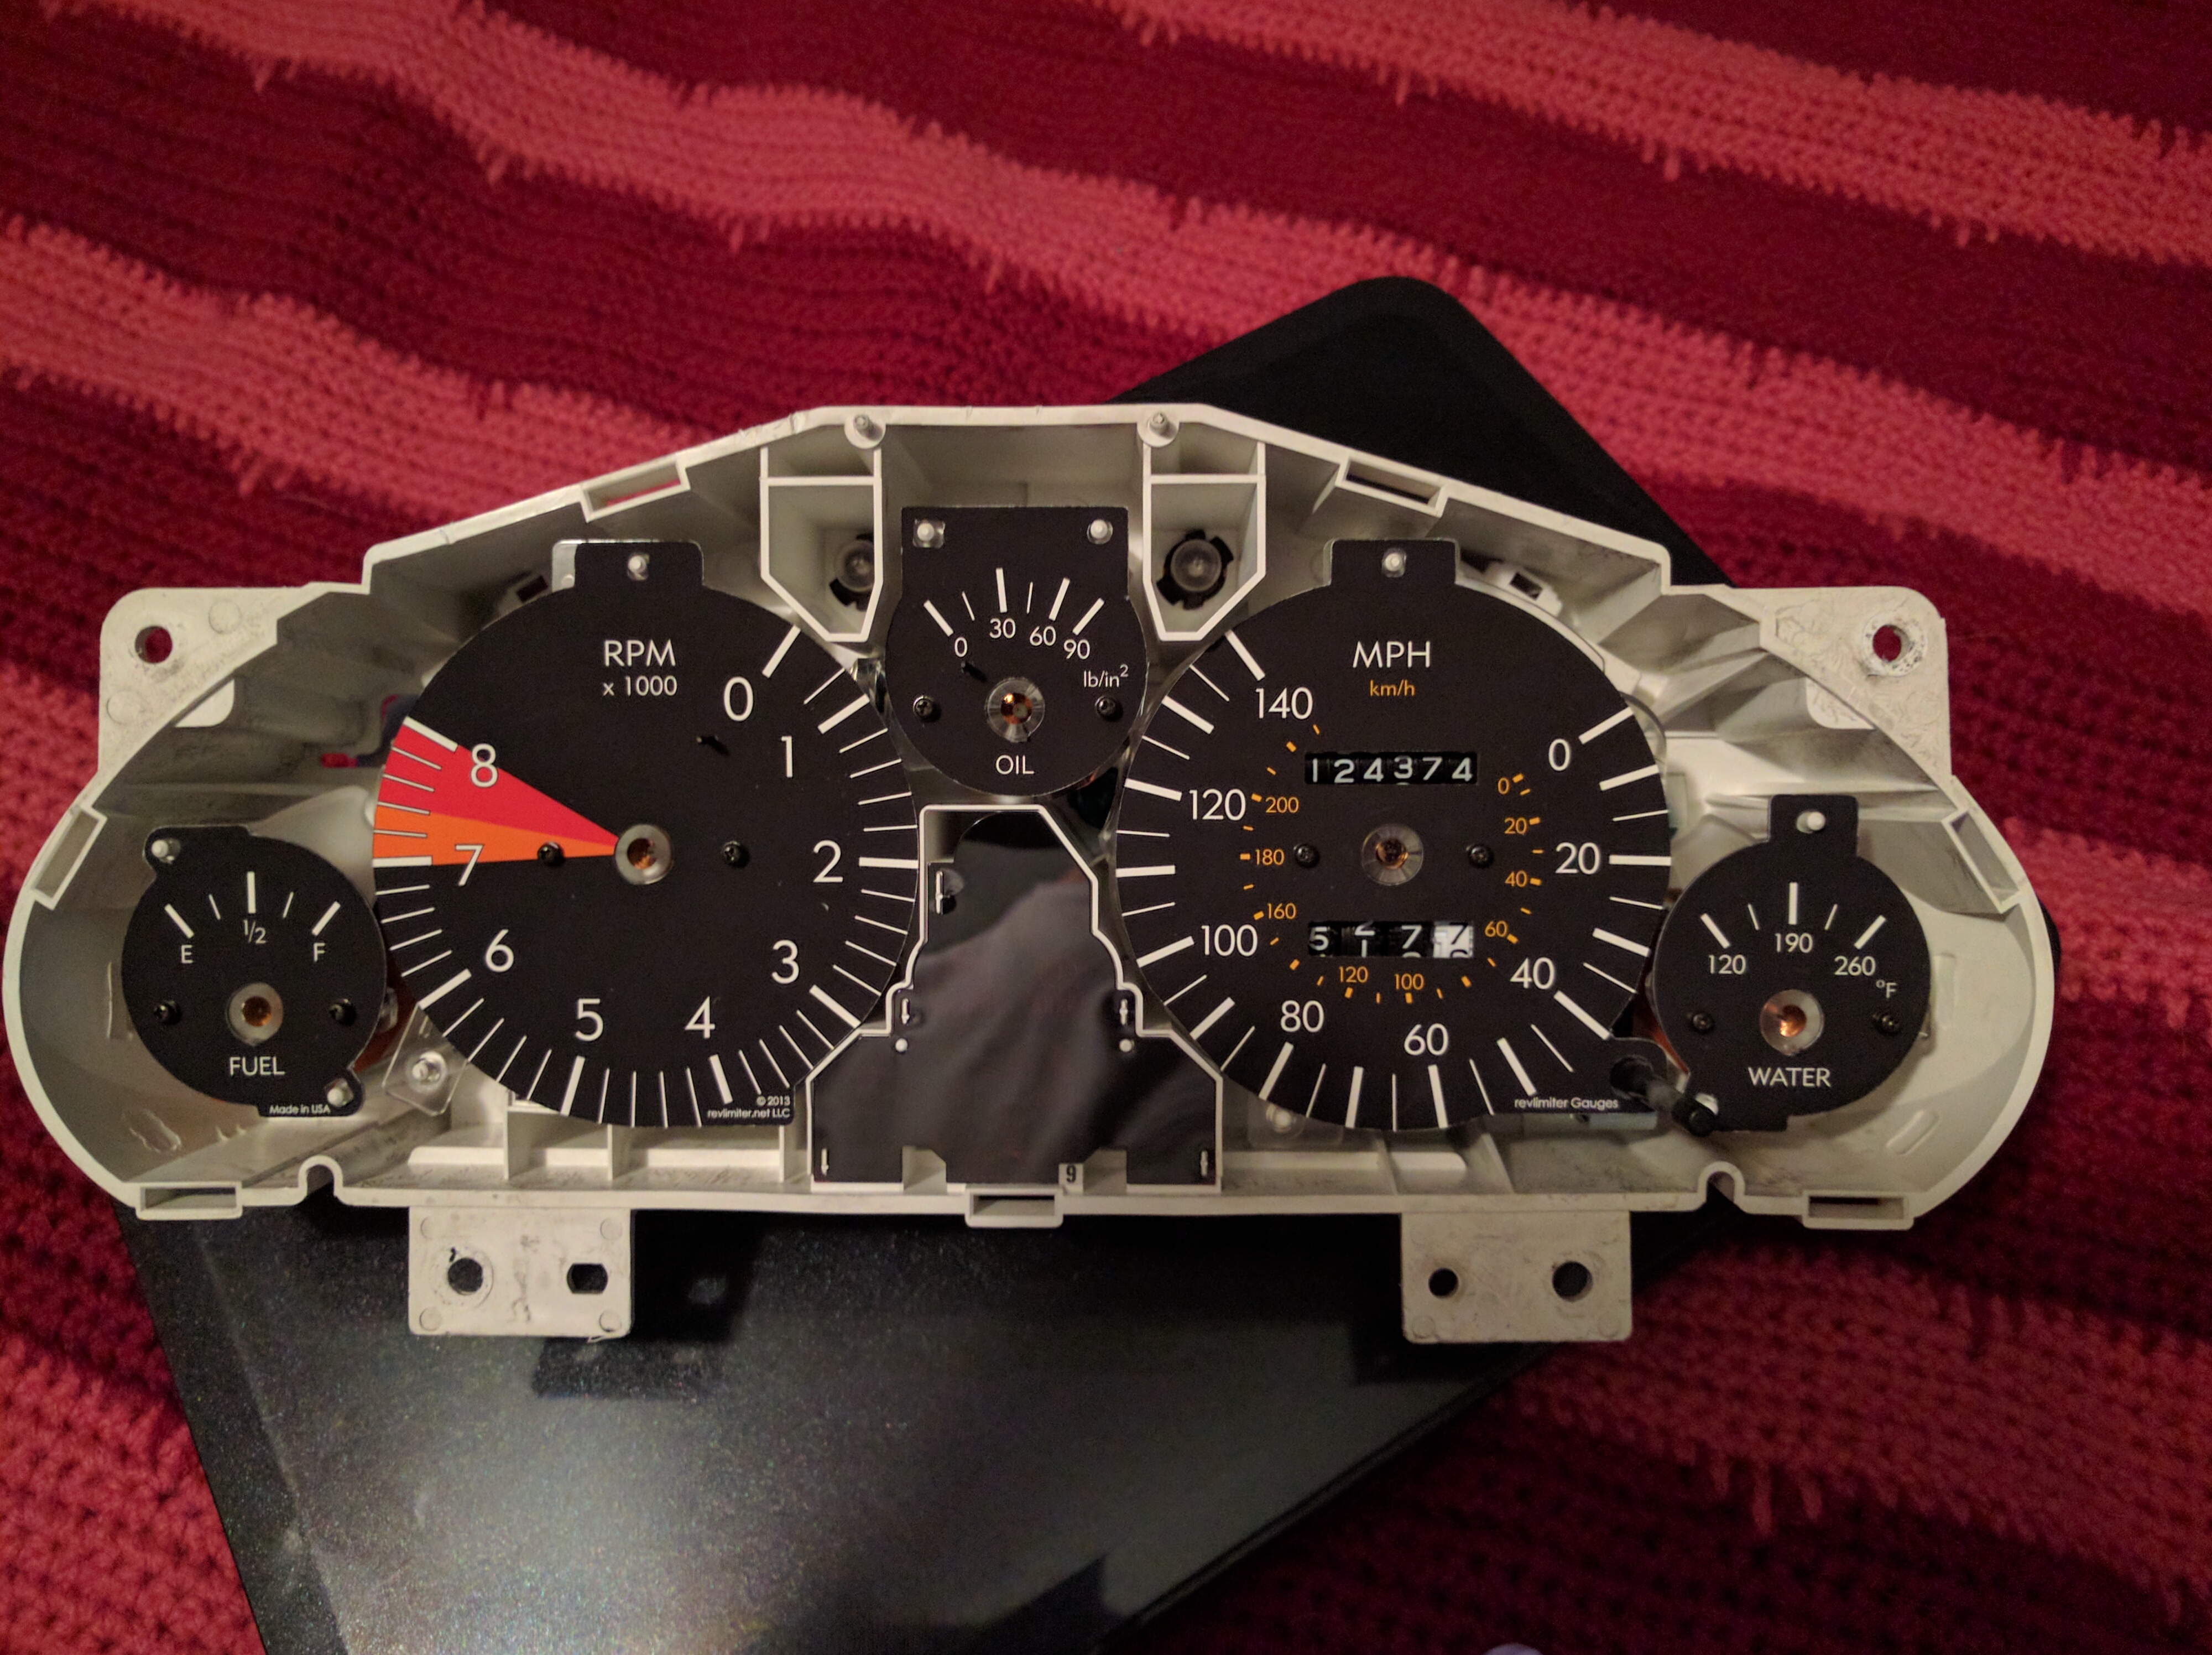
-
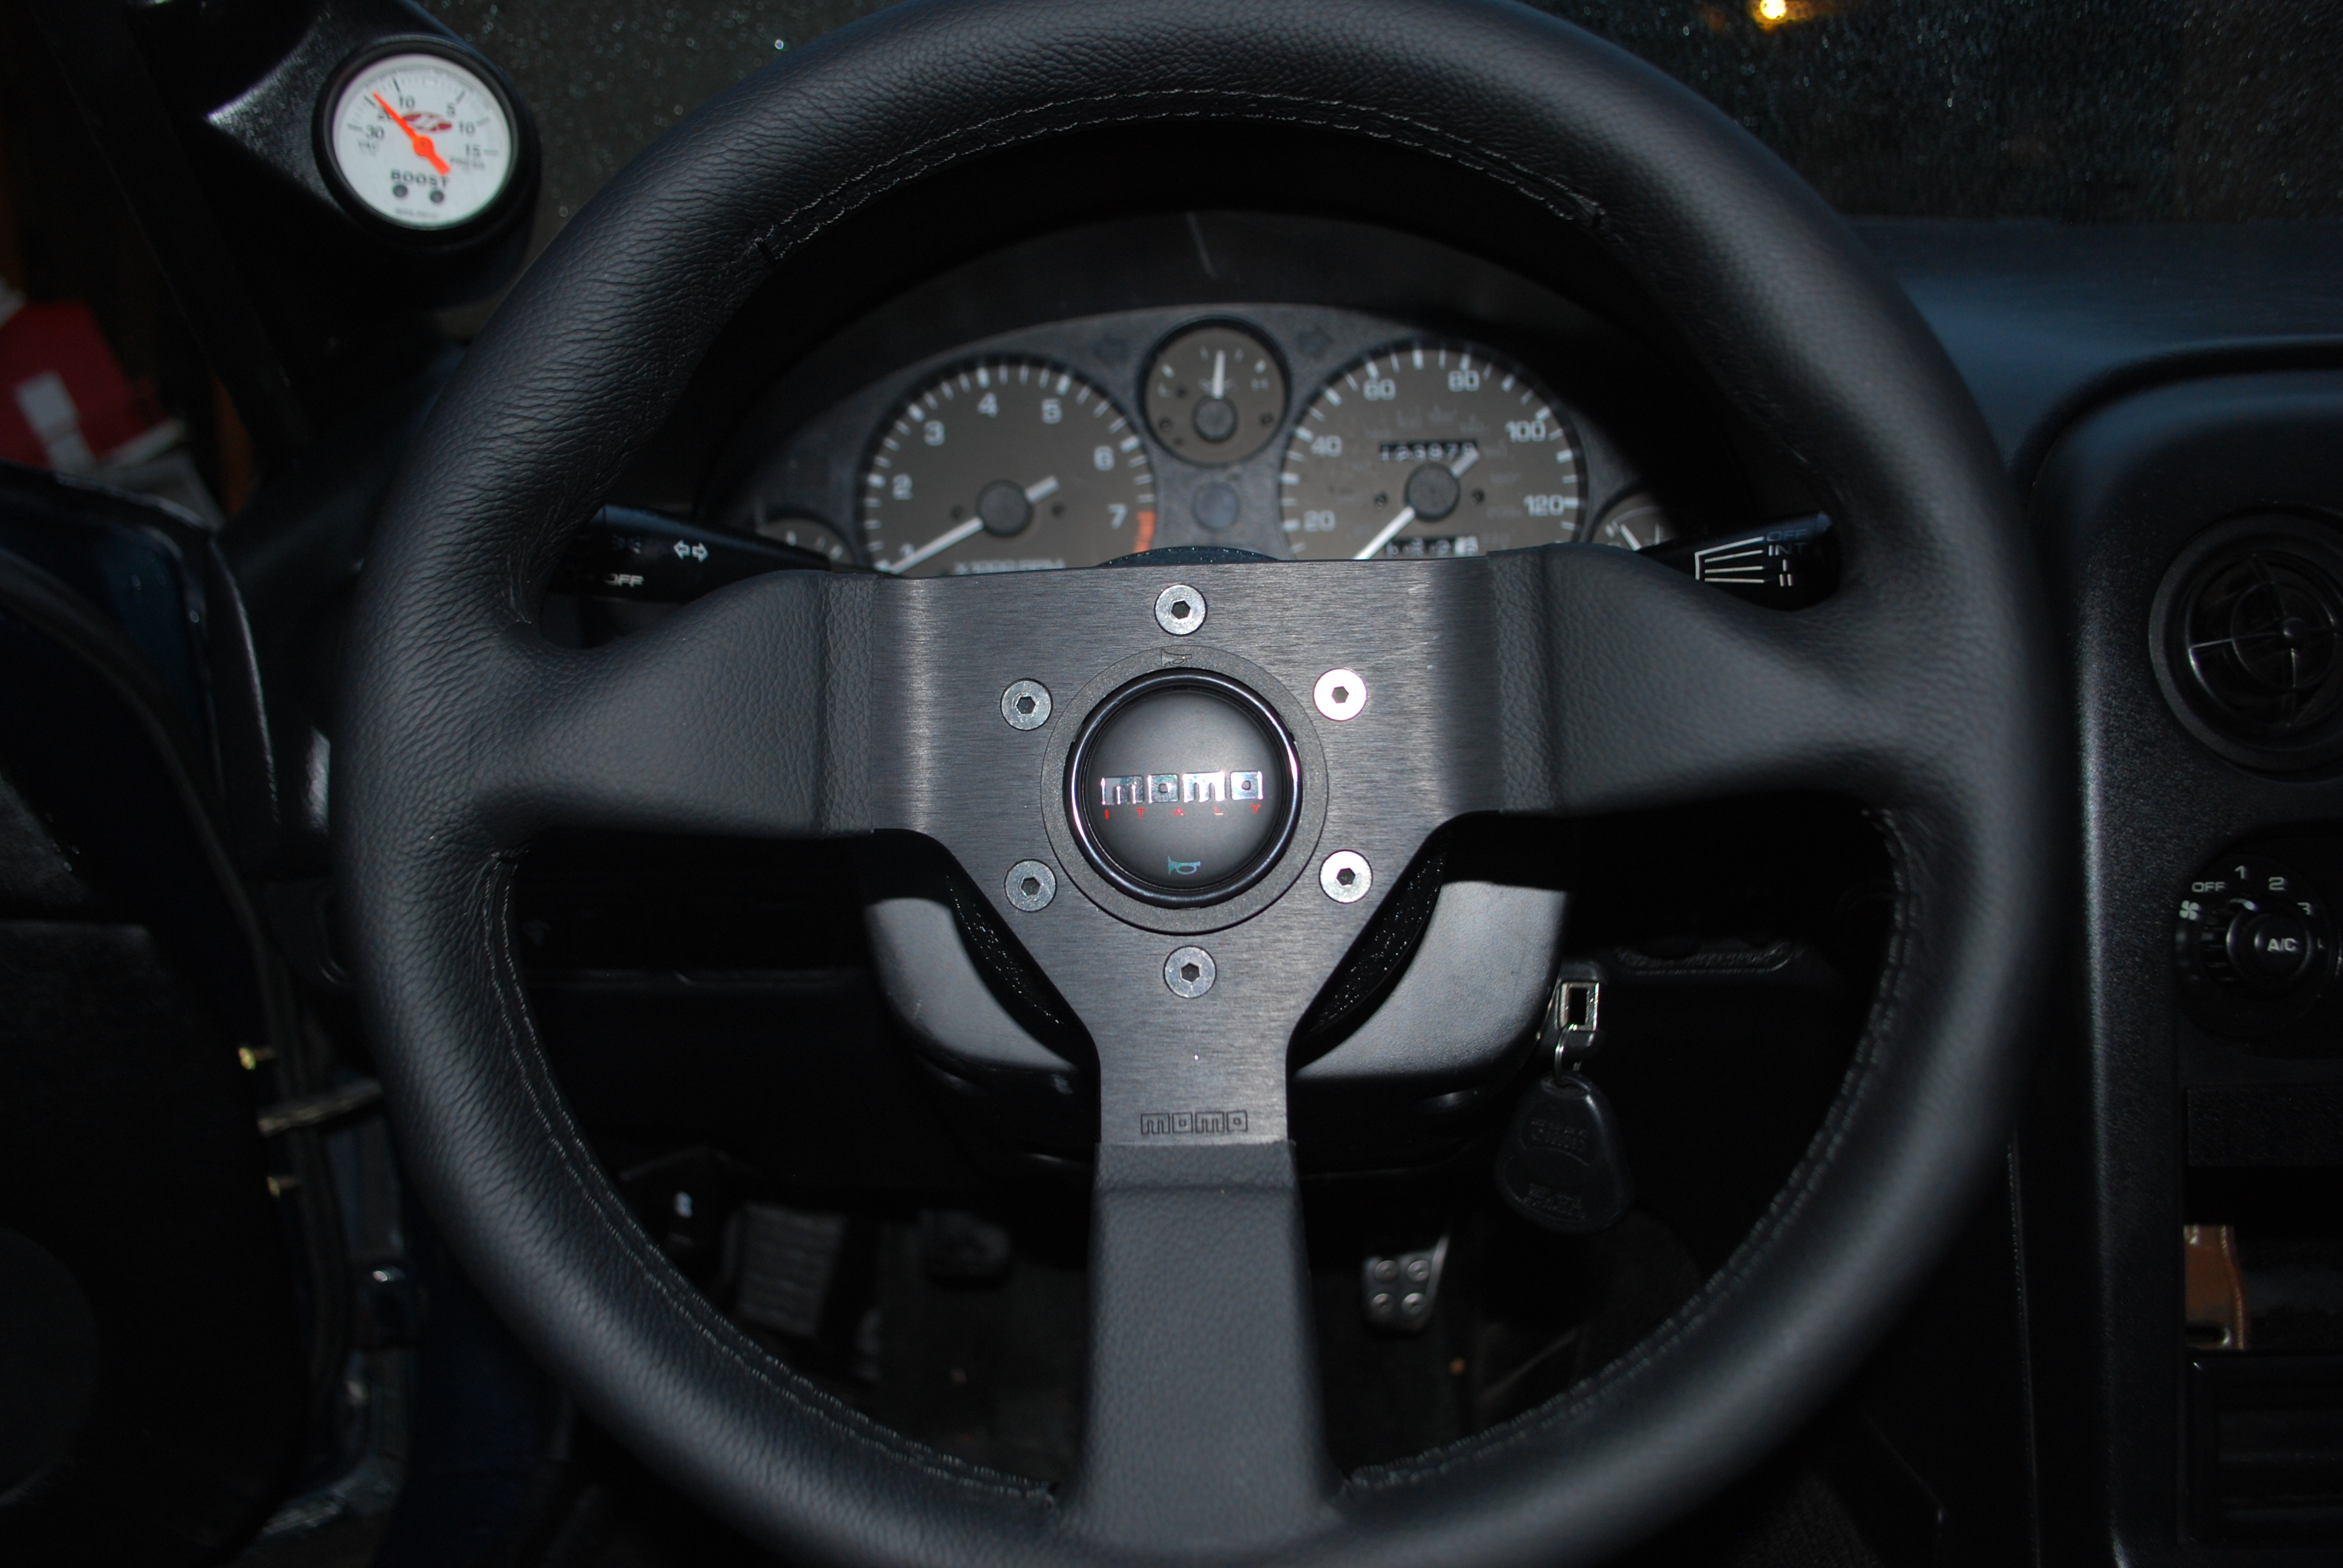
- The cluster is reinstalled into the dash and looks right at home with the new Momo steering wheel.
I won’t get into the install process as Revlimiter.net has a very detailed DIY. That being said, it probably took no more than 2.5 hours, and that’s working on and off. The Miata cluster is very easy to remove from the car, so this could be done much quicker if I had all my ducks in a row.
After getting the needles calibrated correctly, I must say that I’m really digging the new look of the cluster. The gauge faces look tasteful, but more importantly we can read the gauges through the steering wheel. Maybe it’s the splash of color added to the otherwise black interior, but I think these gauges alone make the Mi-Azda’s interior a much nicer place to be.
Caught in the Door
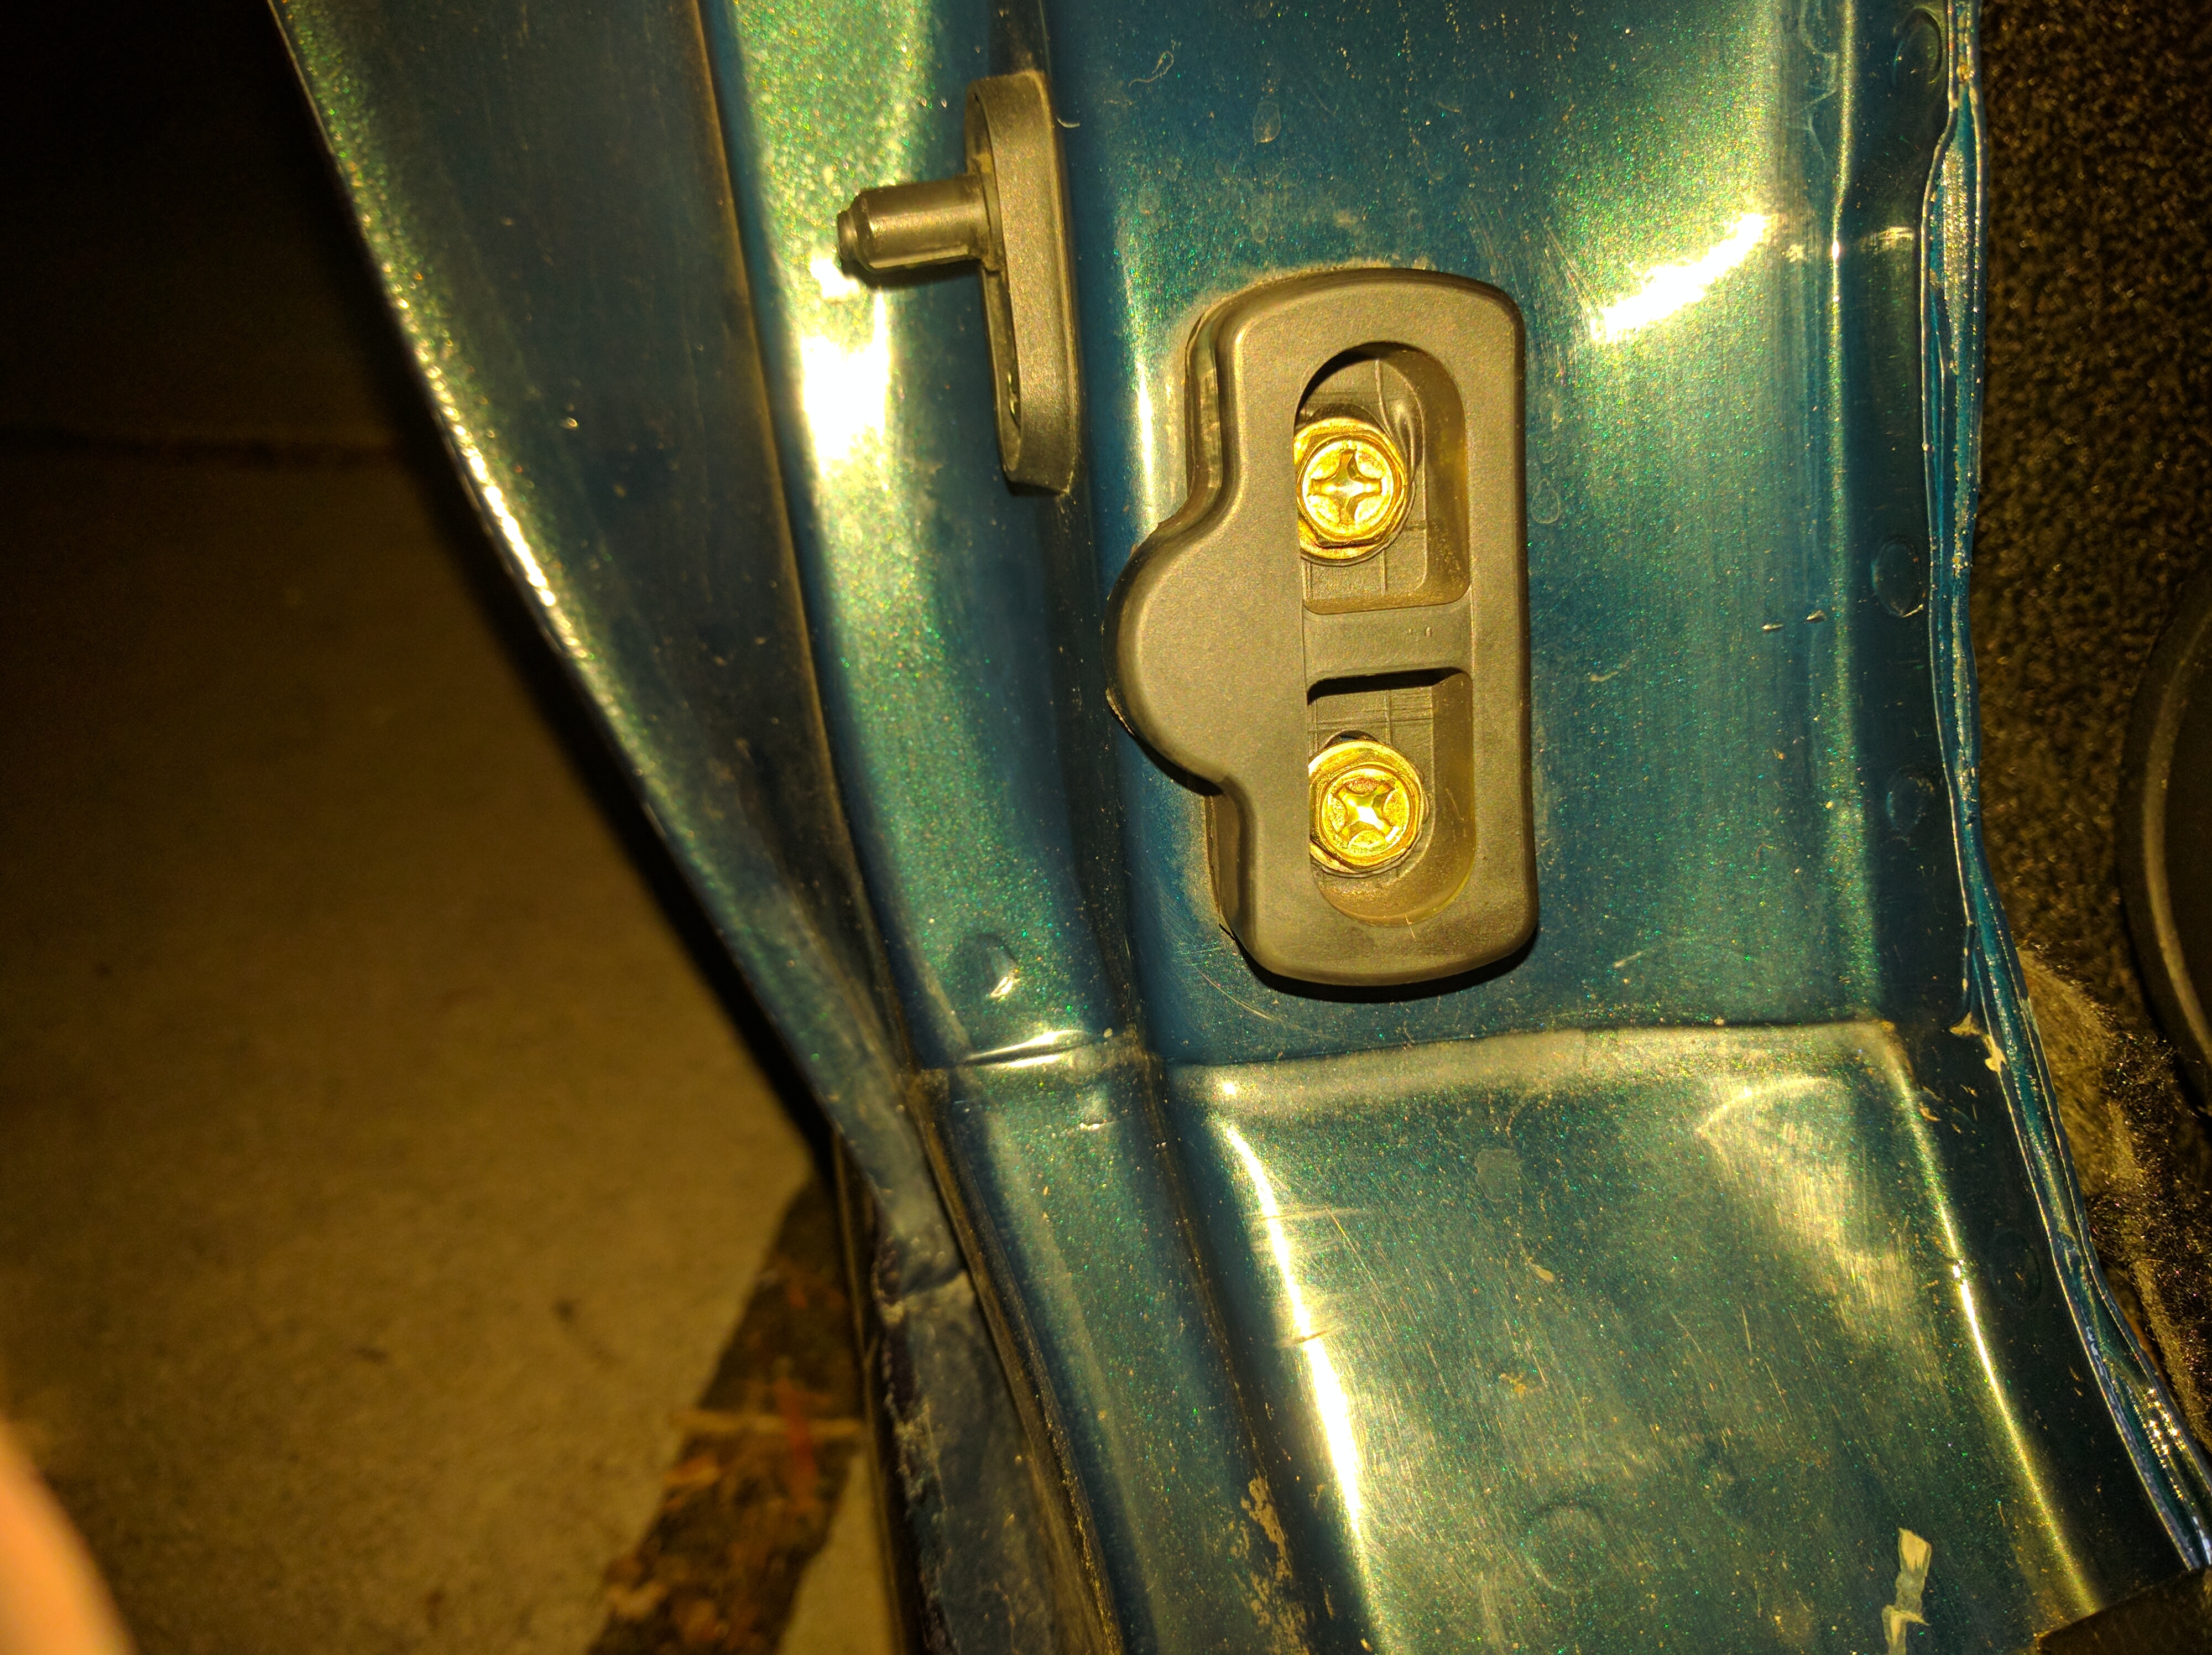
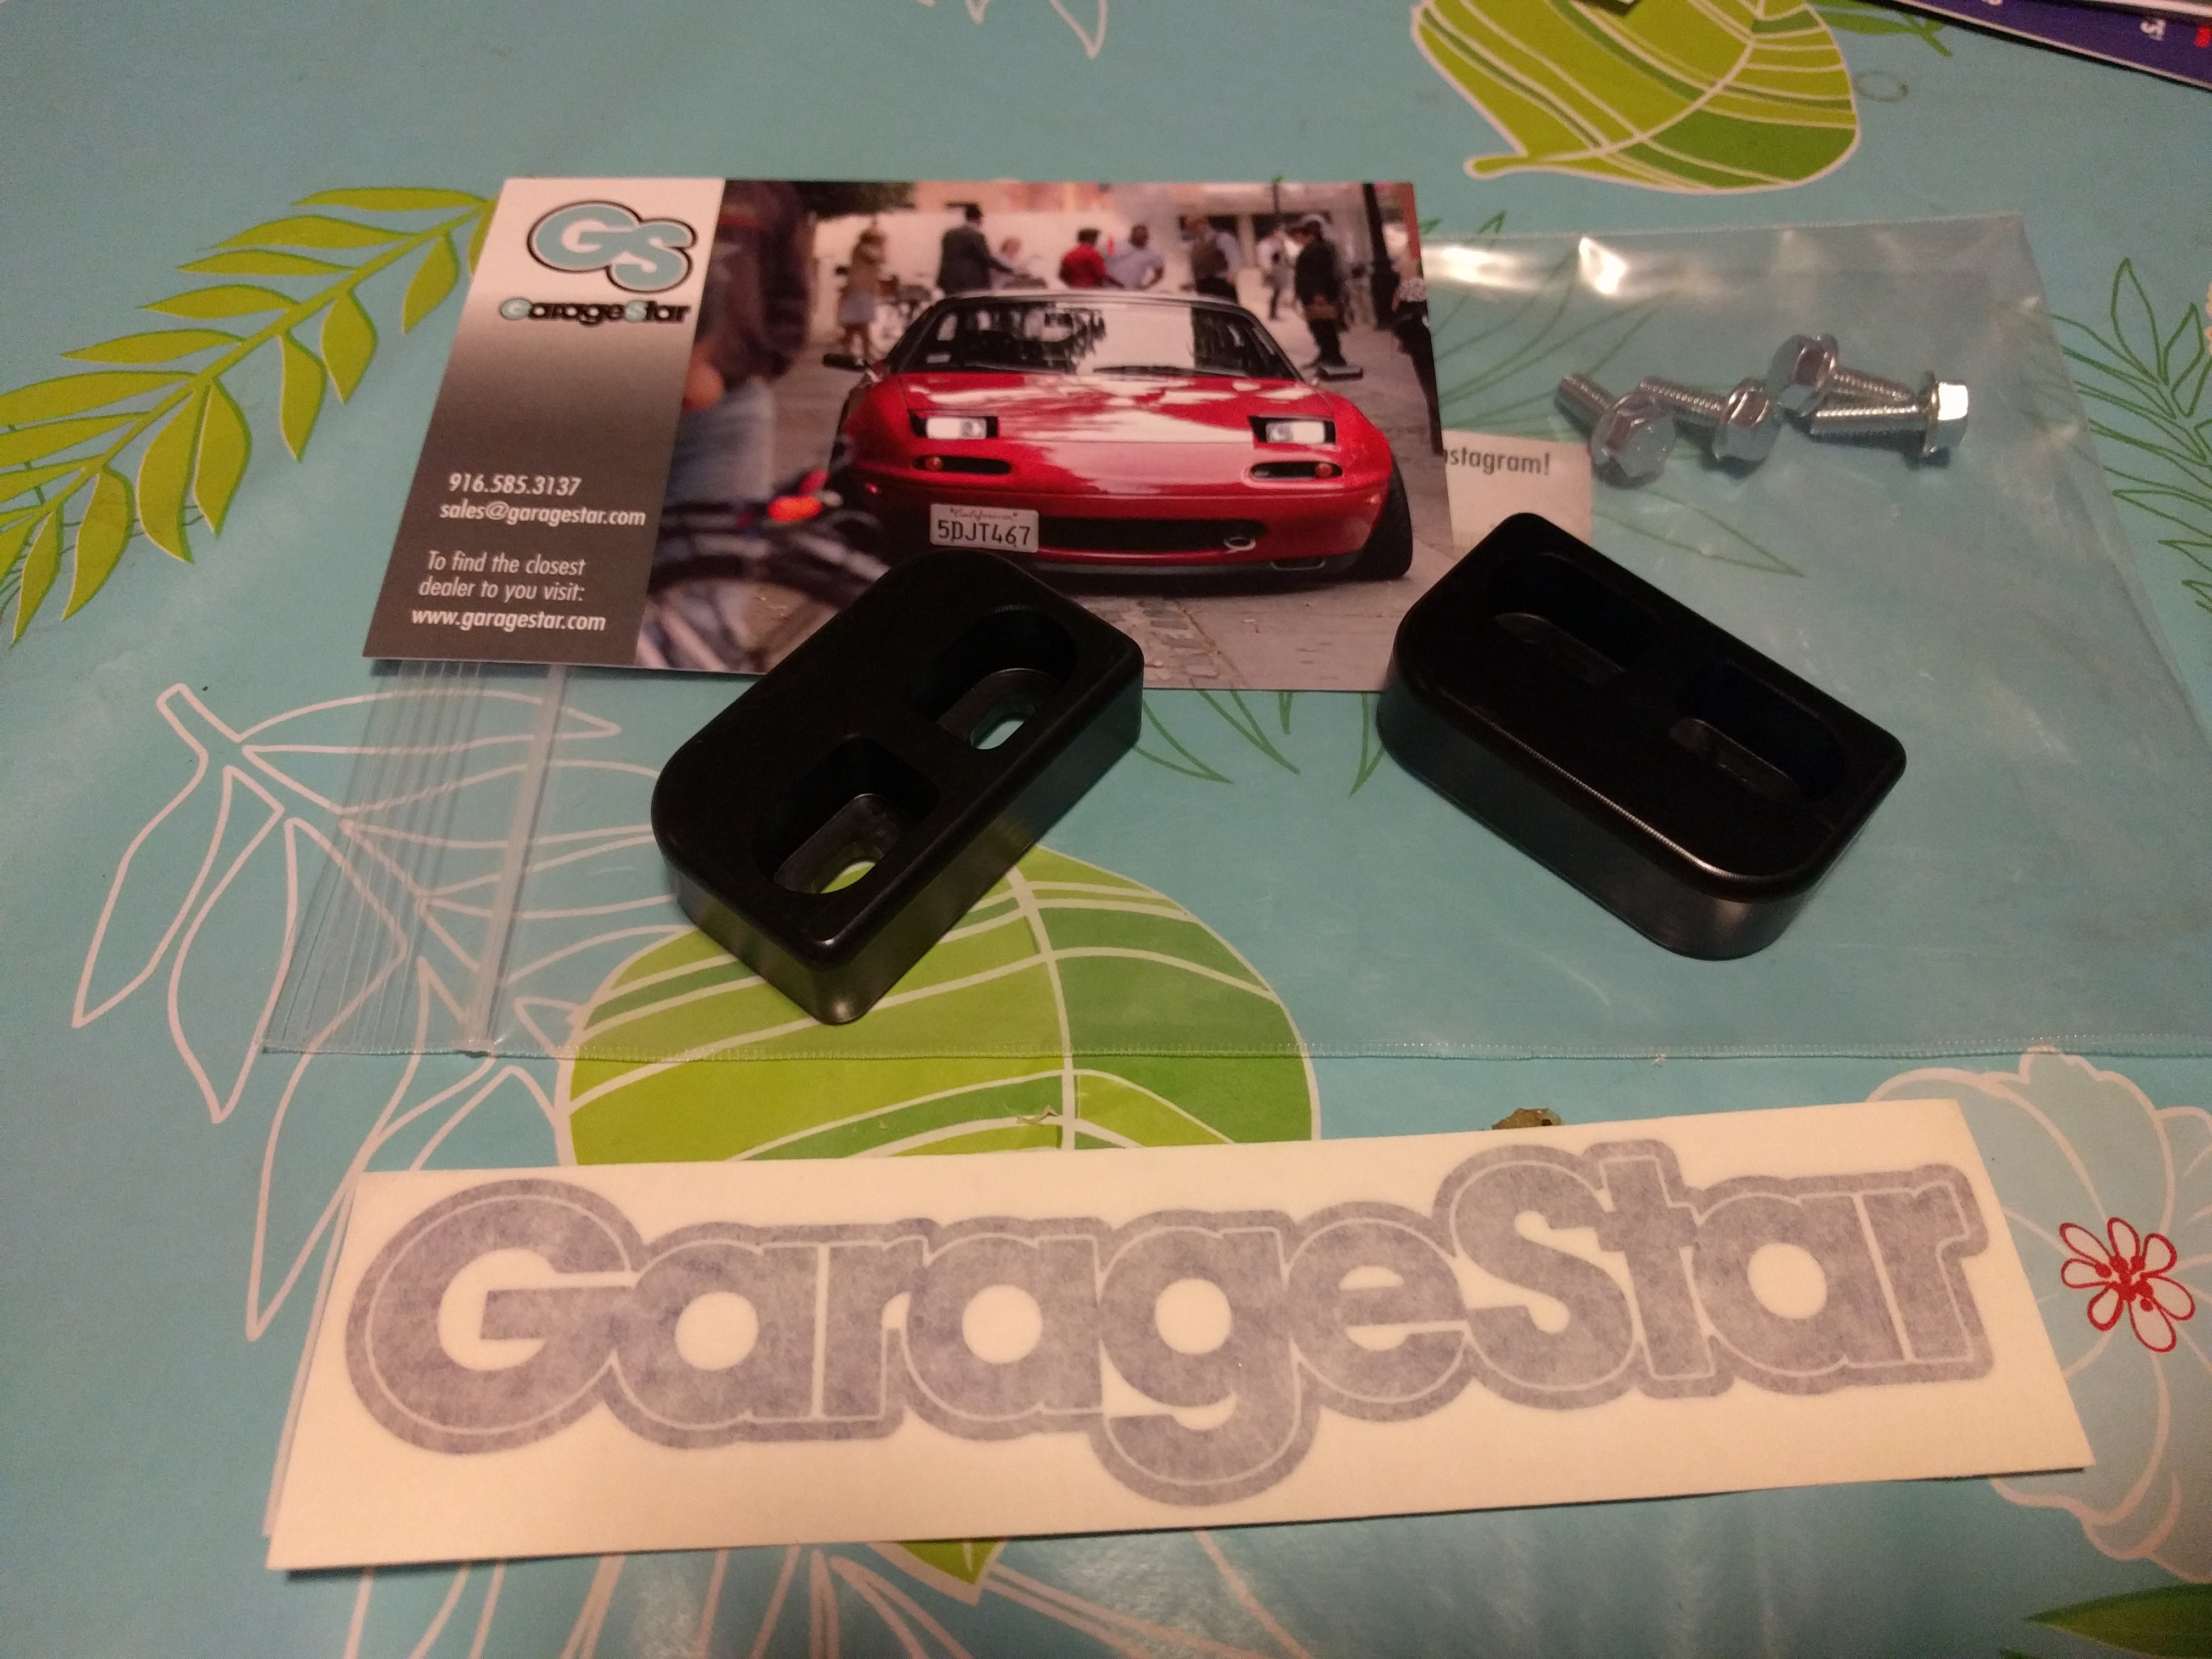
While not really an interior upgrade, we decided to install them since we were working in the same area. Garage Star makes delrin bushings that help stiffen up the doors. Now at first I thought this was marketing tomfoolery, but the lack of a roof means the doors are crucial to the structural integrity of the Miata. When the doors are closed, they are loosely held in position by the stock rubber door bushings.
For $45, Garage Star will sell you delrin versions that simply bolt into place. To get them lined up, we loosely fitted them into position, then opened and closed the doors several times to ensure they were in the right position. Once we were satisfied with fitment, the bolts were tightened into position. The first difference we noticed was the sound when closing the doors. Instead of the wimpy noise made before, the Miata’s doors now close as solid as the BMW’s.
-
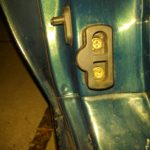
- The stock rubber door bushings are easily removed with 2 bolts.
-
- The new delrin door bushings ready to installed.
Out on the road we could feel a measurable increase in chassis stiffness. The Miata doesn’t shudder as violently over poor road surfaces with the new door bushings. There’s a few more interior rattles from the dash area, but the improved chassis feel is worth the trade-off. Worse comes to worse, the stock rubber bushings can be swapped back in as little as 5 minutes.
Accessorized to the Nines
Now that our interior makeover is complete, the inside of the Miata finally looks like a proper sports car. At over $500, this wasn’t the cheapest of projects, but nearly $200 went to the hub adapter itself. Had we gone with a standard hub adapter and a used Momo wheel, we could have probably saved a hundred bucks or more. Nonetheless, the little roadster is coming along nicely. At the rate things are going, Milton thinks we’ll run out of things to do to this car. I’m fairly certain this is just the beginning.
-JC
Here are the parts we used for those interested:
Revlimiter.net Prototipo Gauge Faces