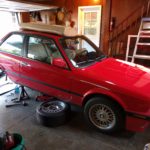
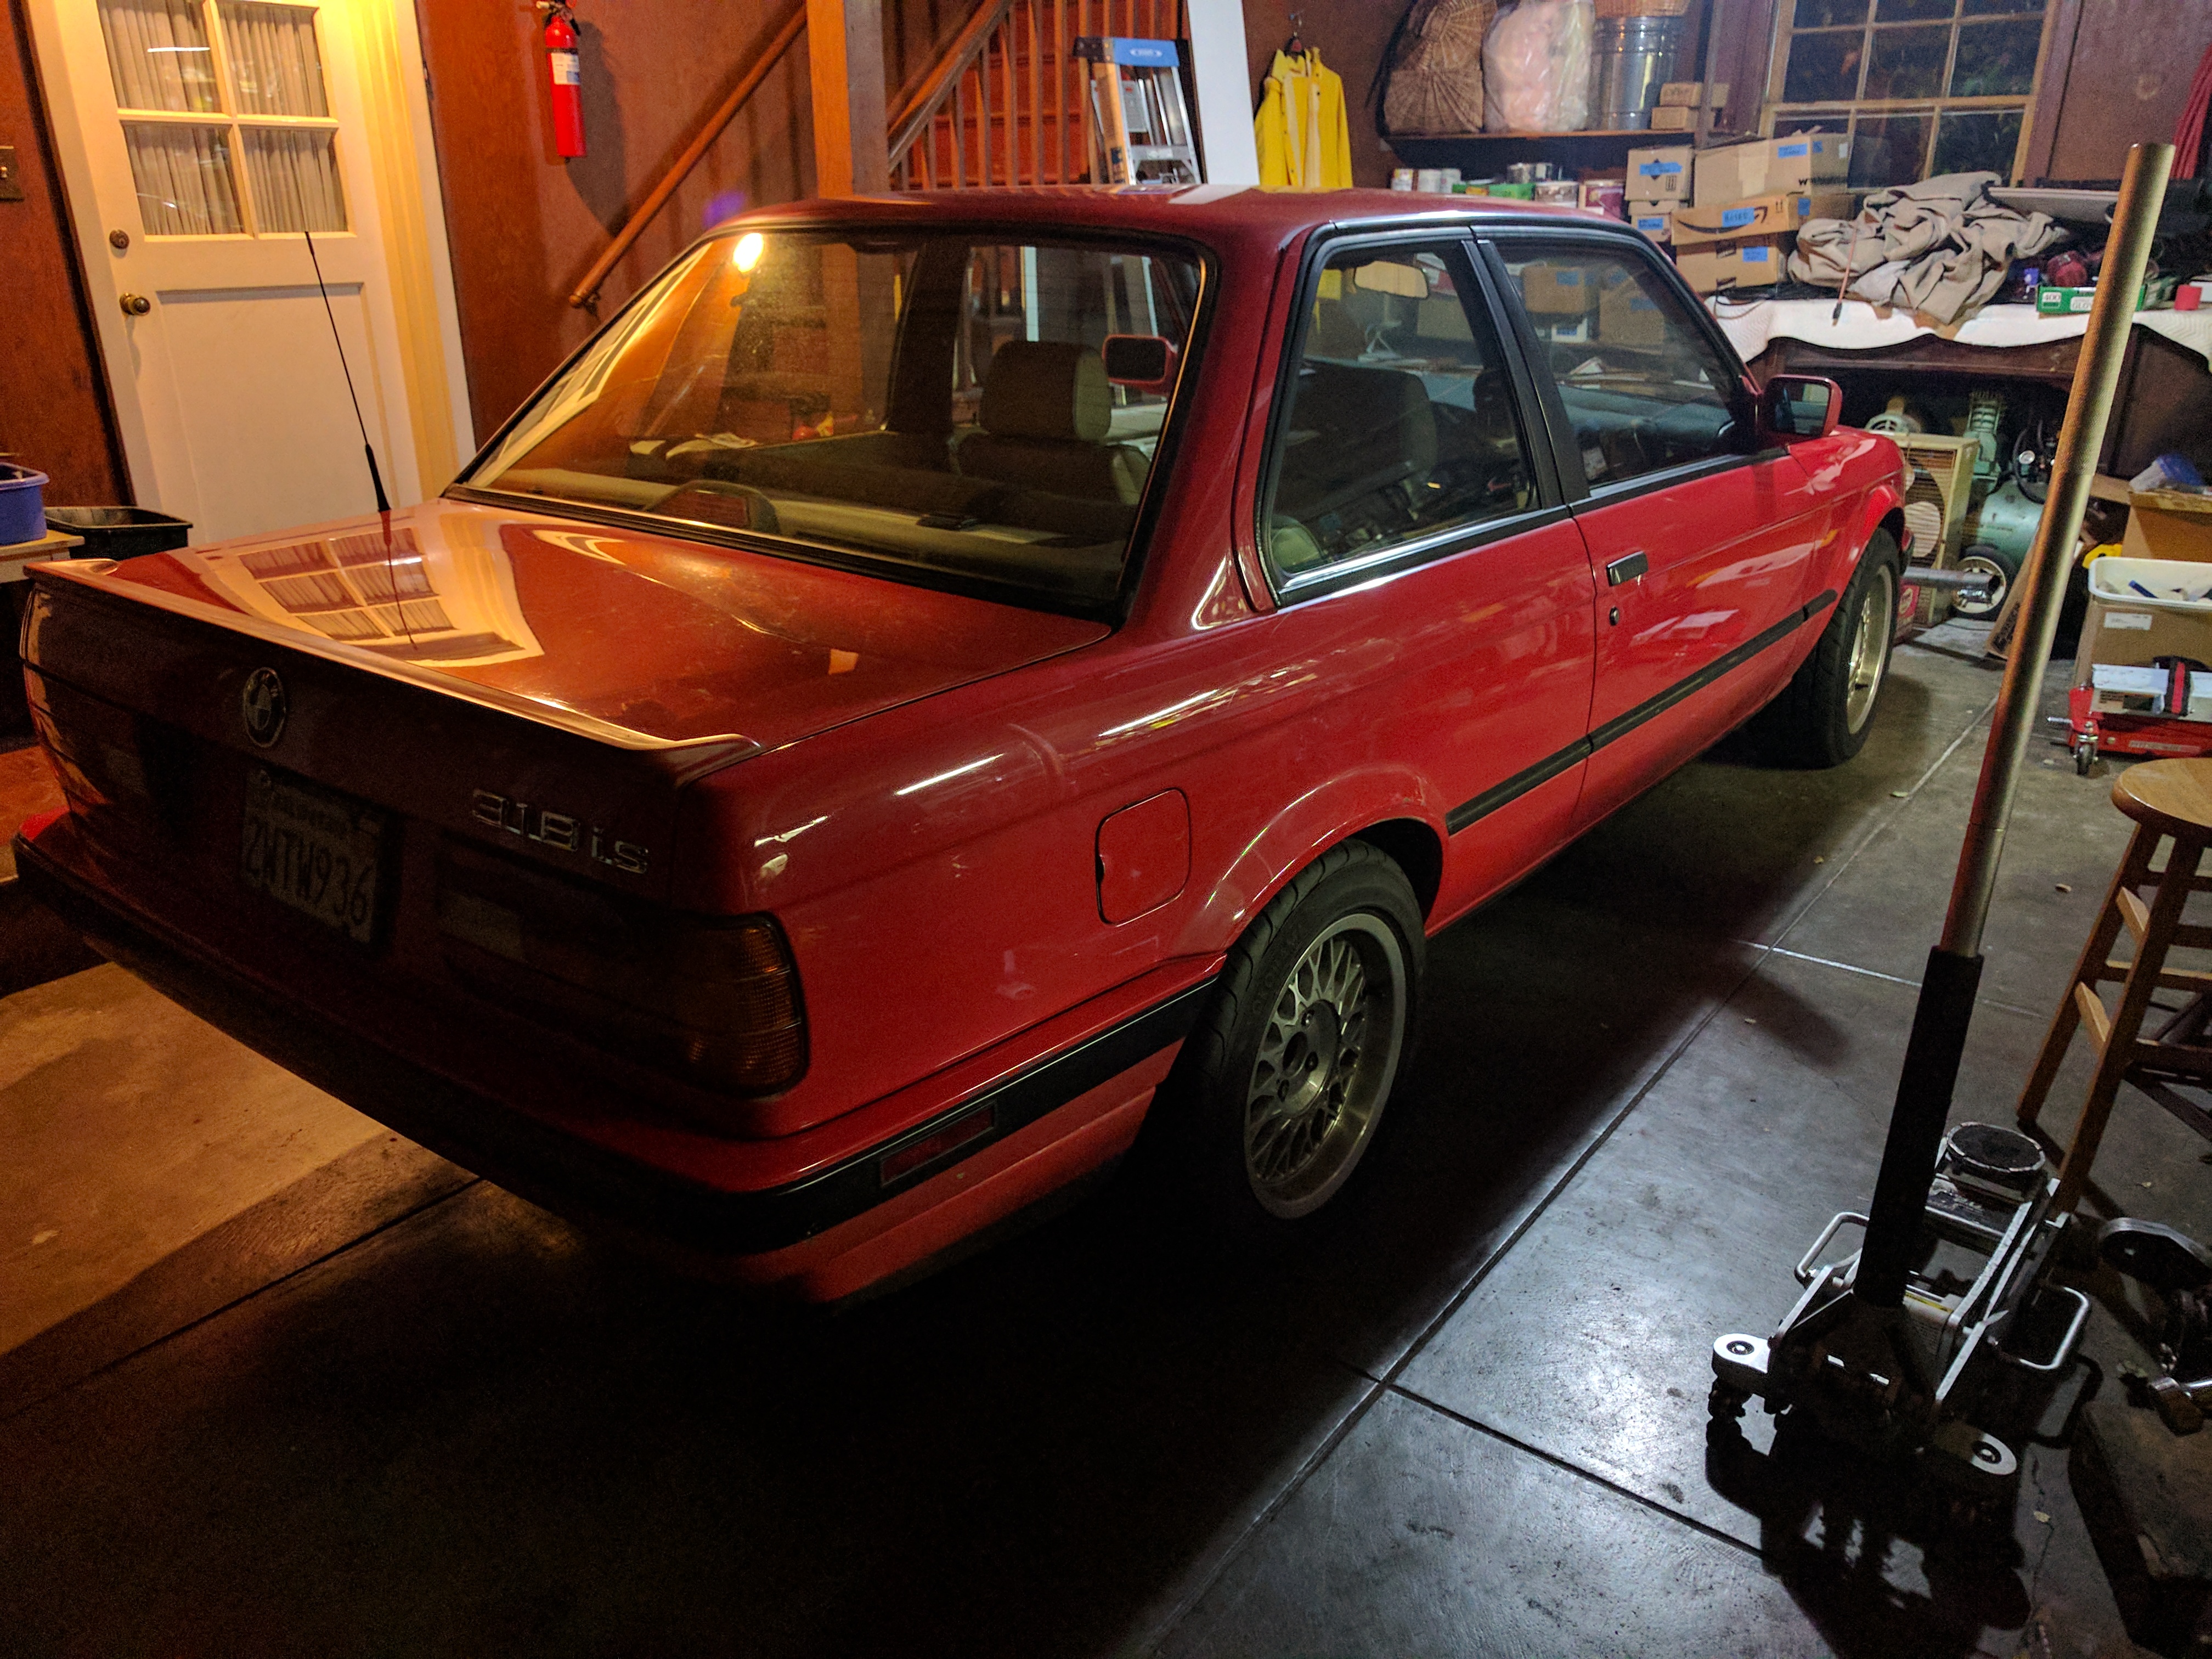
Going to the gym can be a burdensome process. First you have to set time aside to go there after a long day at work. Then you have to sweat to the point of dehydration. The reward for all this labor? Feeling sore for two or three days. I’m sure the cool guys in their chopped t-shirt tank tops will tell me that getting “swole” is how you get all the hot babes, duh. When it was time to refresh the rear subframe on my e30 318is, I knew I was in for a world of aches and pains.
Ever since I’ve had the red car, I knew very well that most of the bushings were toast. A shine of the flashlight underneath immediately pointed out that the rear trailing arm bushings were dried out and cracked. With the occasional clunk from the rear end while accelerating, that could only mean the rear subframe bushings were in equally poor condition.
Before the Party Could Start
In the weeks leading up to this project, I slowly collected all the necessary pieces to get this operation underway. Most of the parts were stock rubber replacements, but there were two areas that I felt needed an upgrade: The first being the subframe bushings, which I elected to use AKG polyurethane versions in their softest 85a durometer. Essentially these are marginally stiffer than stock, but they won’t degrade over time like rubber tends to do. The other heavier duty parts being stainless steel brake lines. The factory rubber brake lines were looking a little tired, and the Garagistic stainless version cost virtually the same. I had already done the majority of the brake components, along with a set of shocks, springs, so these were some of the last items that needed addressing.
-
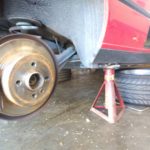
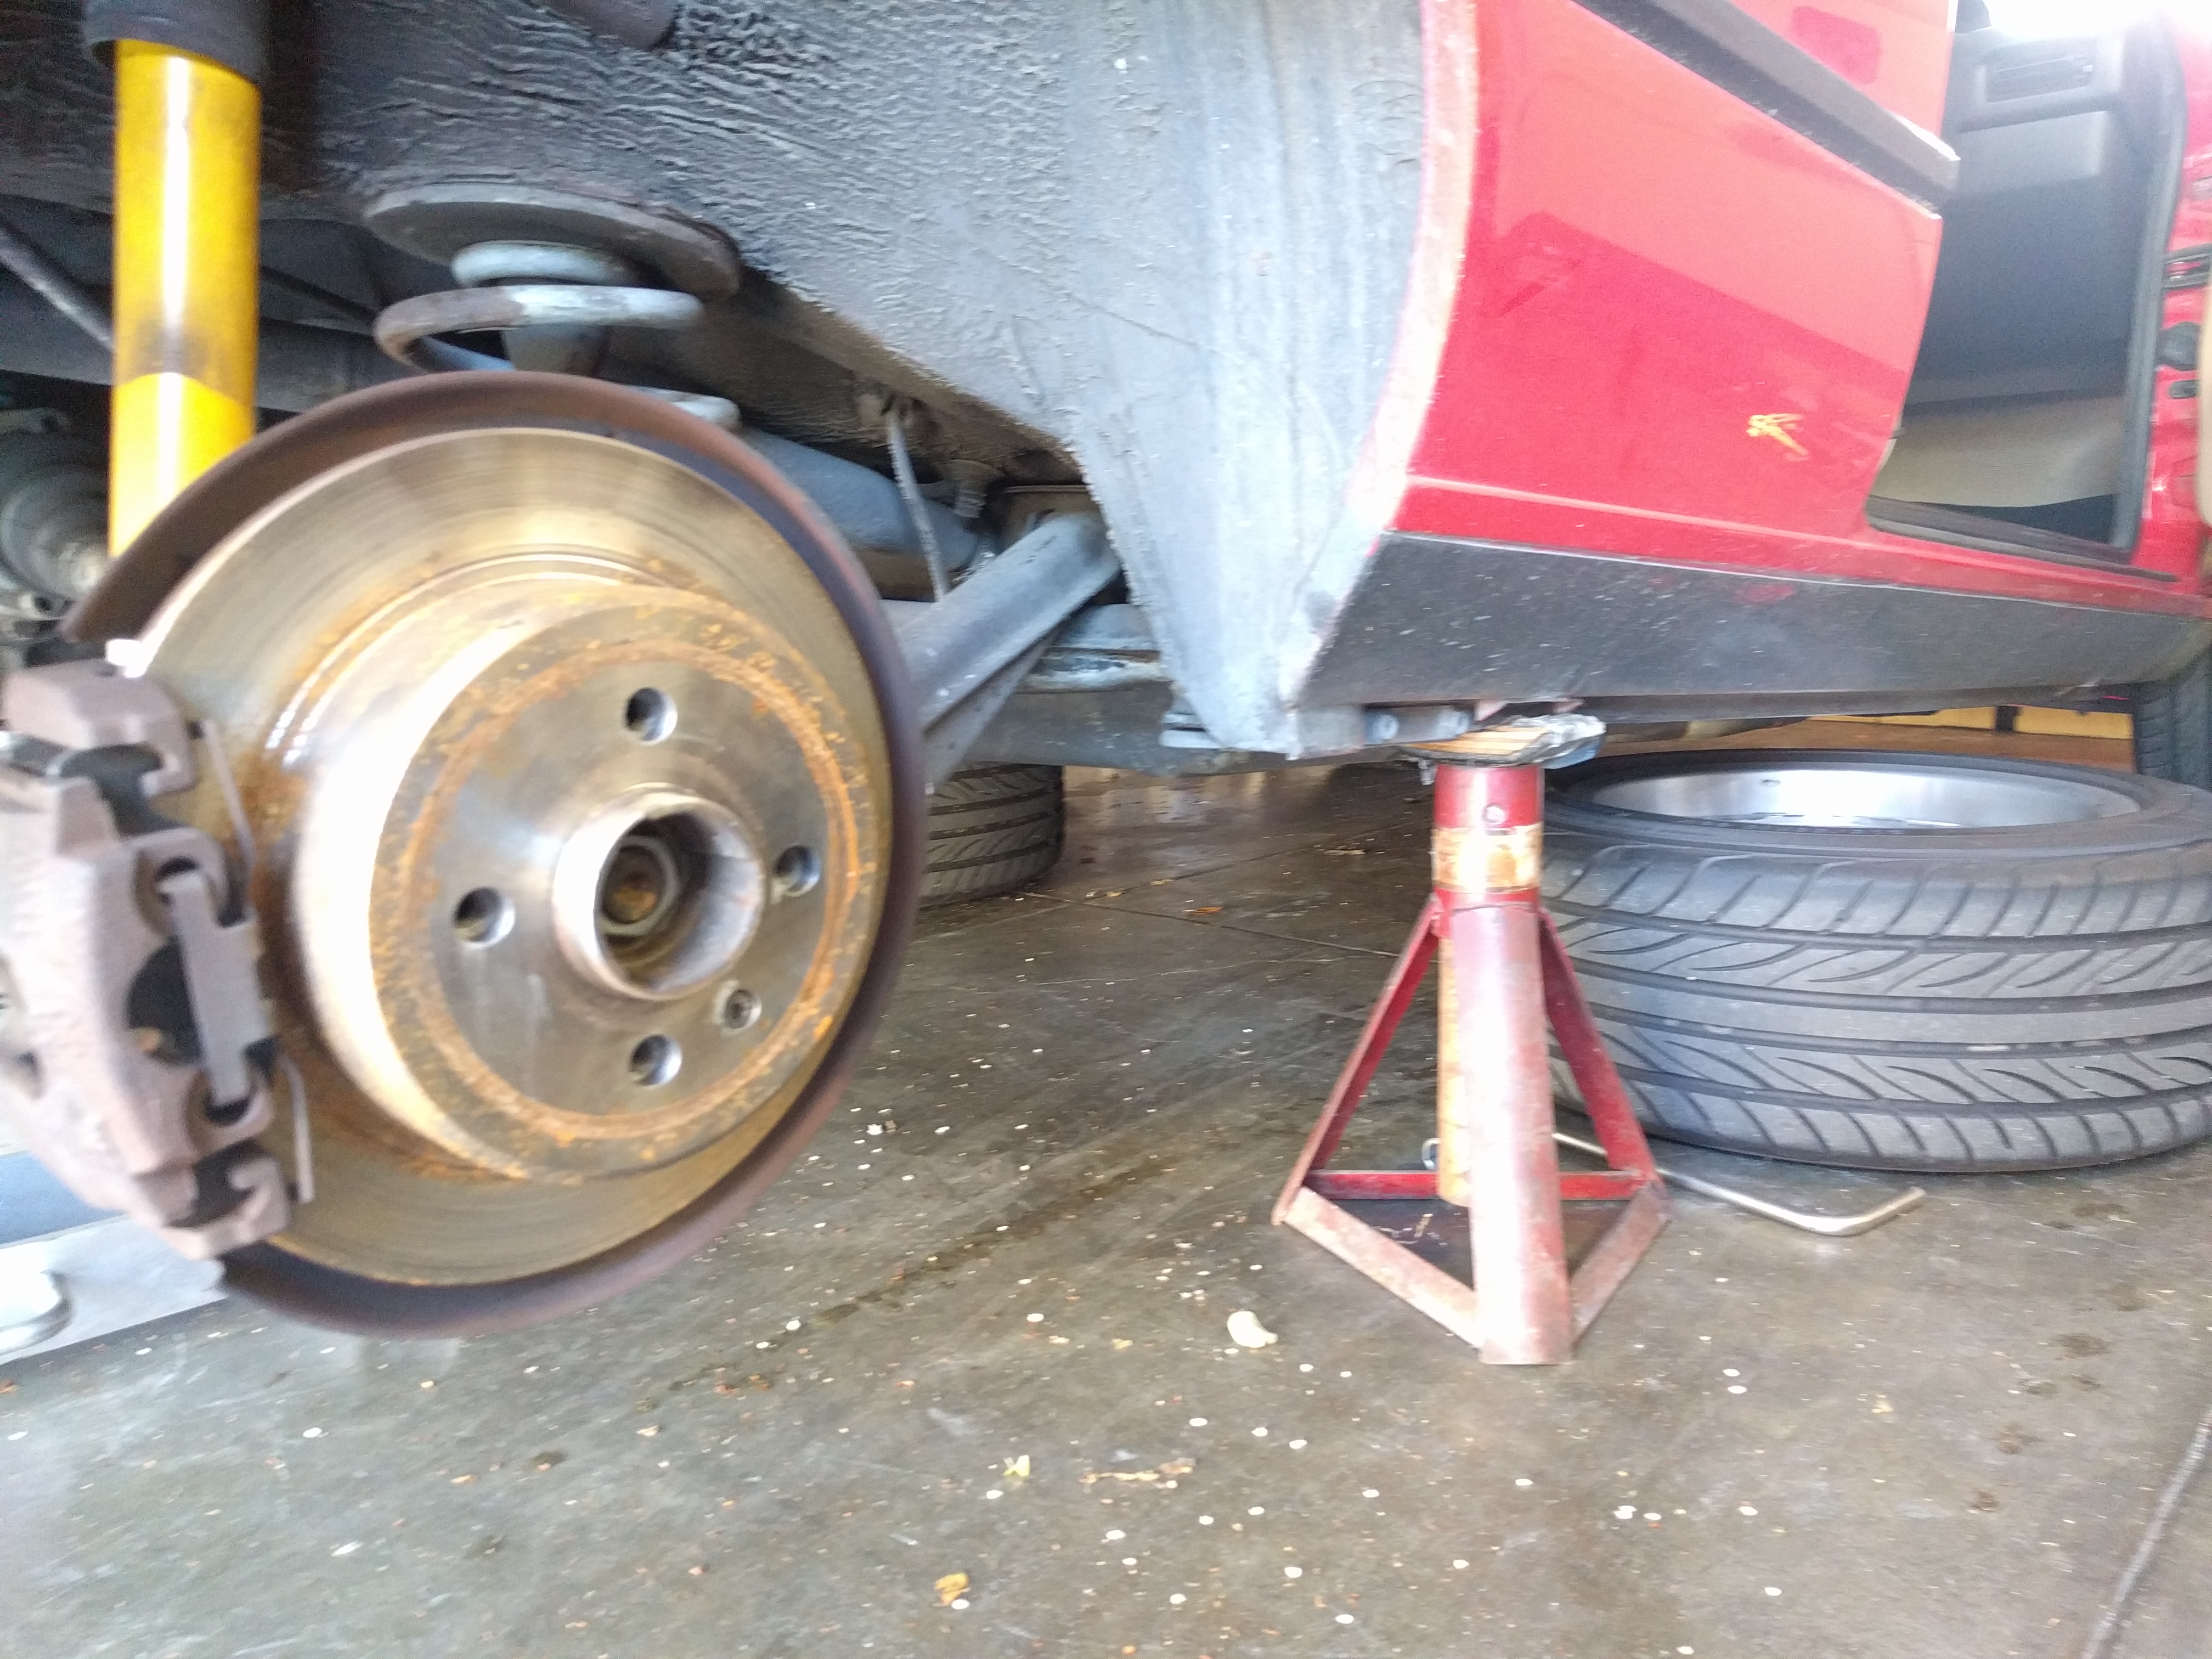
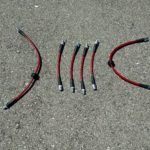
- The jack stands need to be placed ahead of the subframe on the body seam.
-
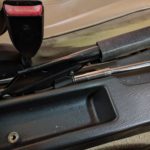
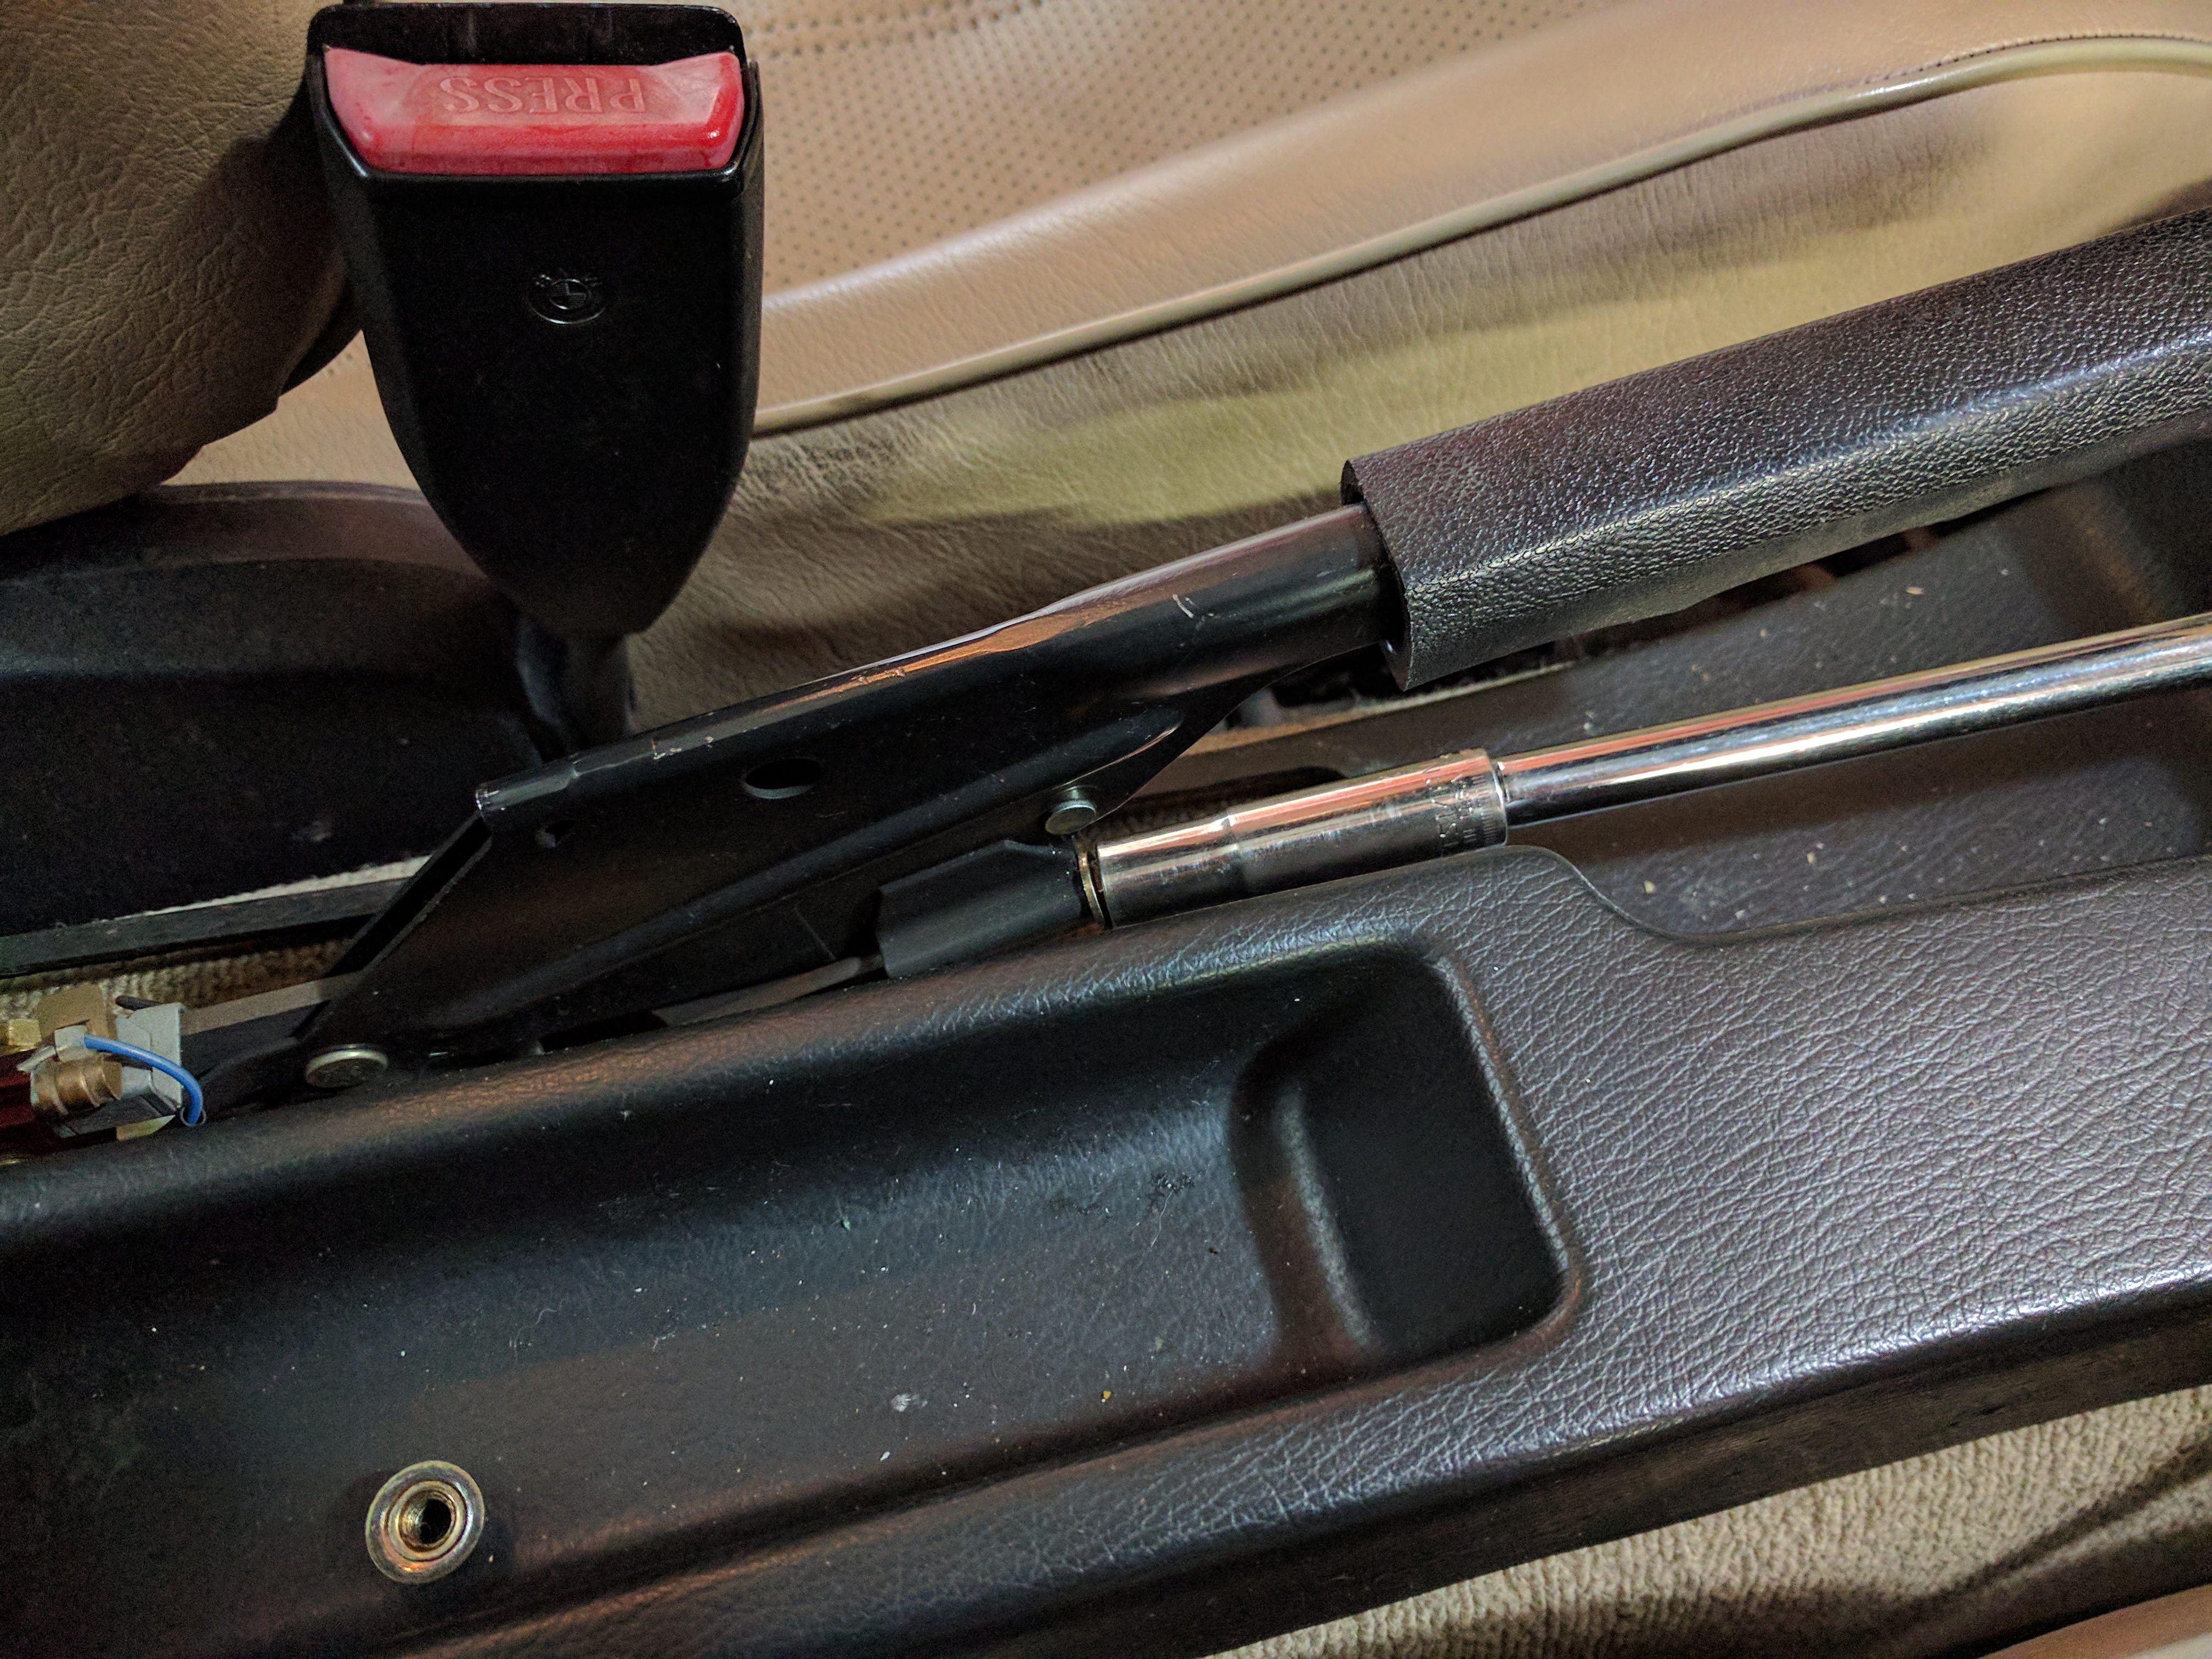
- The e-brake can be undone from inside the car by loosening the securing nuts on the cables.
-
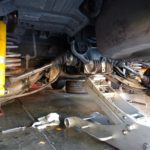
- With the jack on the differential, the load bearing nuts and bolts can be undone.
-
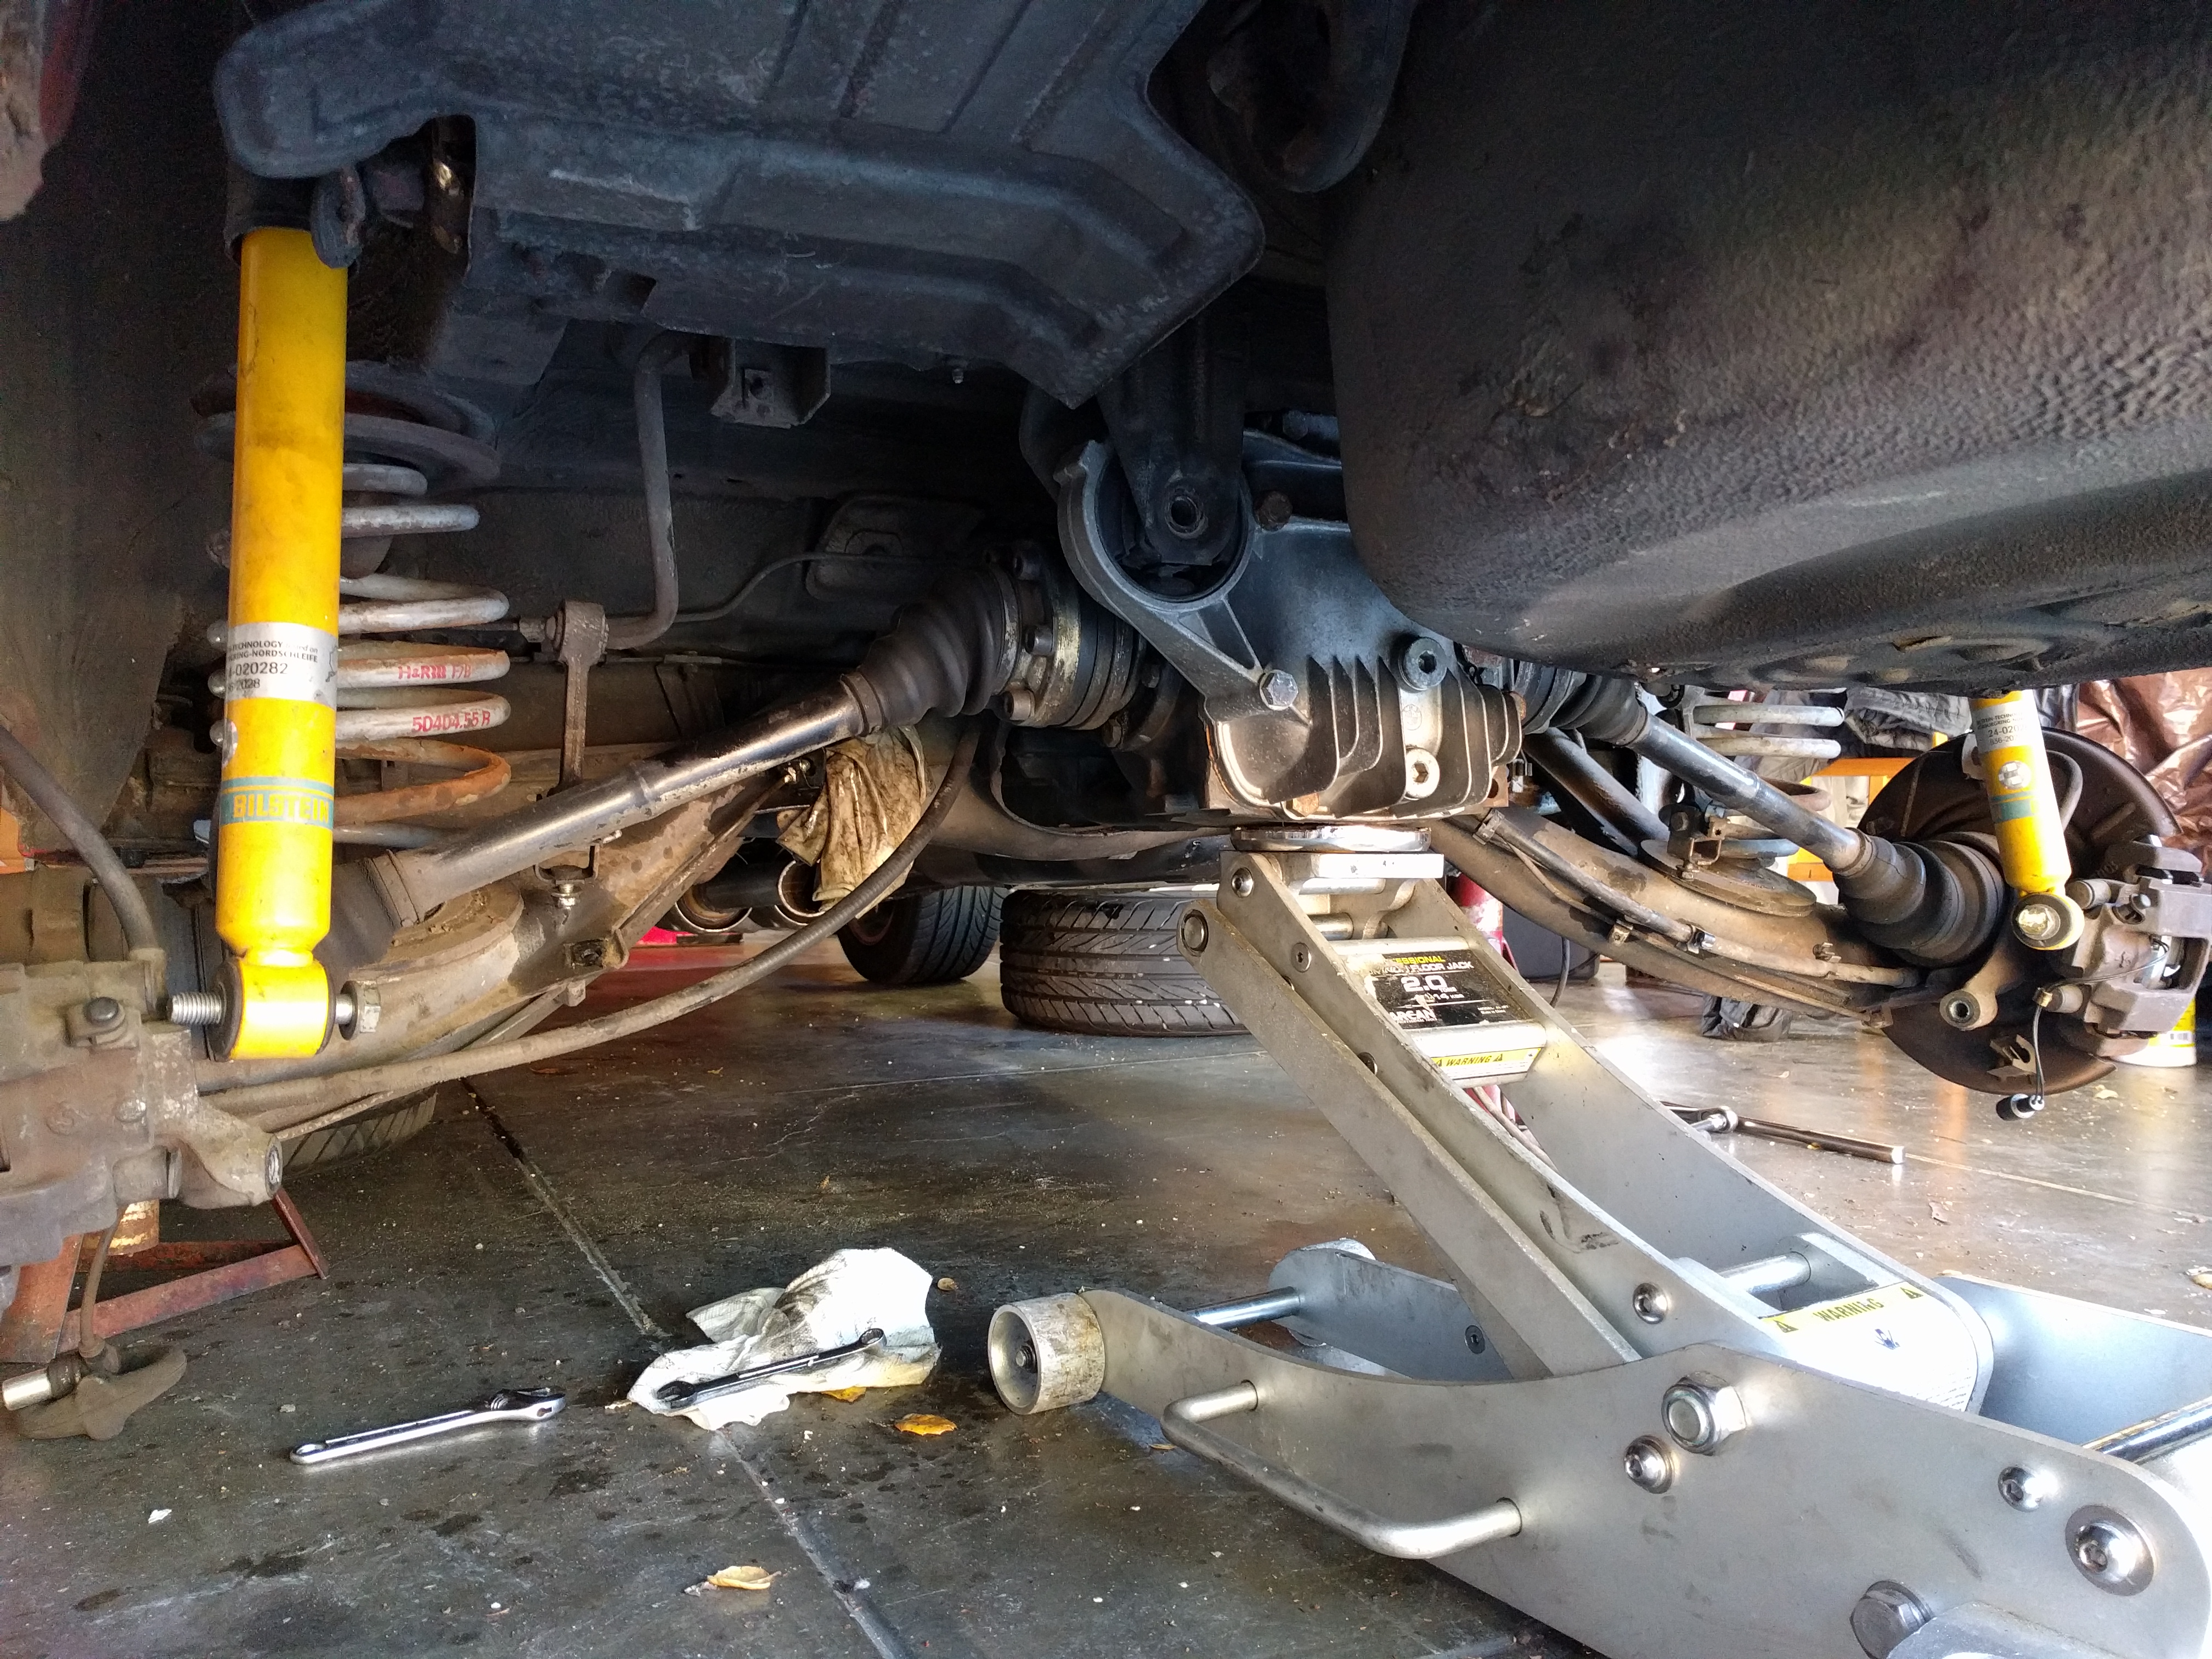
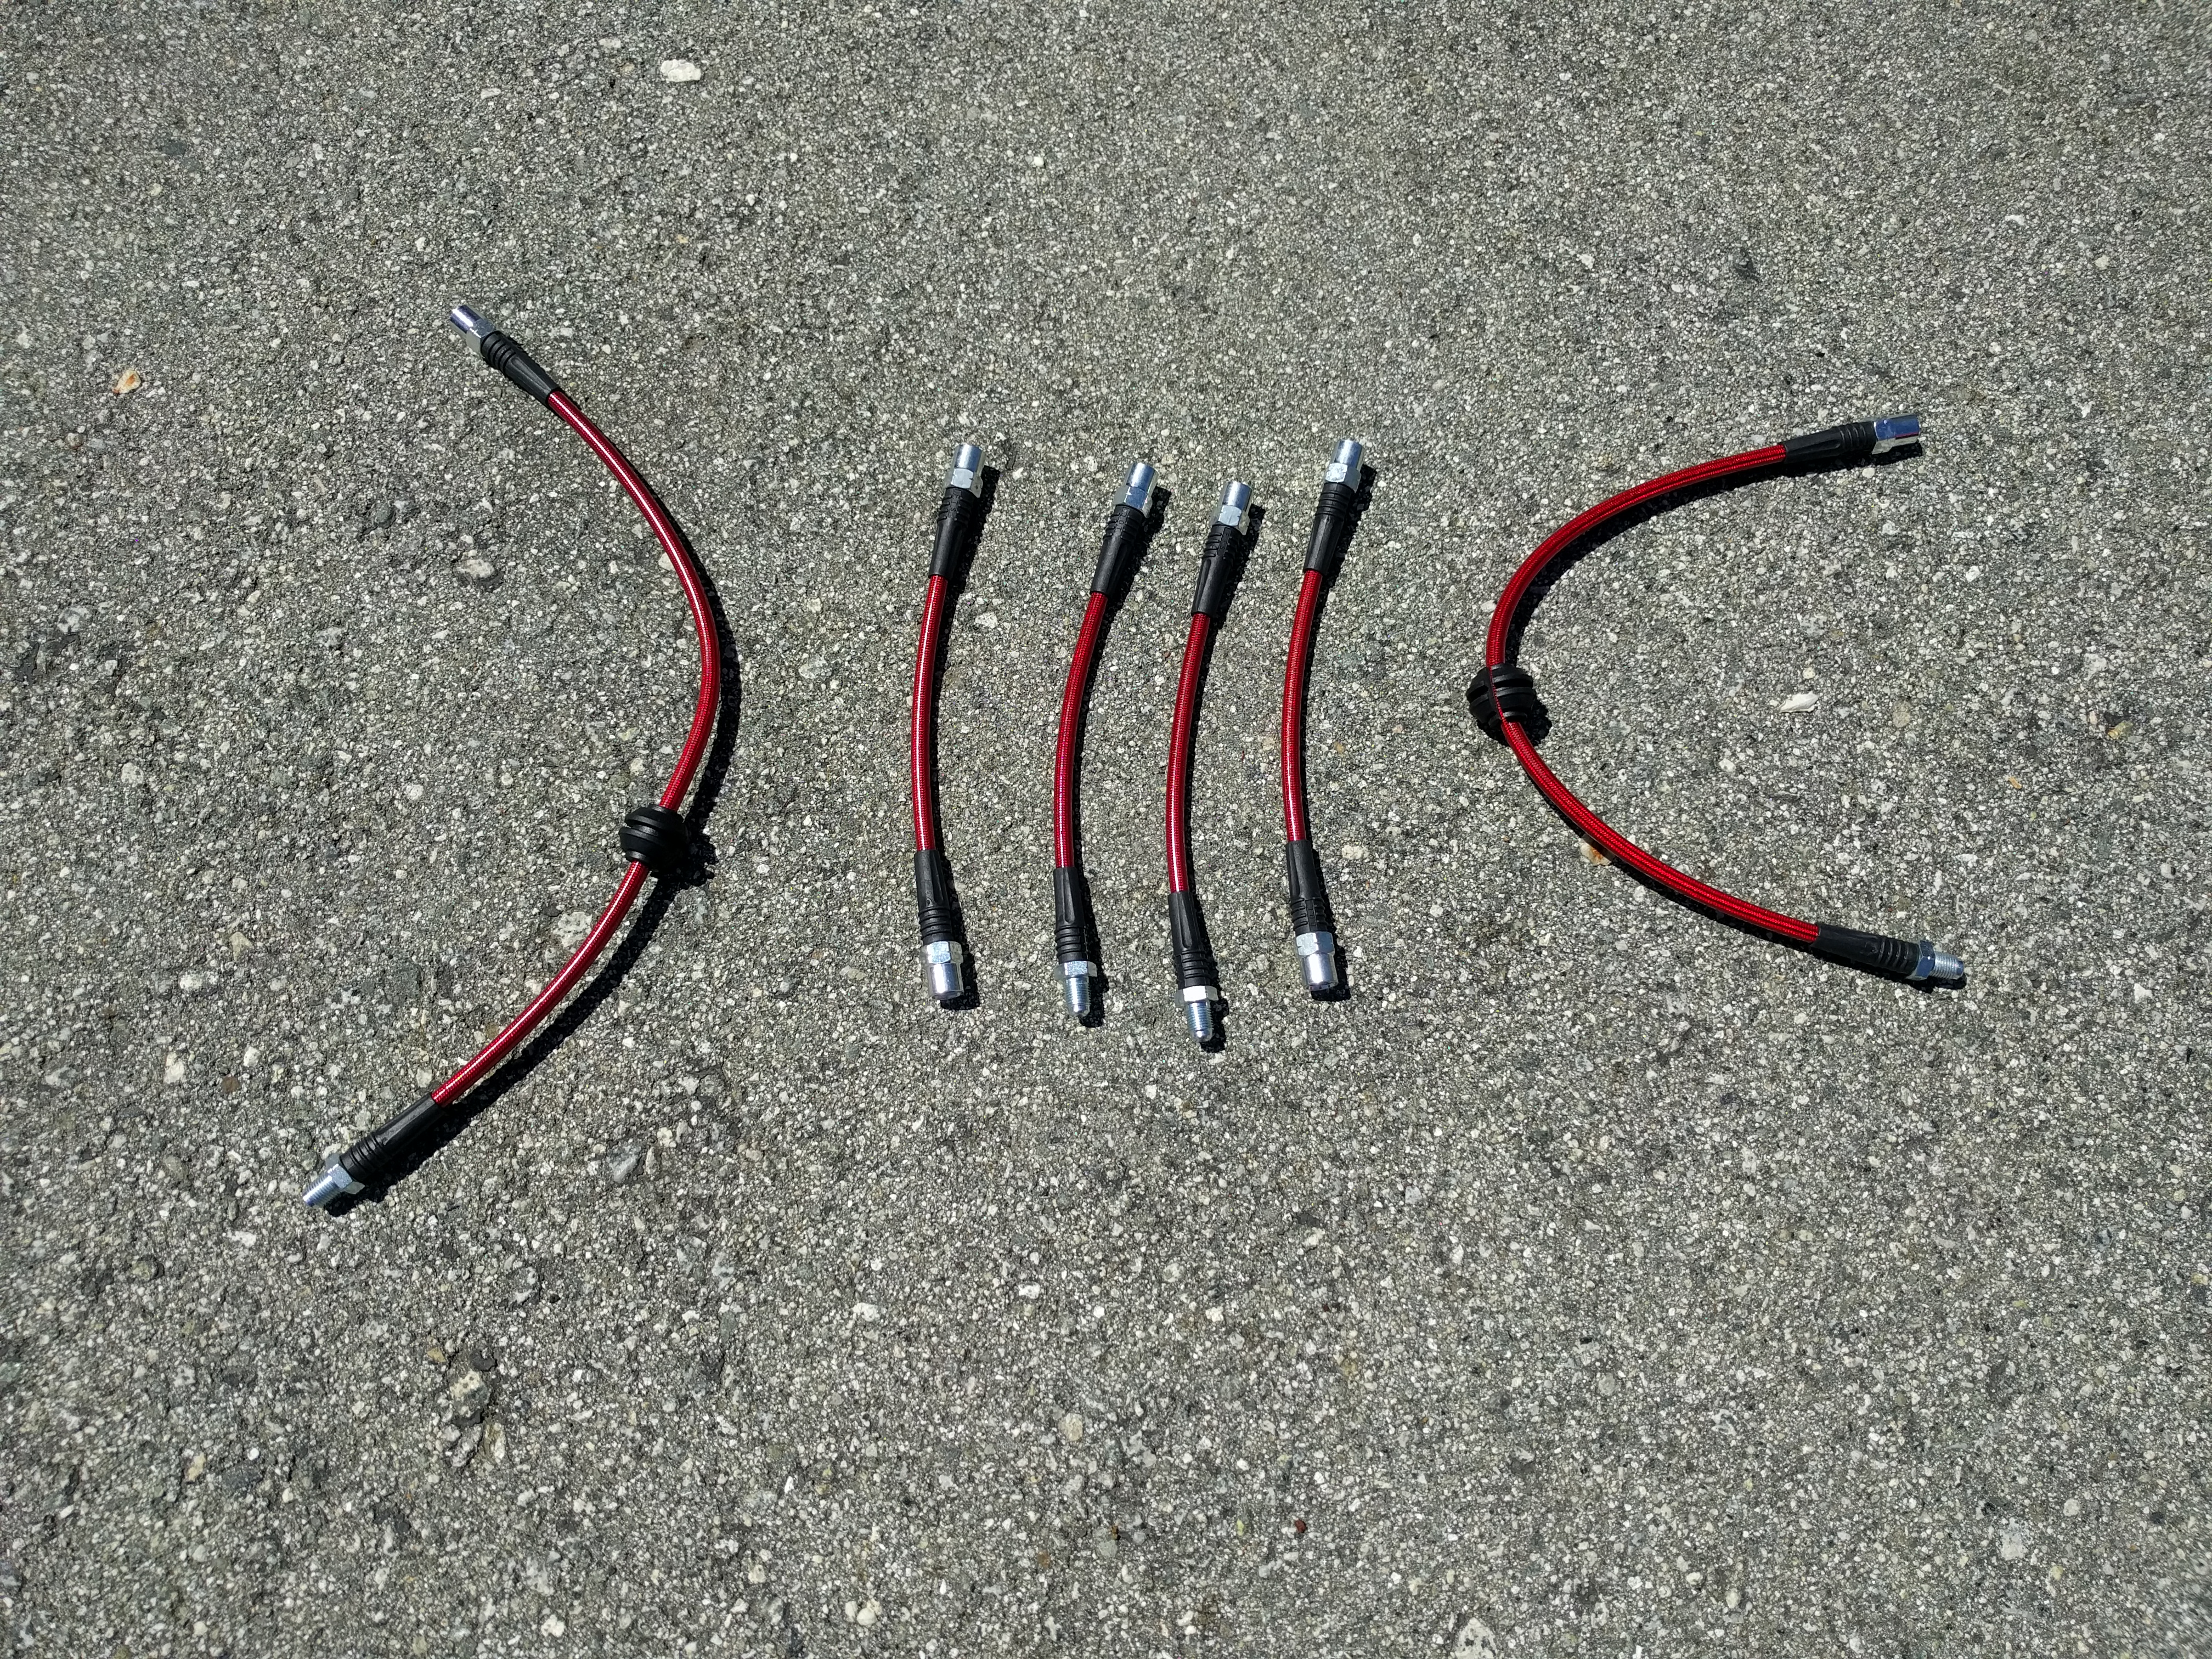
- Garagistic sells DOT approved stainless brake lines. The four shorter lines are for the rear, while the two longer lines are for the front calipers.
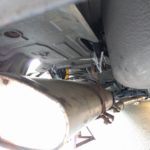
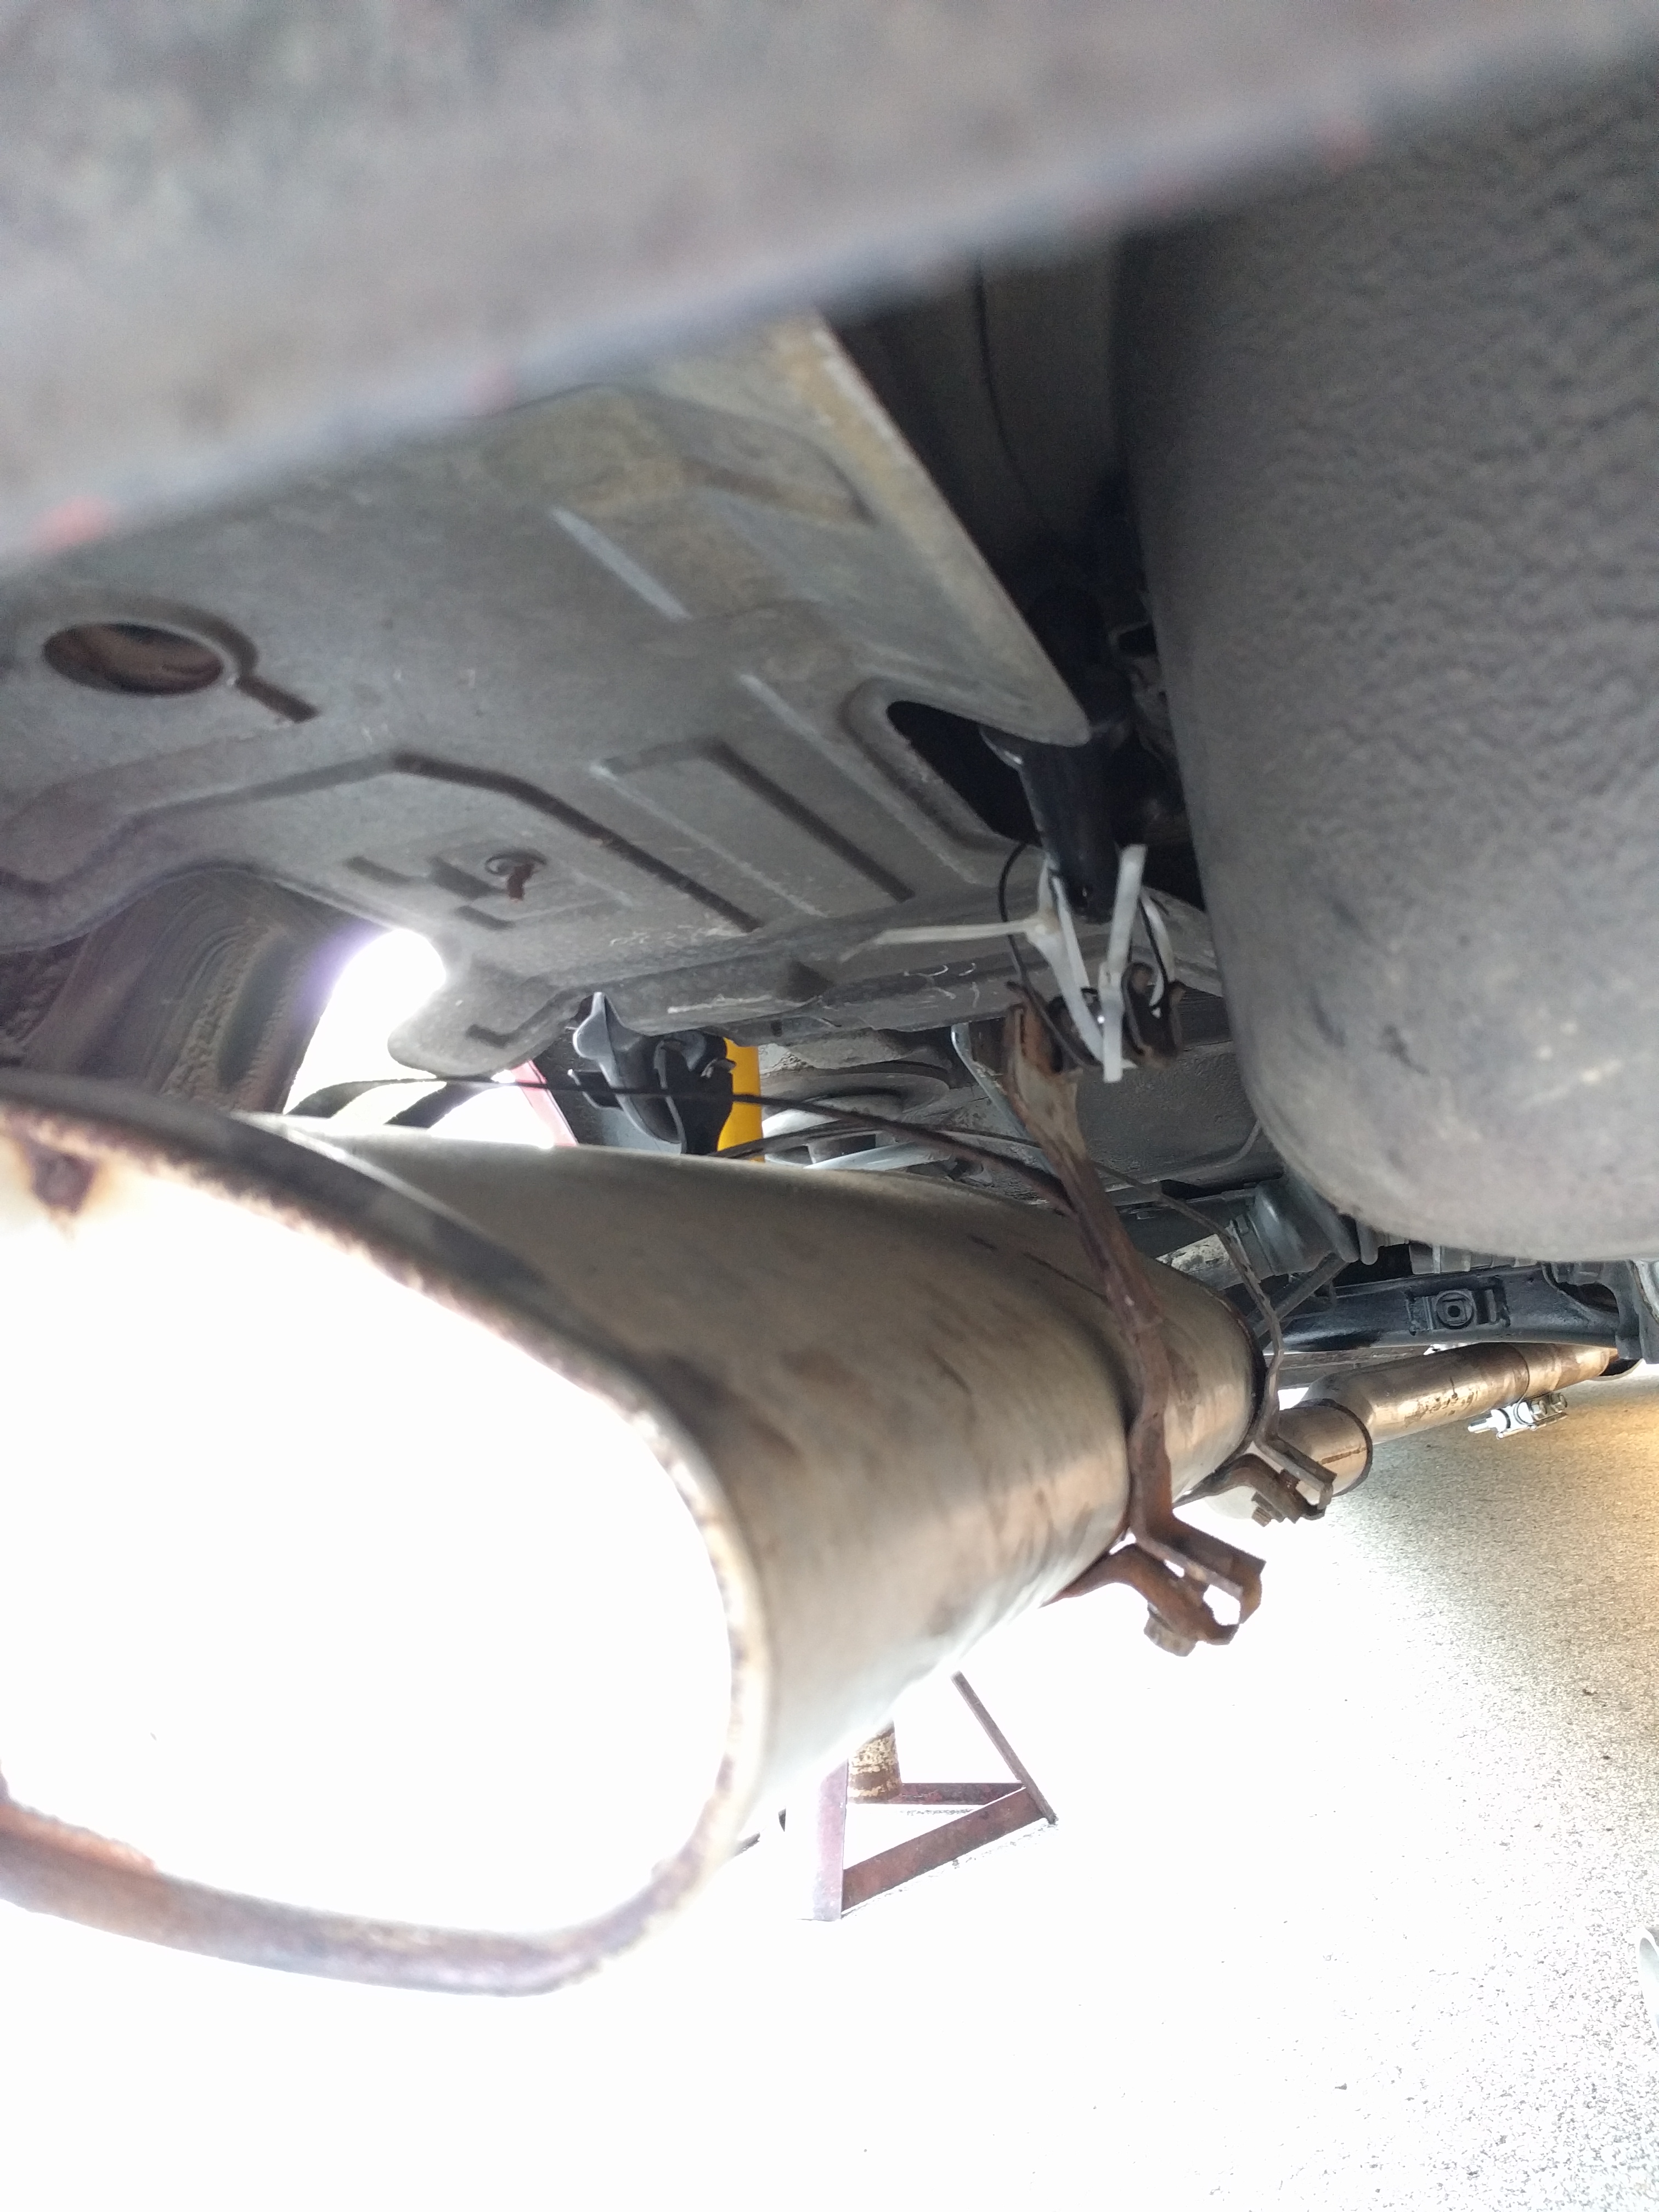
Before I could truly get started on the rear end overhaul, I had to fight my “custom” exhaust that had been welded where the stock flanges are usually placed. To clarify, this meant I couldn’t separate the exhaust without undoing the entire system from the headers (which would weigh a ton and be difficult to reinstall later on). Unfortunately I had to hacksaw the piping just after the cats. The good news is I placed a band clamp in that area, making the exhaust a two piece system once again.
Making it to the Starting Line
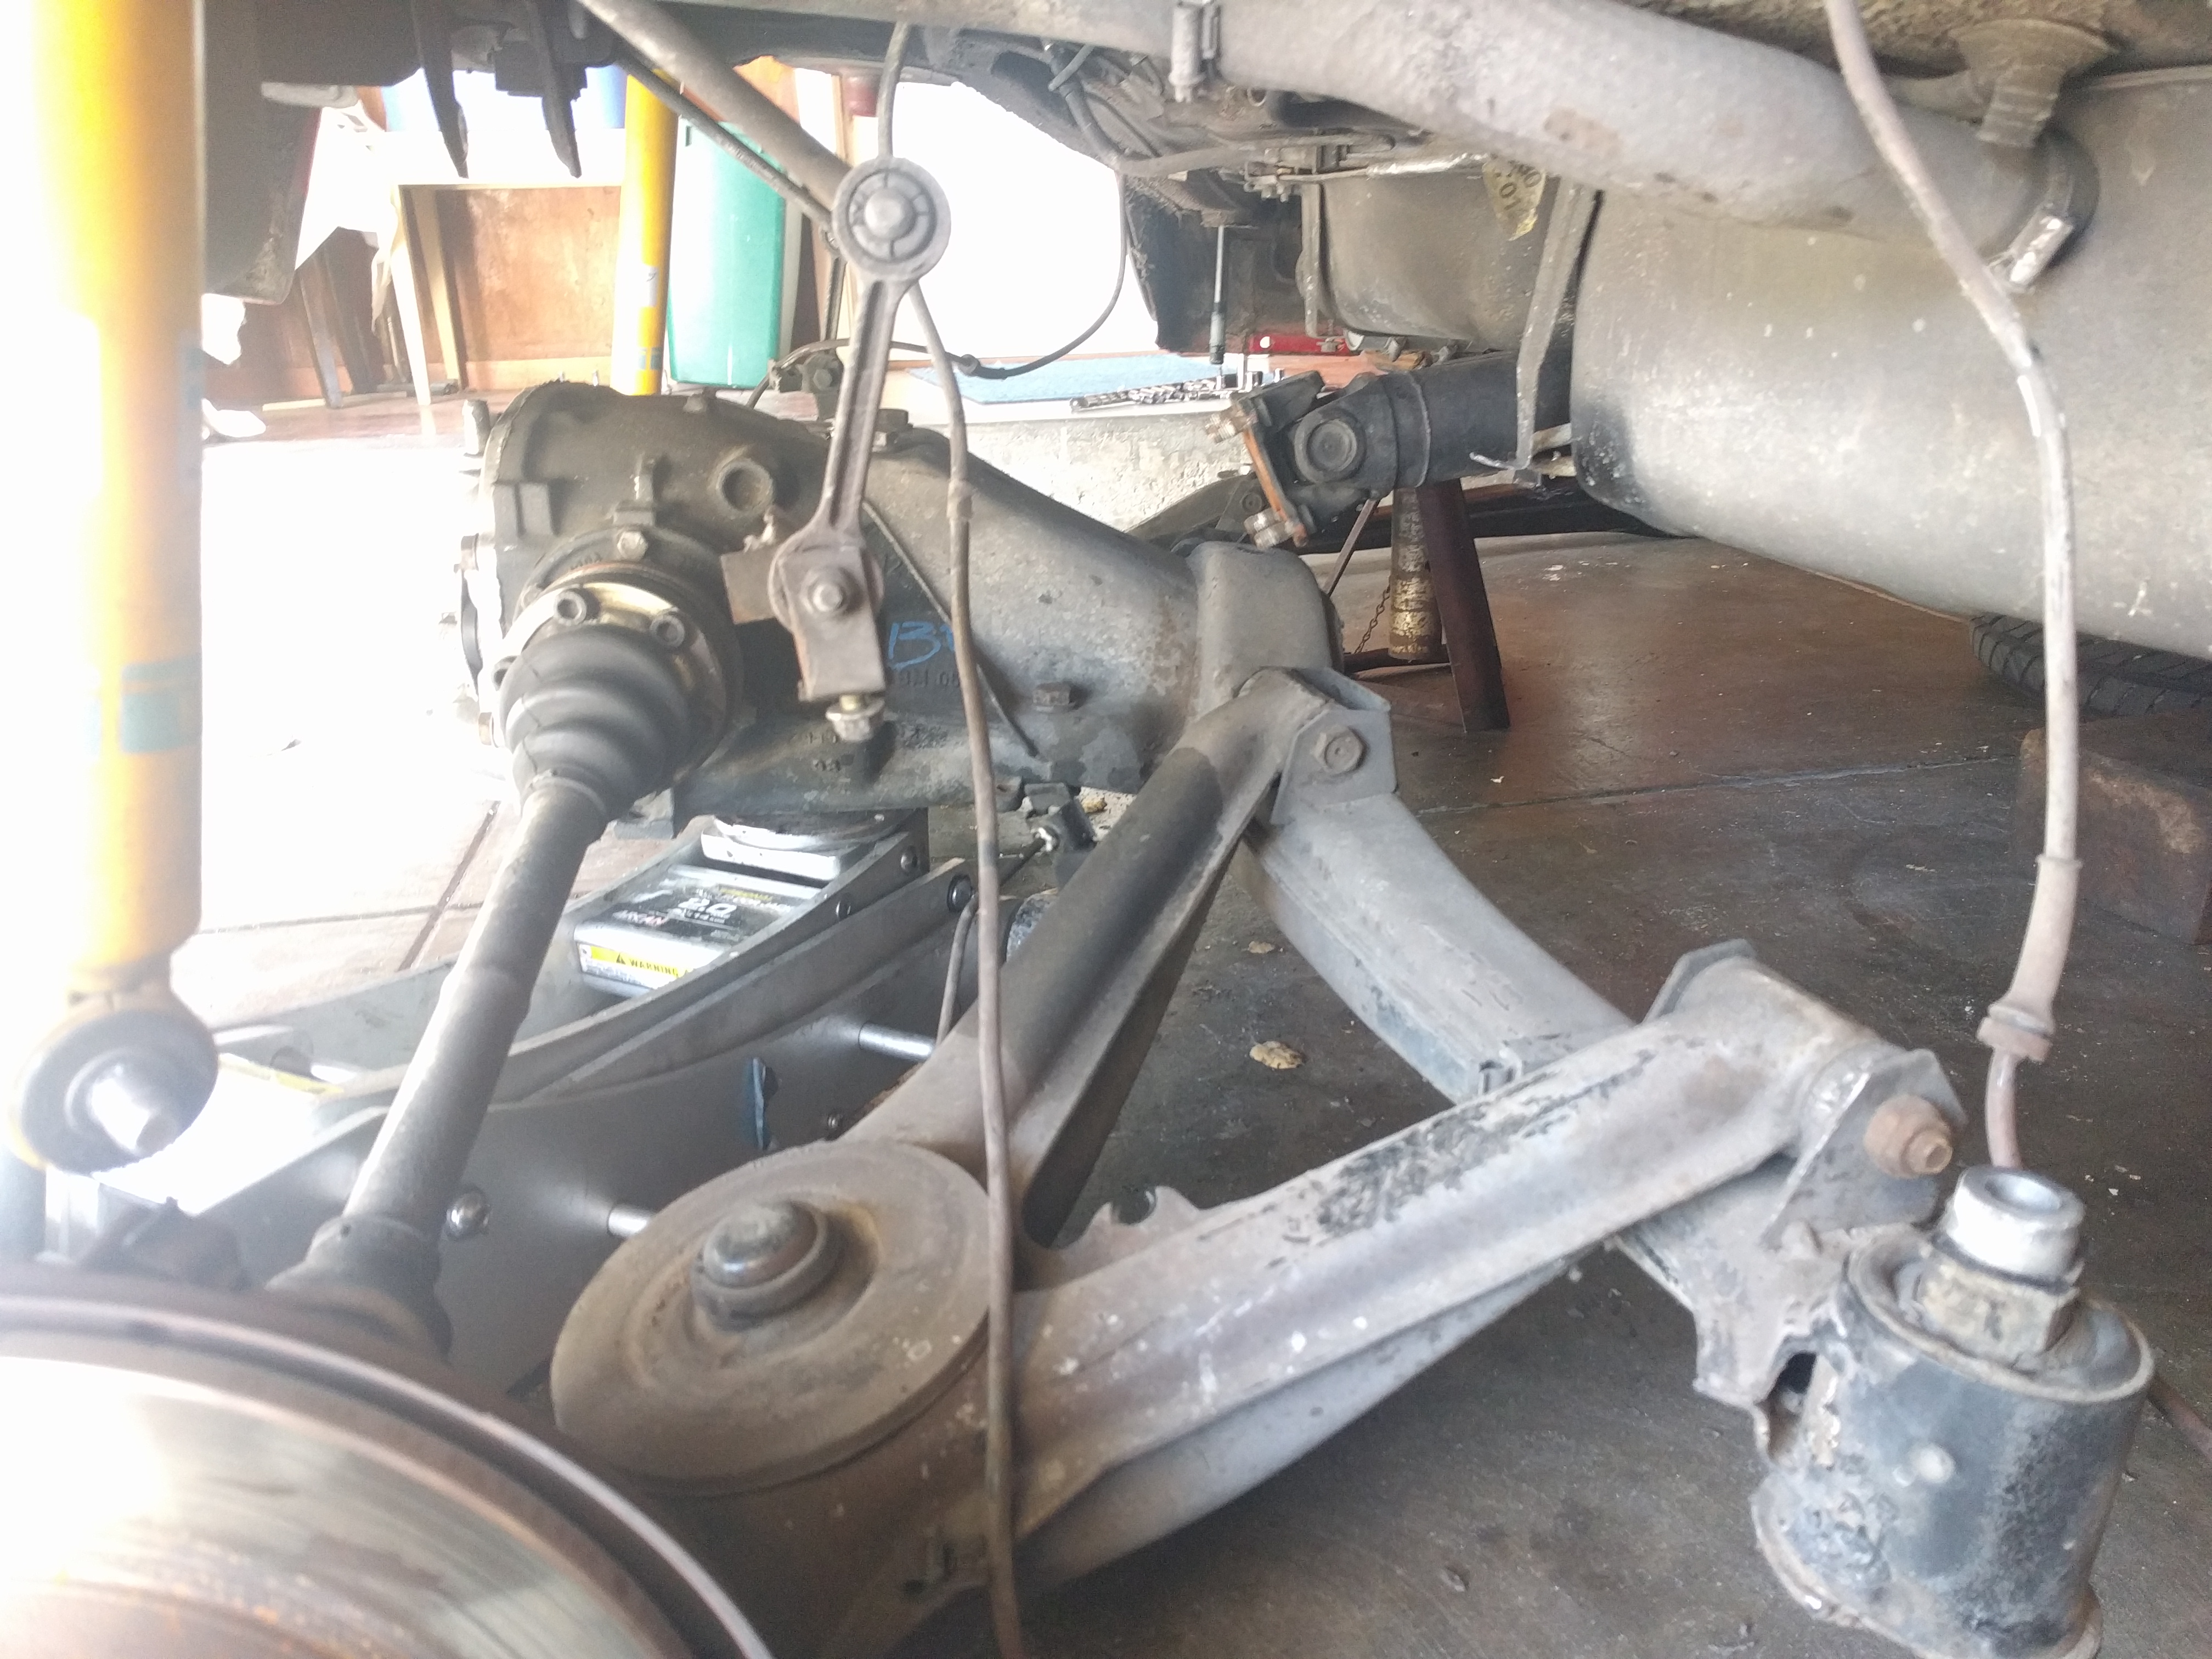
With the exhaust out of the way, it became a meticulous process of undoing anything and everything. The brakes lines, various electrical connectors, sway bar links, and e-brake were the first order of business. With those items disconnected, I could move on to the more obvious pieces, like unbolting the shocks and driveshaft. By this point, I was readying the subframe itself to be dropped from the car. The e30 is relatively simple in this regard, as the only things supporting the rear suspension are the two subframe bolts, and the rear differential carrier bushing. The nuts attached to the bottom of the subframe bolts were on TIGHT, so my favorite friends Liquid Wrench and the breaker bar were called into action to get the nuts to budge.
Lowering the subframe from the car was straightforward, but getting it completely free meant using a sledge hammer and a prybar, as the old bushings were putting up a fight. When the whole assembly was finally freed from the car, both Willum and I were relieved and called it a night. In typical fashion, we miscalculated the placement of the jack, so the entire subframe slid off the jack onto the floor. Thankfully it was only a few inches and didn’t cause any damage. Off to Mexican food we went.
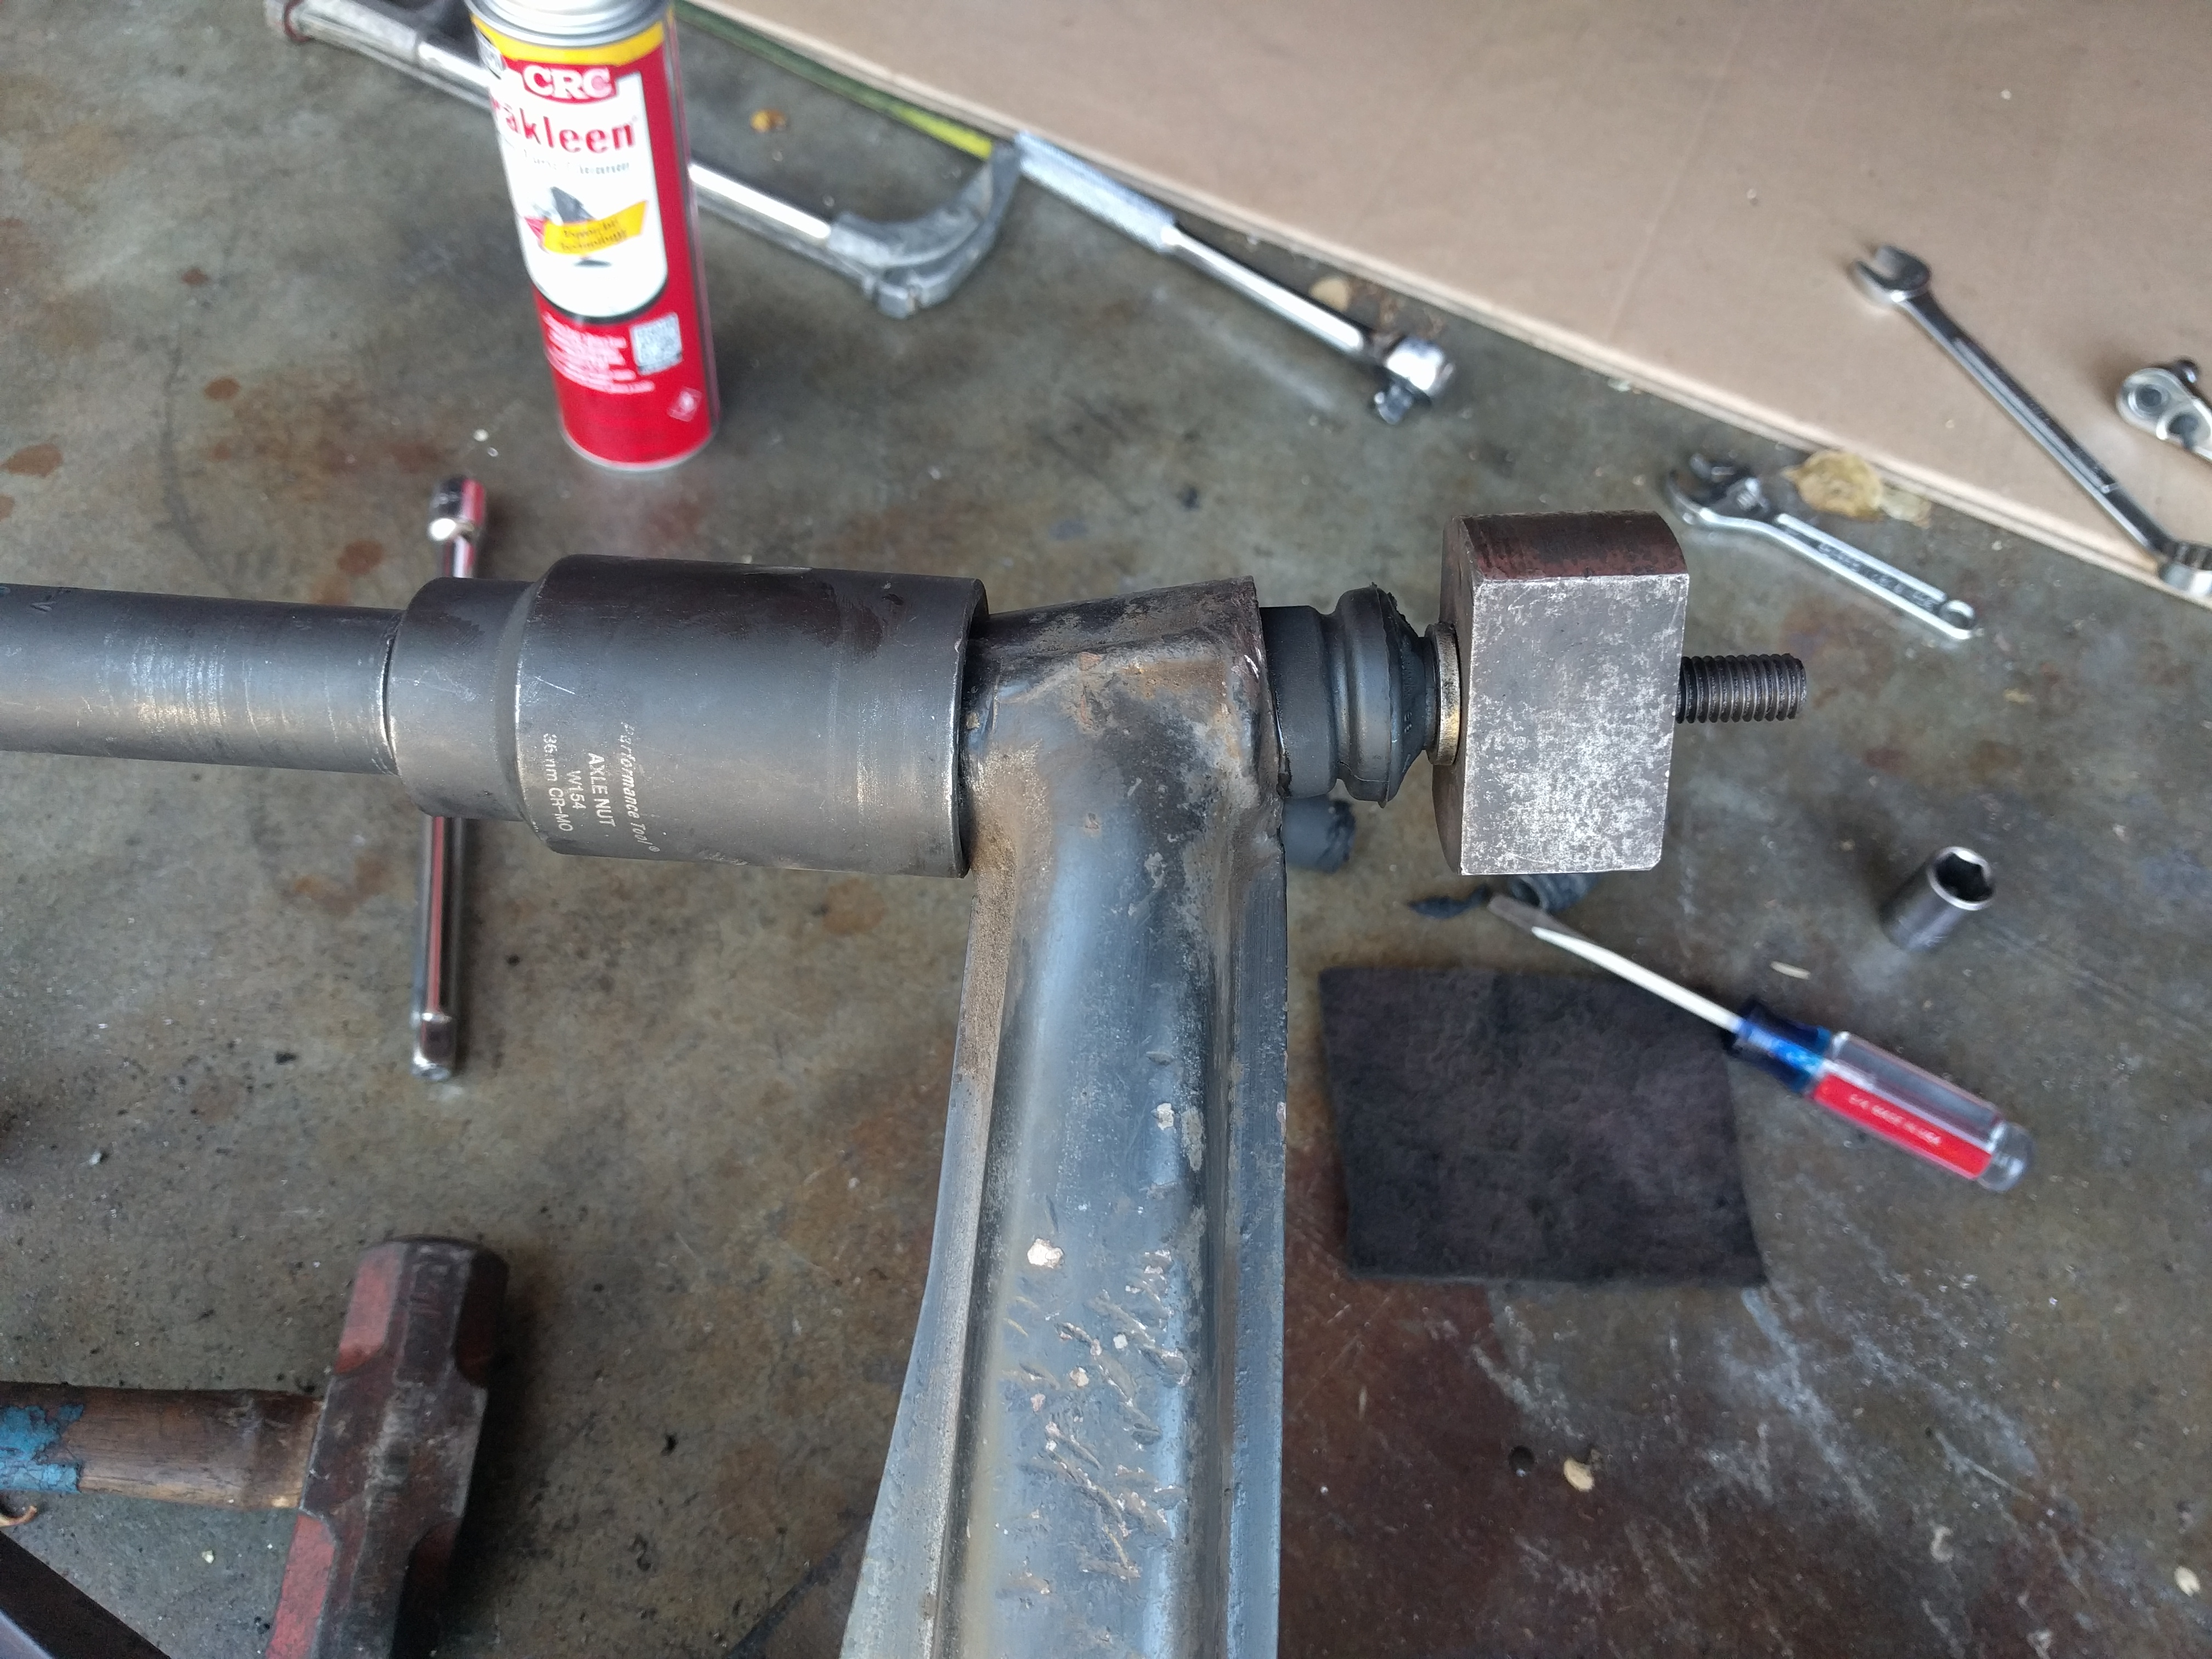
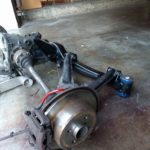
-
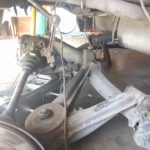
- The old subframe finally free from the chassis.
-
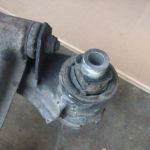
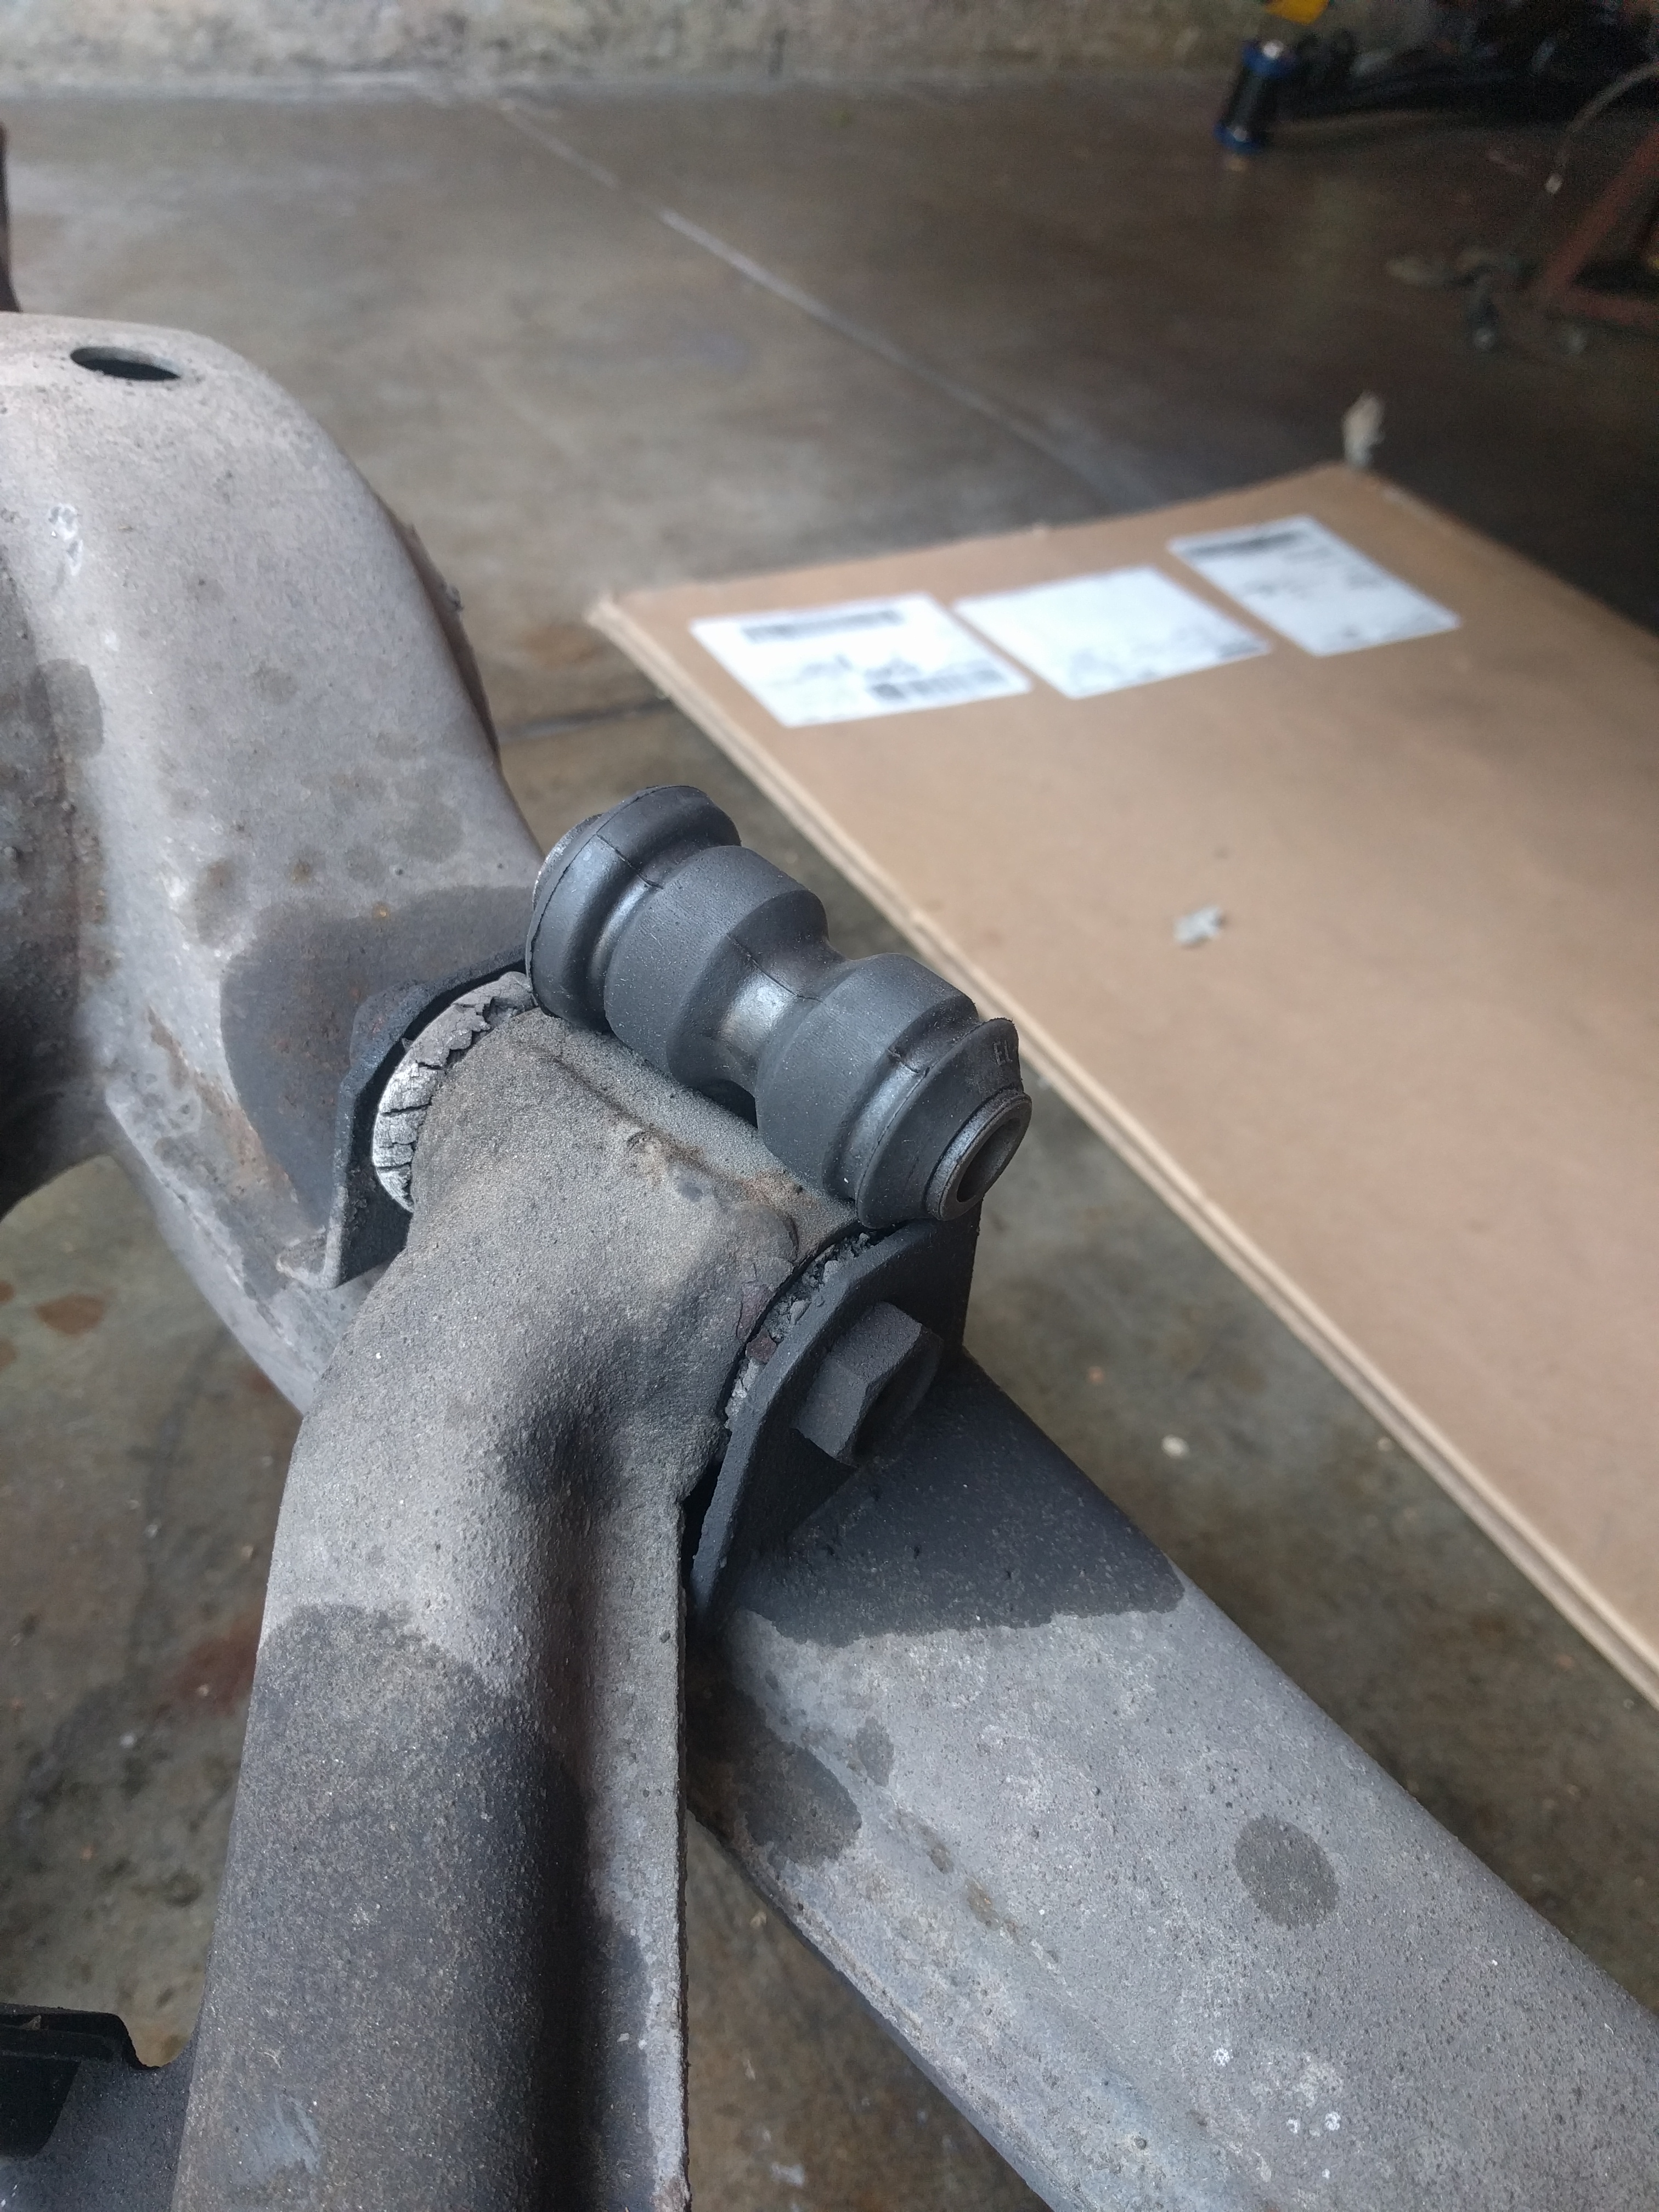
- Rear subframe bushing looks to have seen better days.
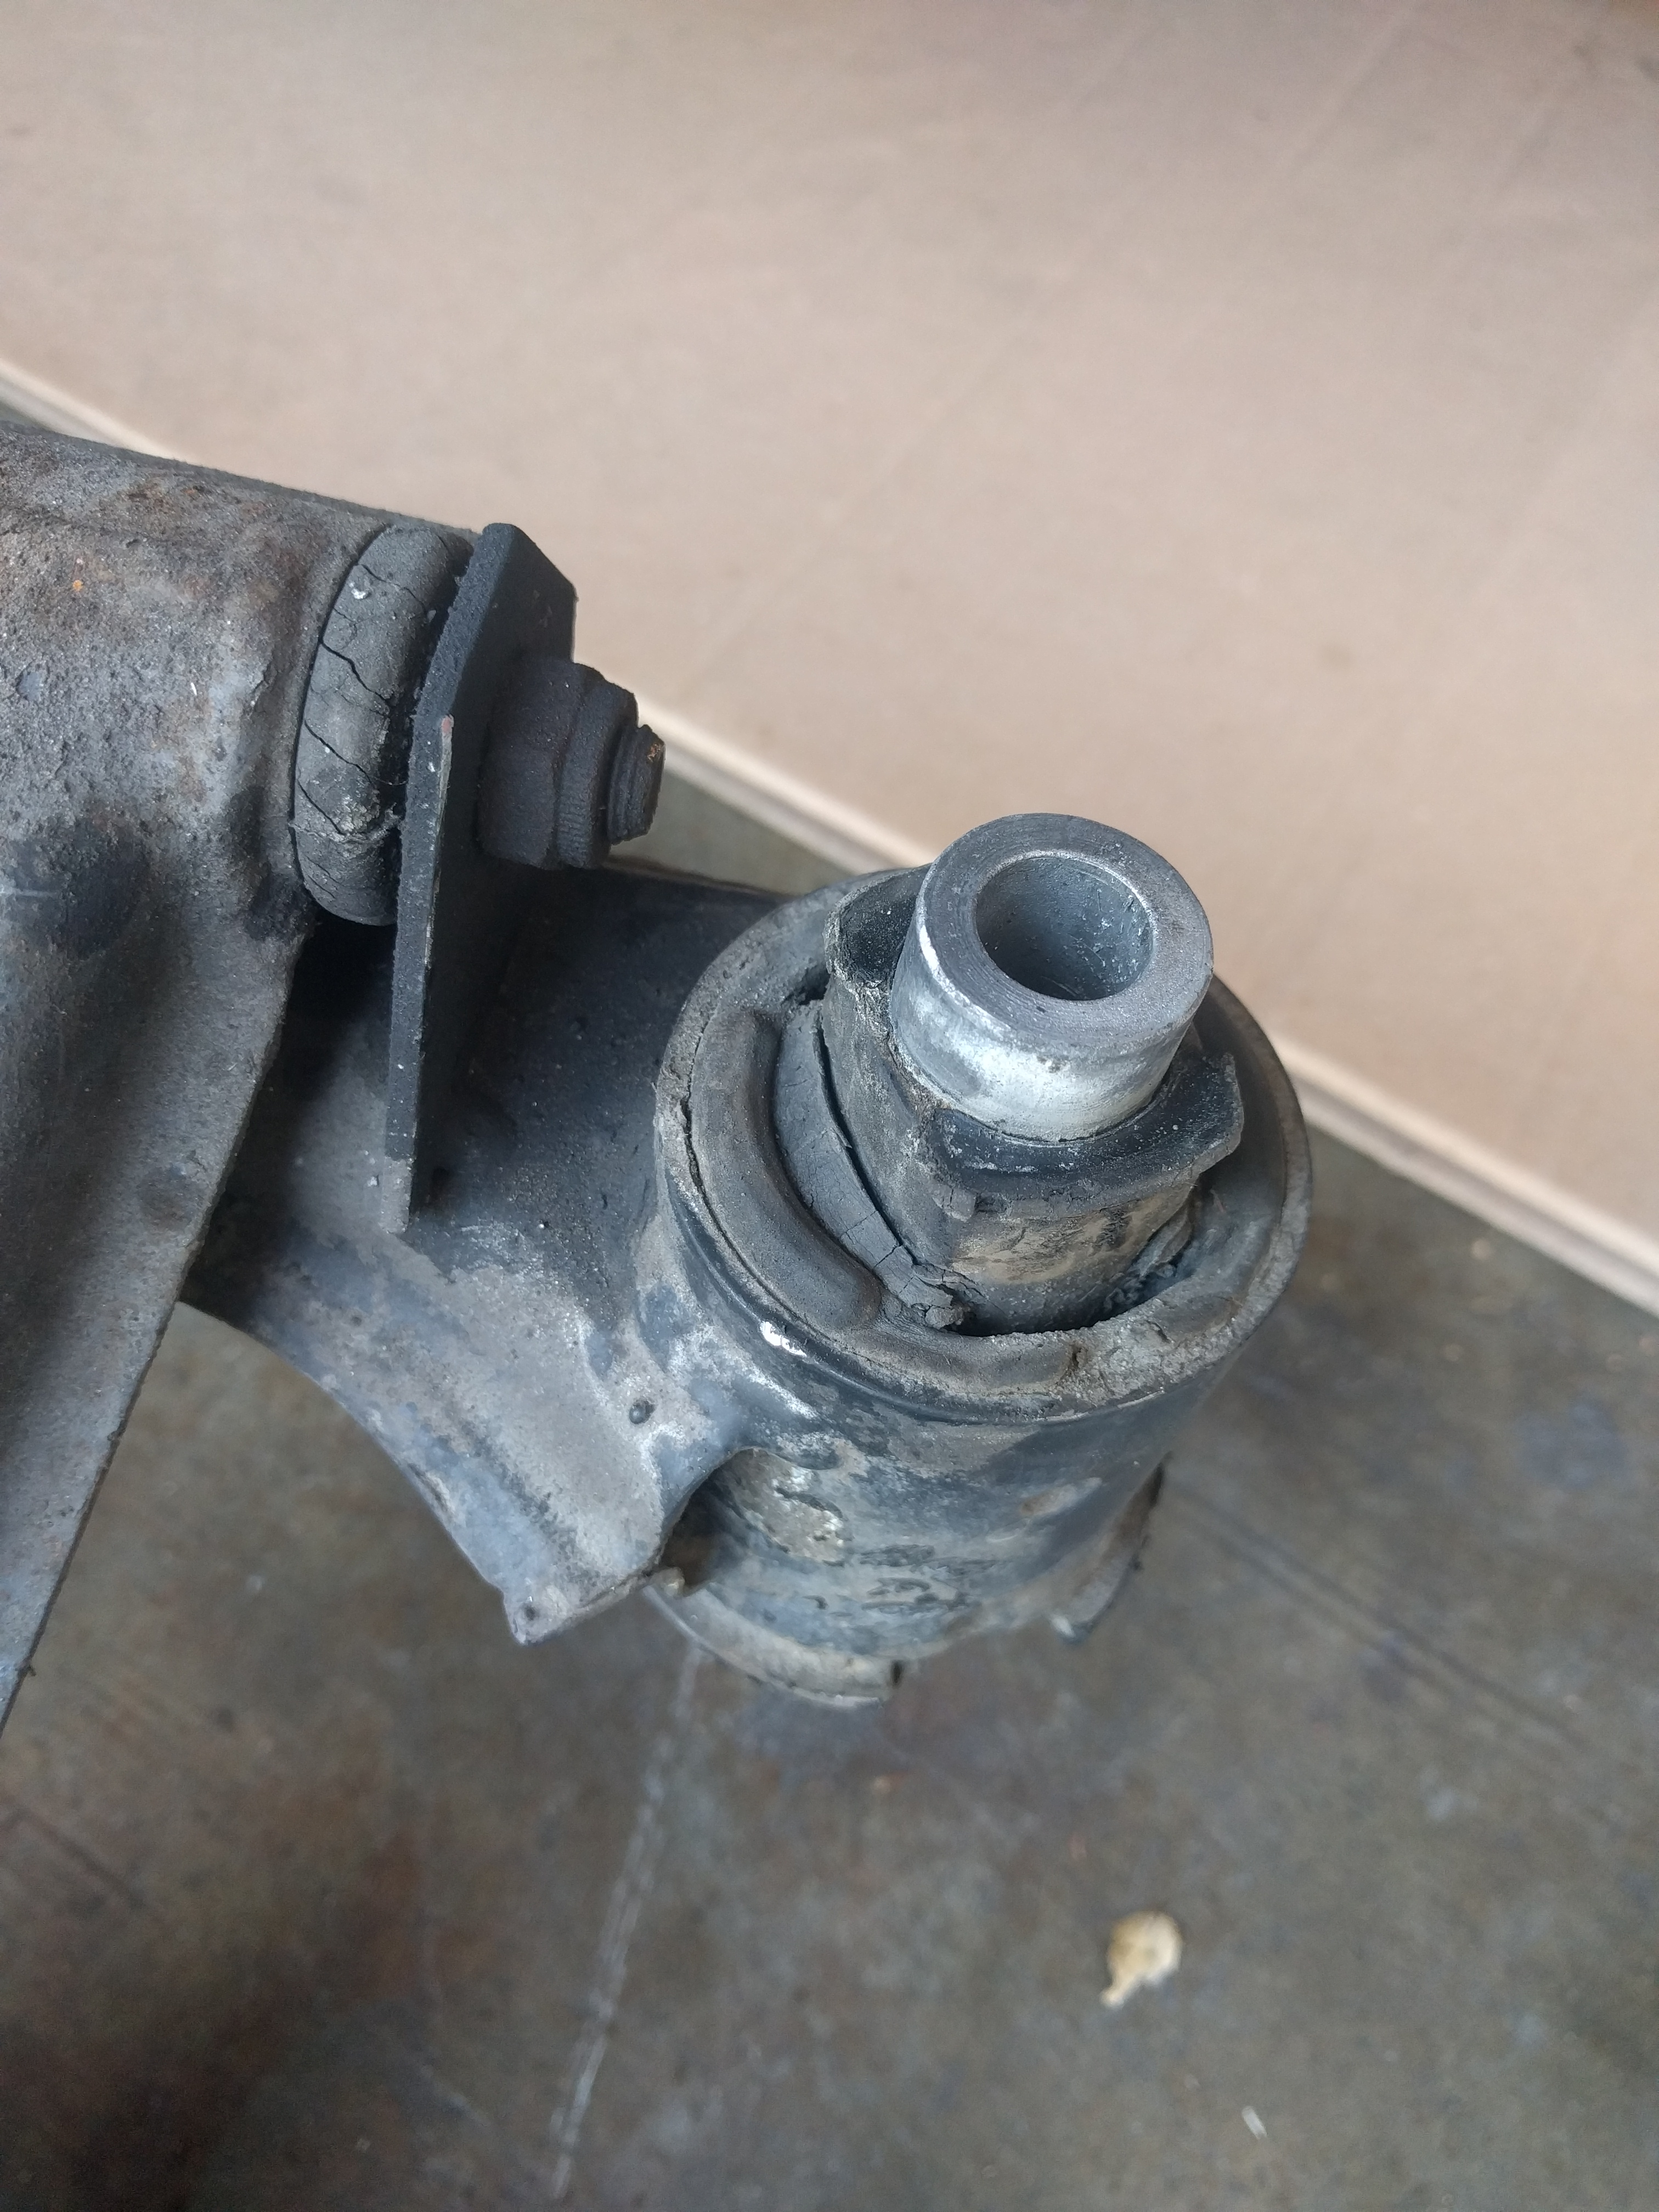
-
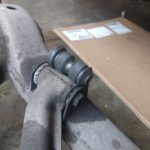
- the rear trailing arm bushings look even worse! Check out the cracks compared to a fresh bushing.
-
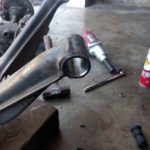
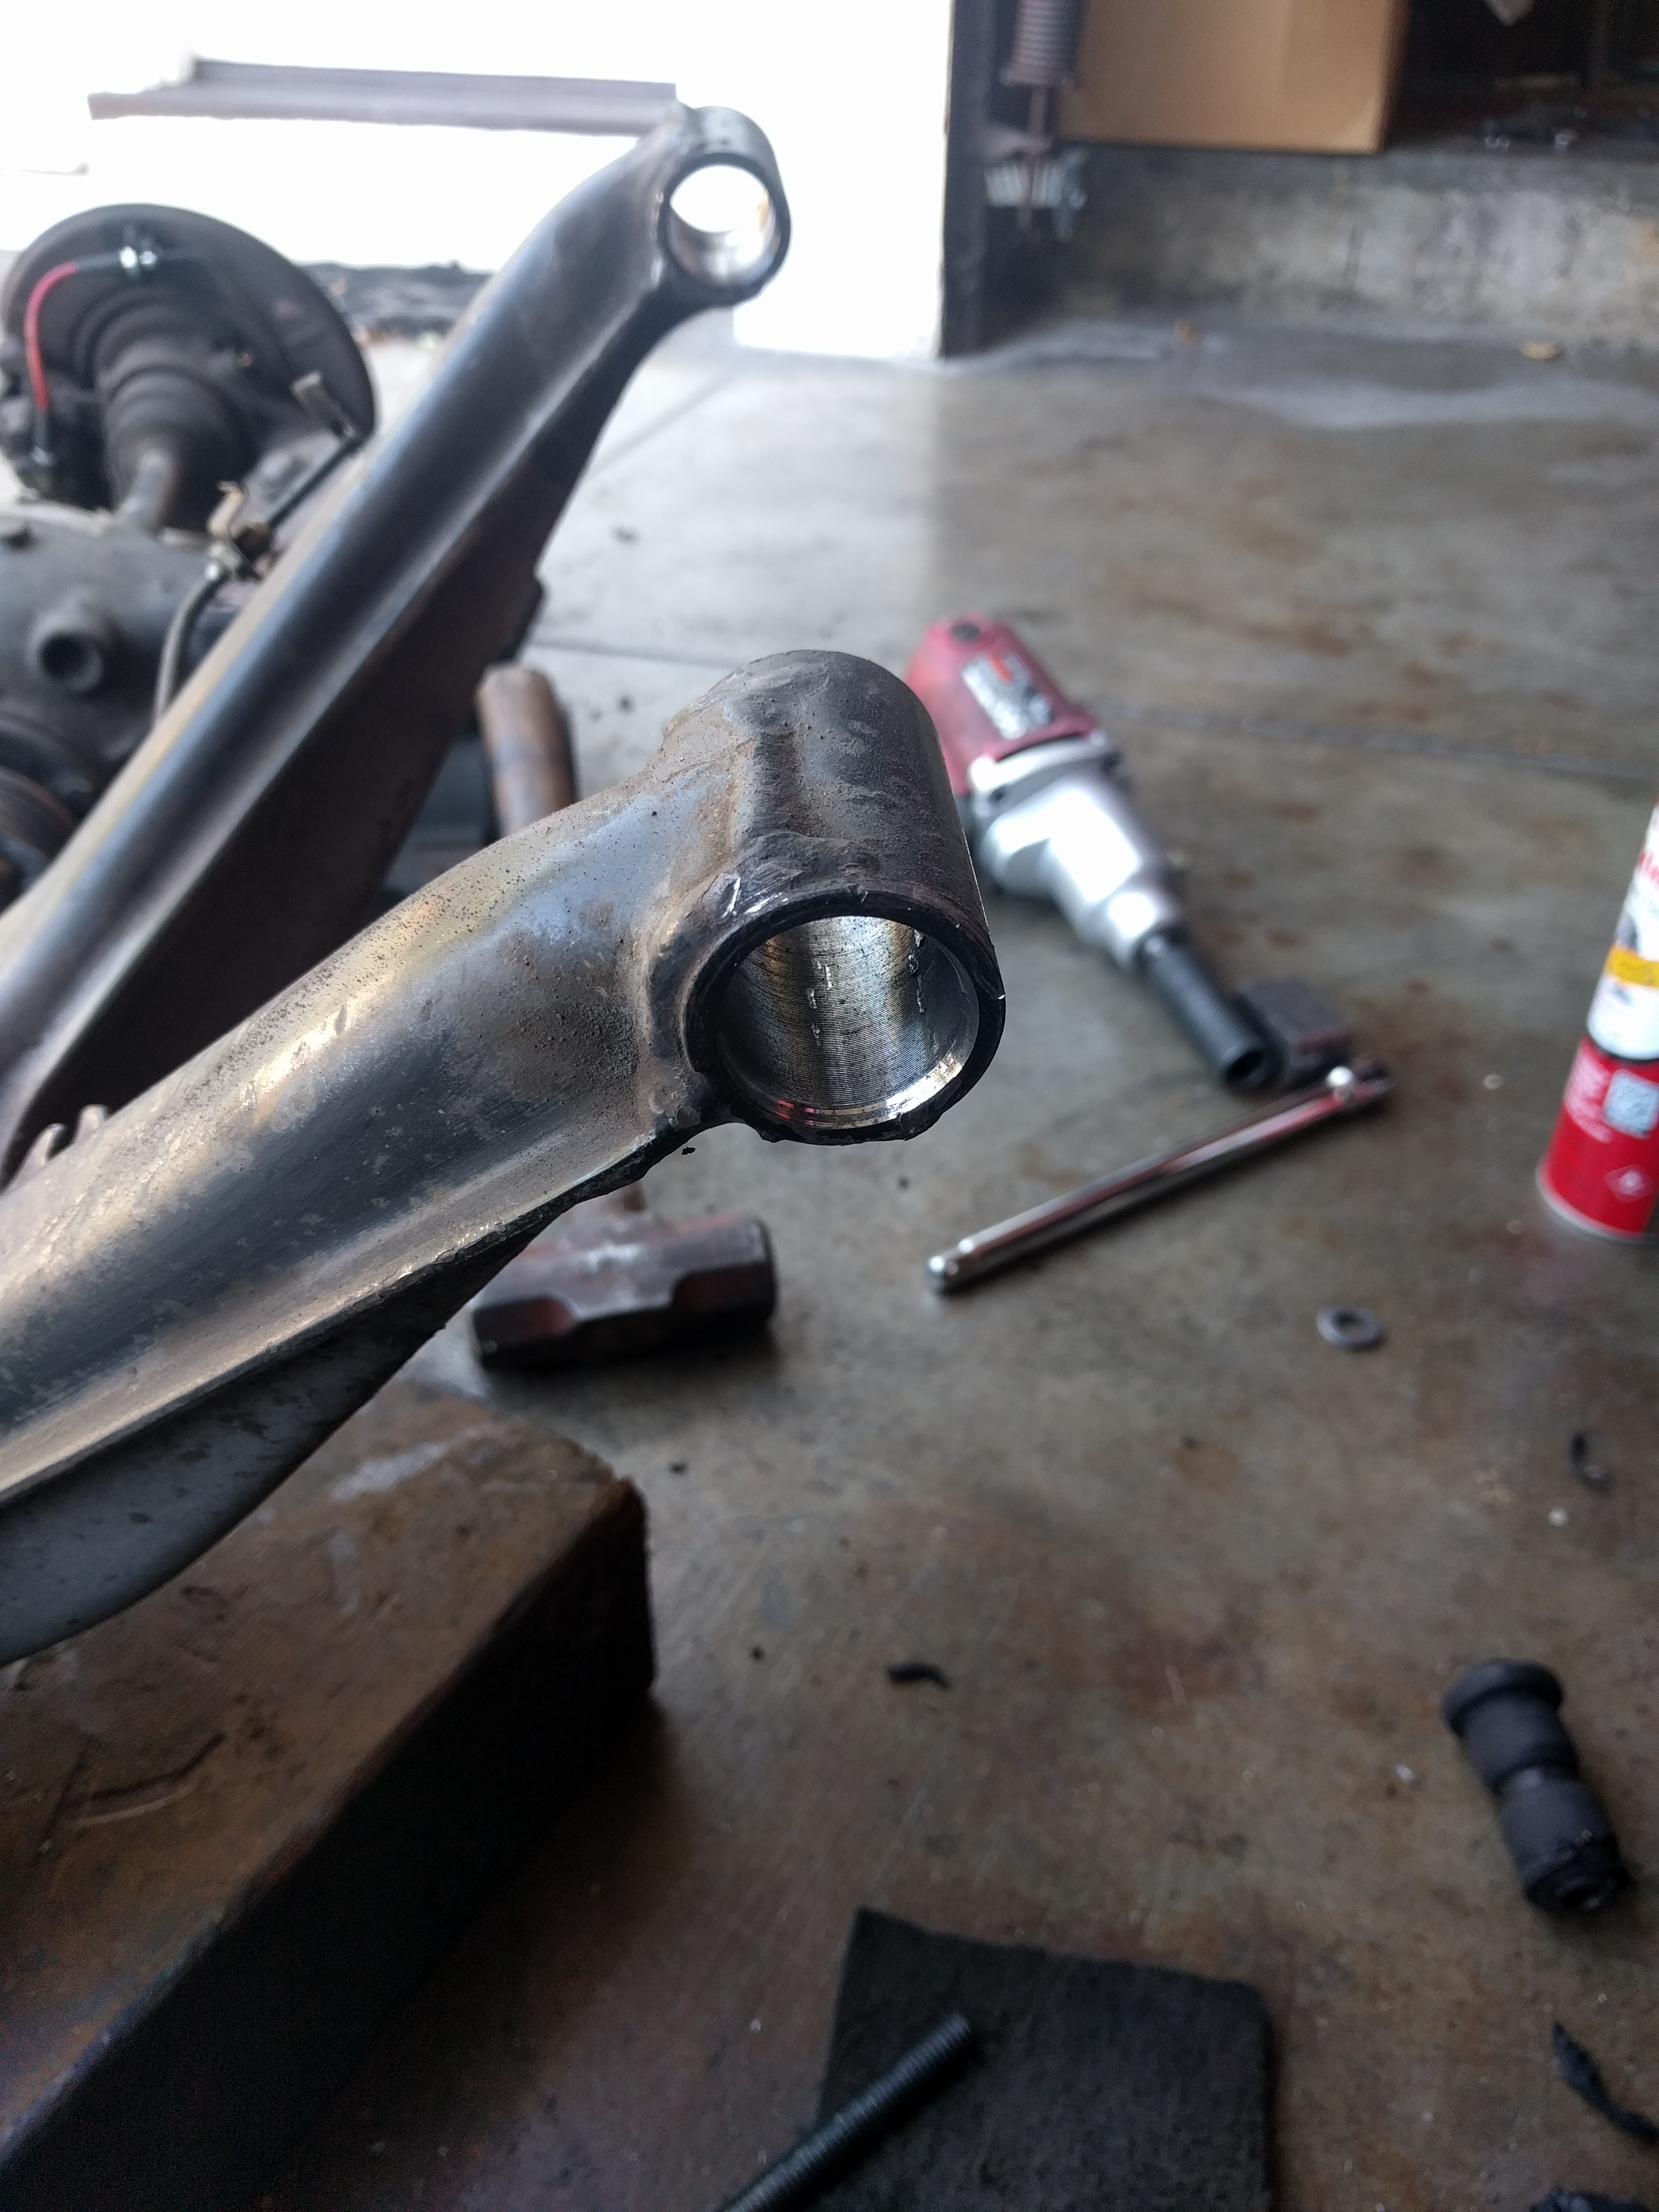
- The old RTAB finally out of the trailing arm.
-
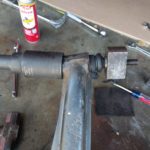
- The contraption I rigged up to install the new RTAB.
The next day I was 3500 calories heavier and ready to tackle the bushings. Planning ahead, I managed to install the AKG bushings a few weeks prior into a spare rear subframe from one of the other e30s. After a lick of paint, it was looking pretty tidy. The rest of the job wasn’t going to be so easy, as I had to reuse my existing rear trailing arms. Before I could get the old bushings out, I had to rig up a puller using threaded rod and various sockets. Seeing as the old bushings were probably original to the car, it took a lot of elbow grease to get all four of them out. Funny enough, the new bushings pressed in very easy using the ultimate in automotive lubricants: Dawn dish soap.
I steadily reassembled the rest of the rear suspension, installing the new brake lines and sway bar links in the process. I should note that I was able to remove the subframe without removing the body bolts, but you can’t leave them installed before the subframe is placed into position, otherwise the driveshaft has to come out. Removing the body bolts requires beating on them with a hammer until the knurled end pops out into the cabin under the rear seat. Once the subframe is lifted into position, the bolts are dropped back into place, then everything gets bolted together. The rest of the install is merely reverse of disassembly, but just as time consuming plus the added step of bleeding the brakes.
-
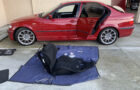
- Rear subframe prepped with new bushings and brake lines, ready to be installed back into the car.
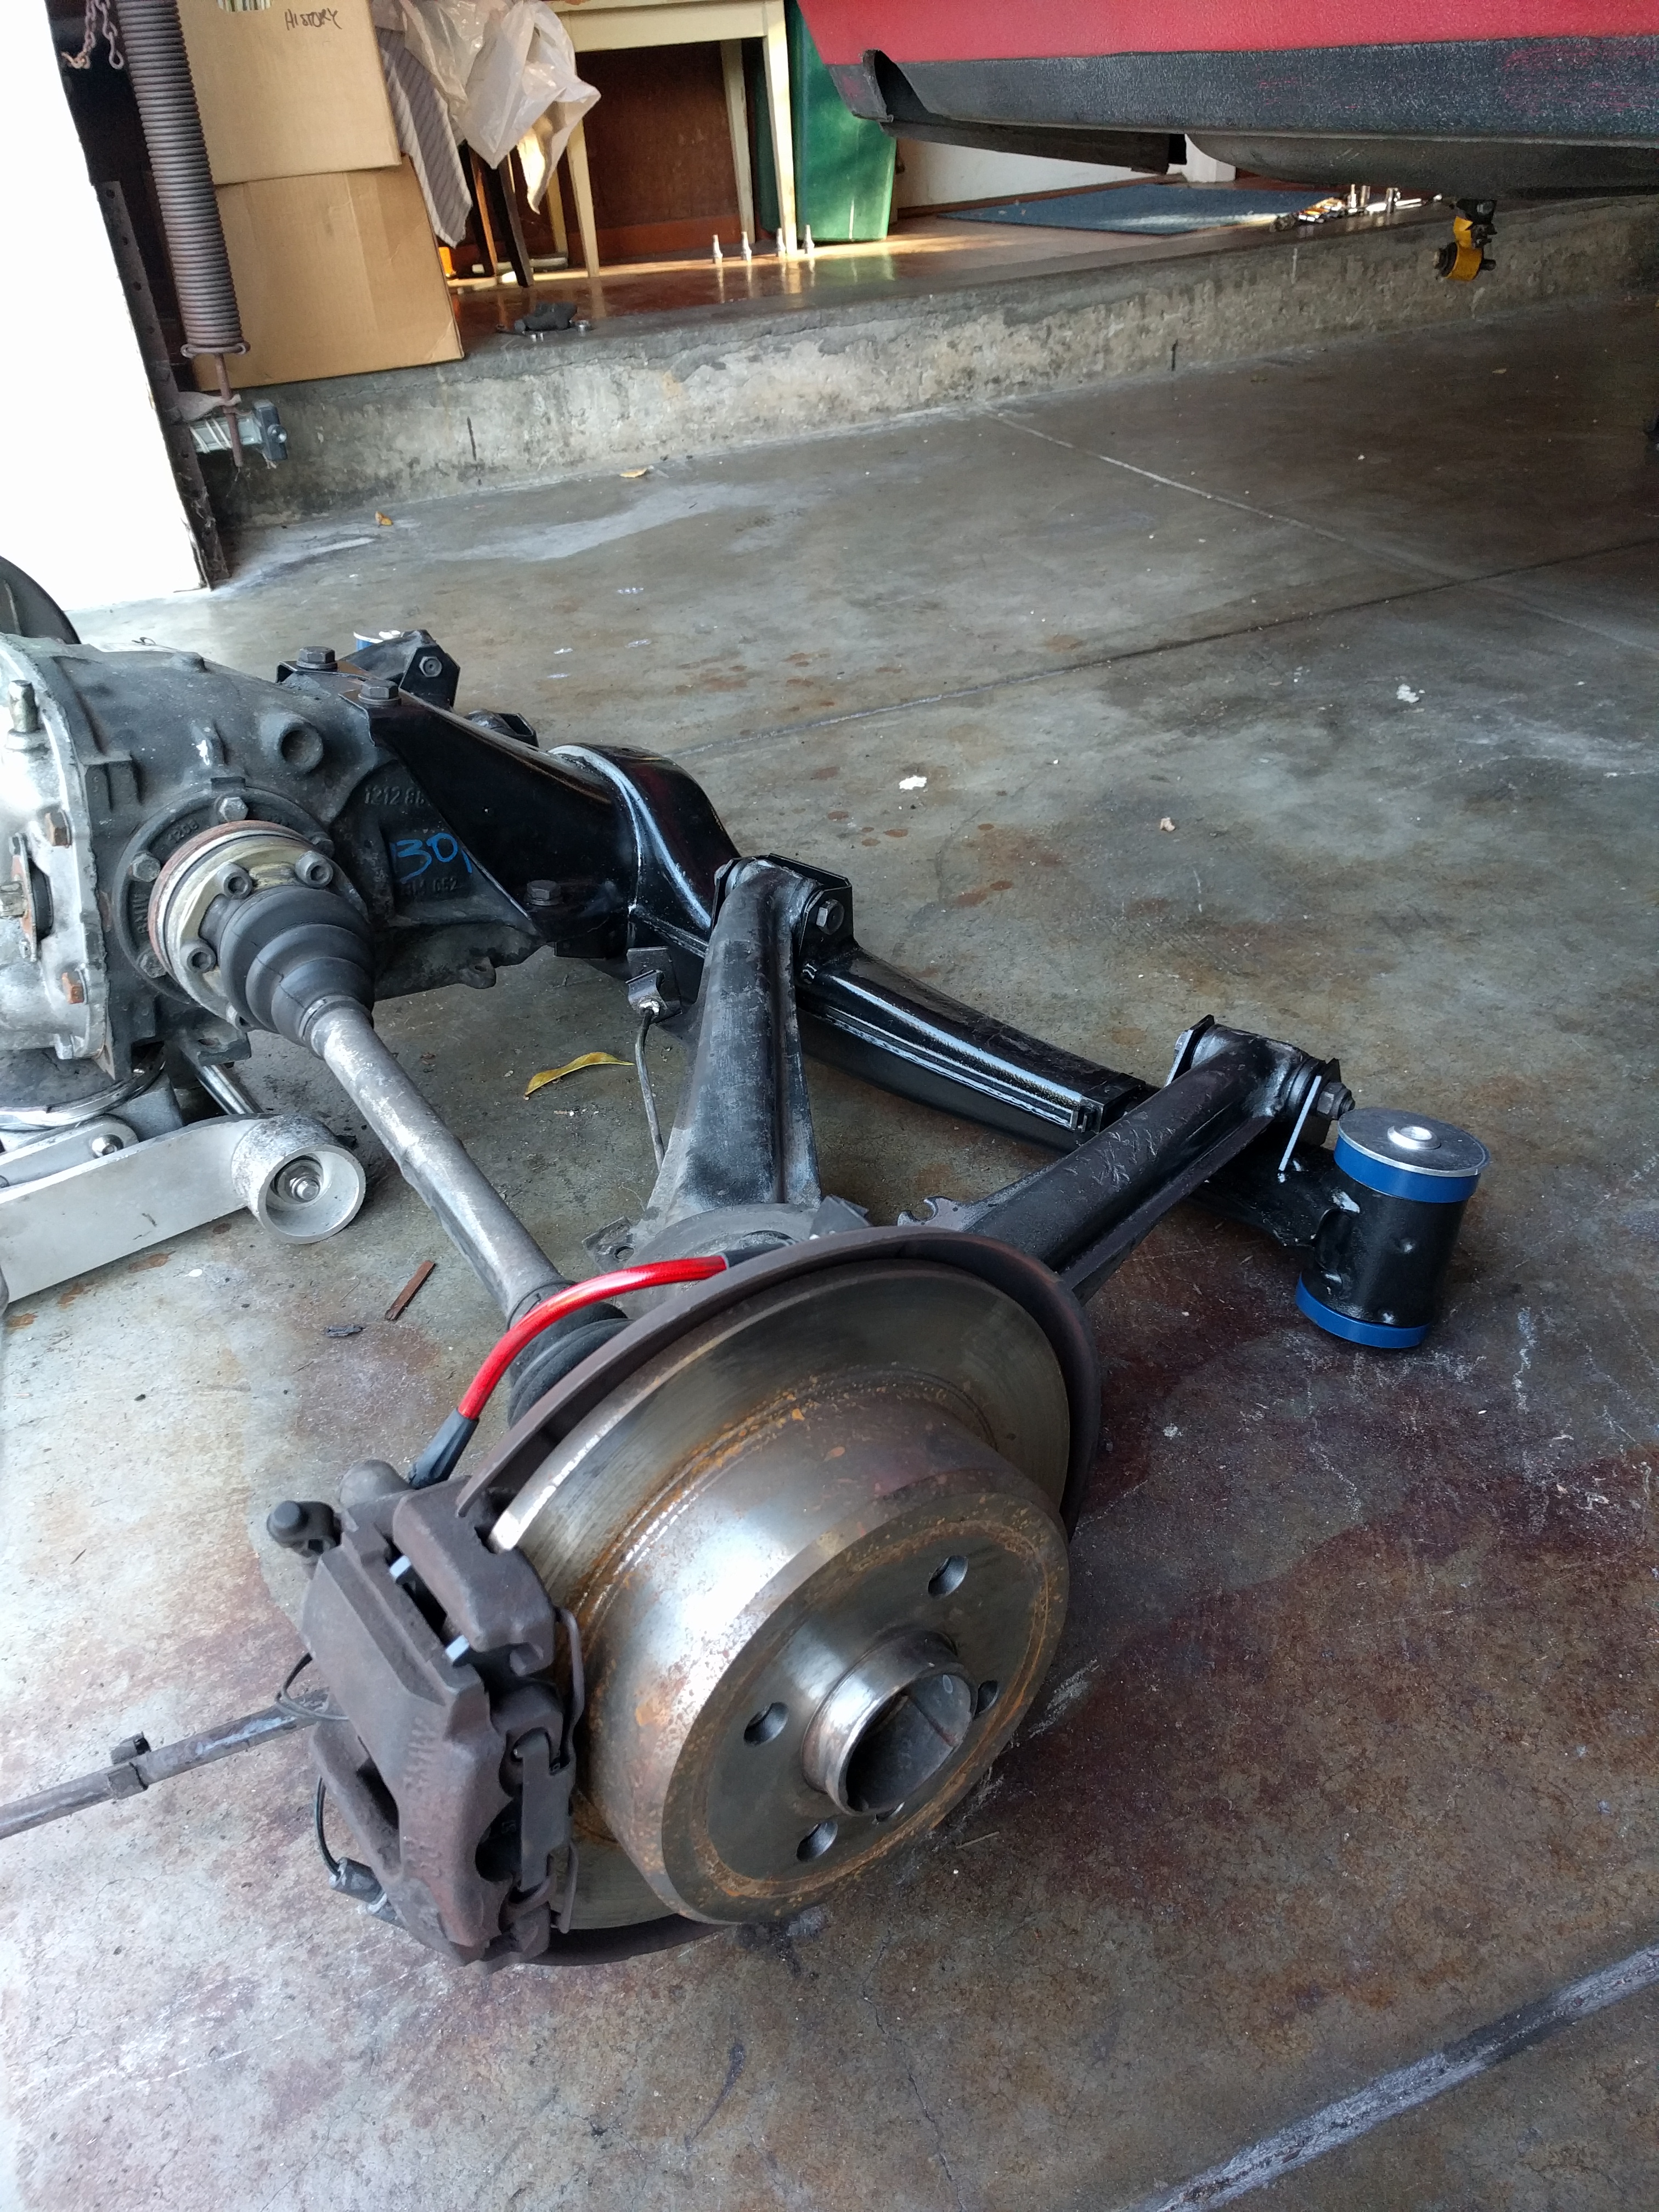
-
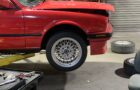
- Just slap some wheels on it and go…
-
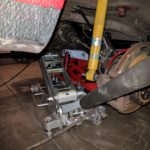
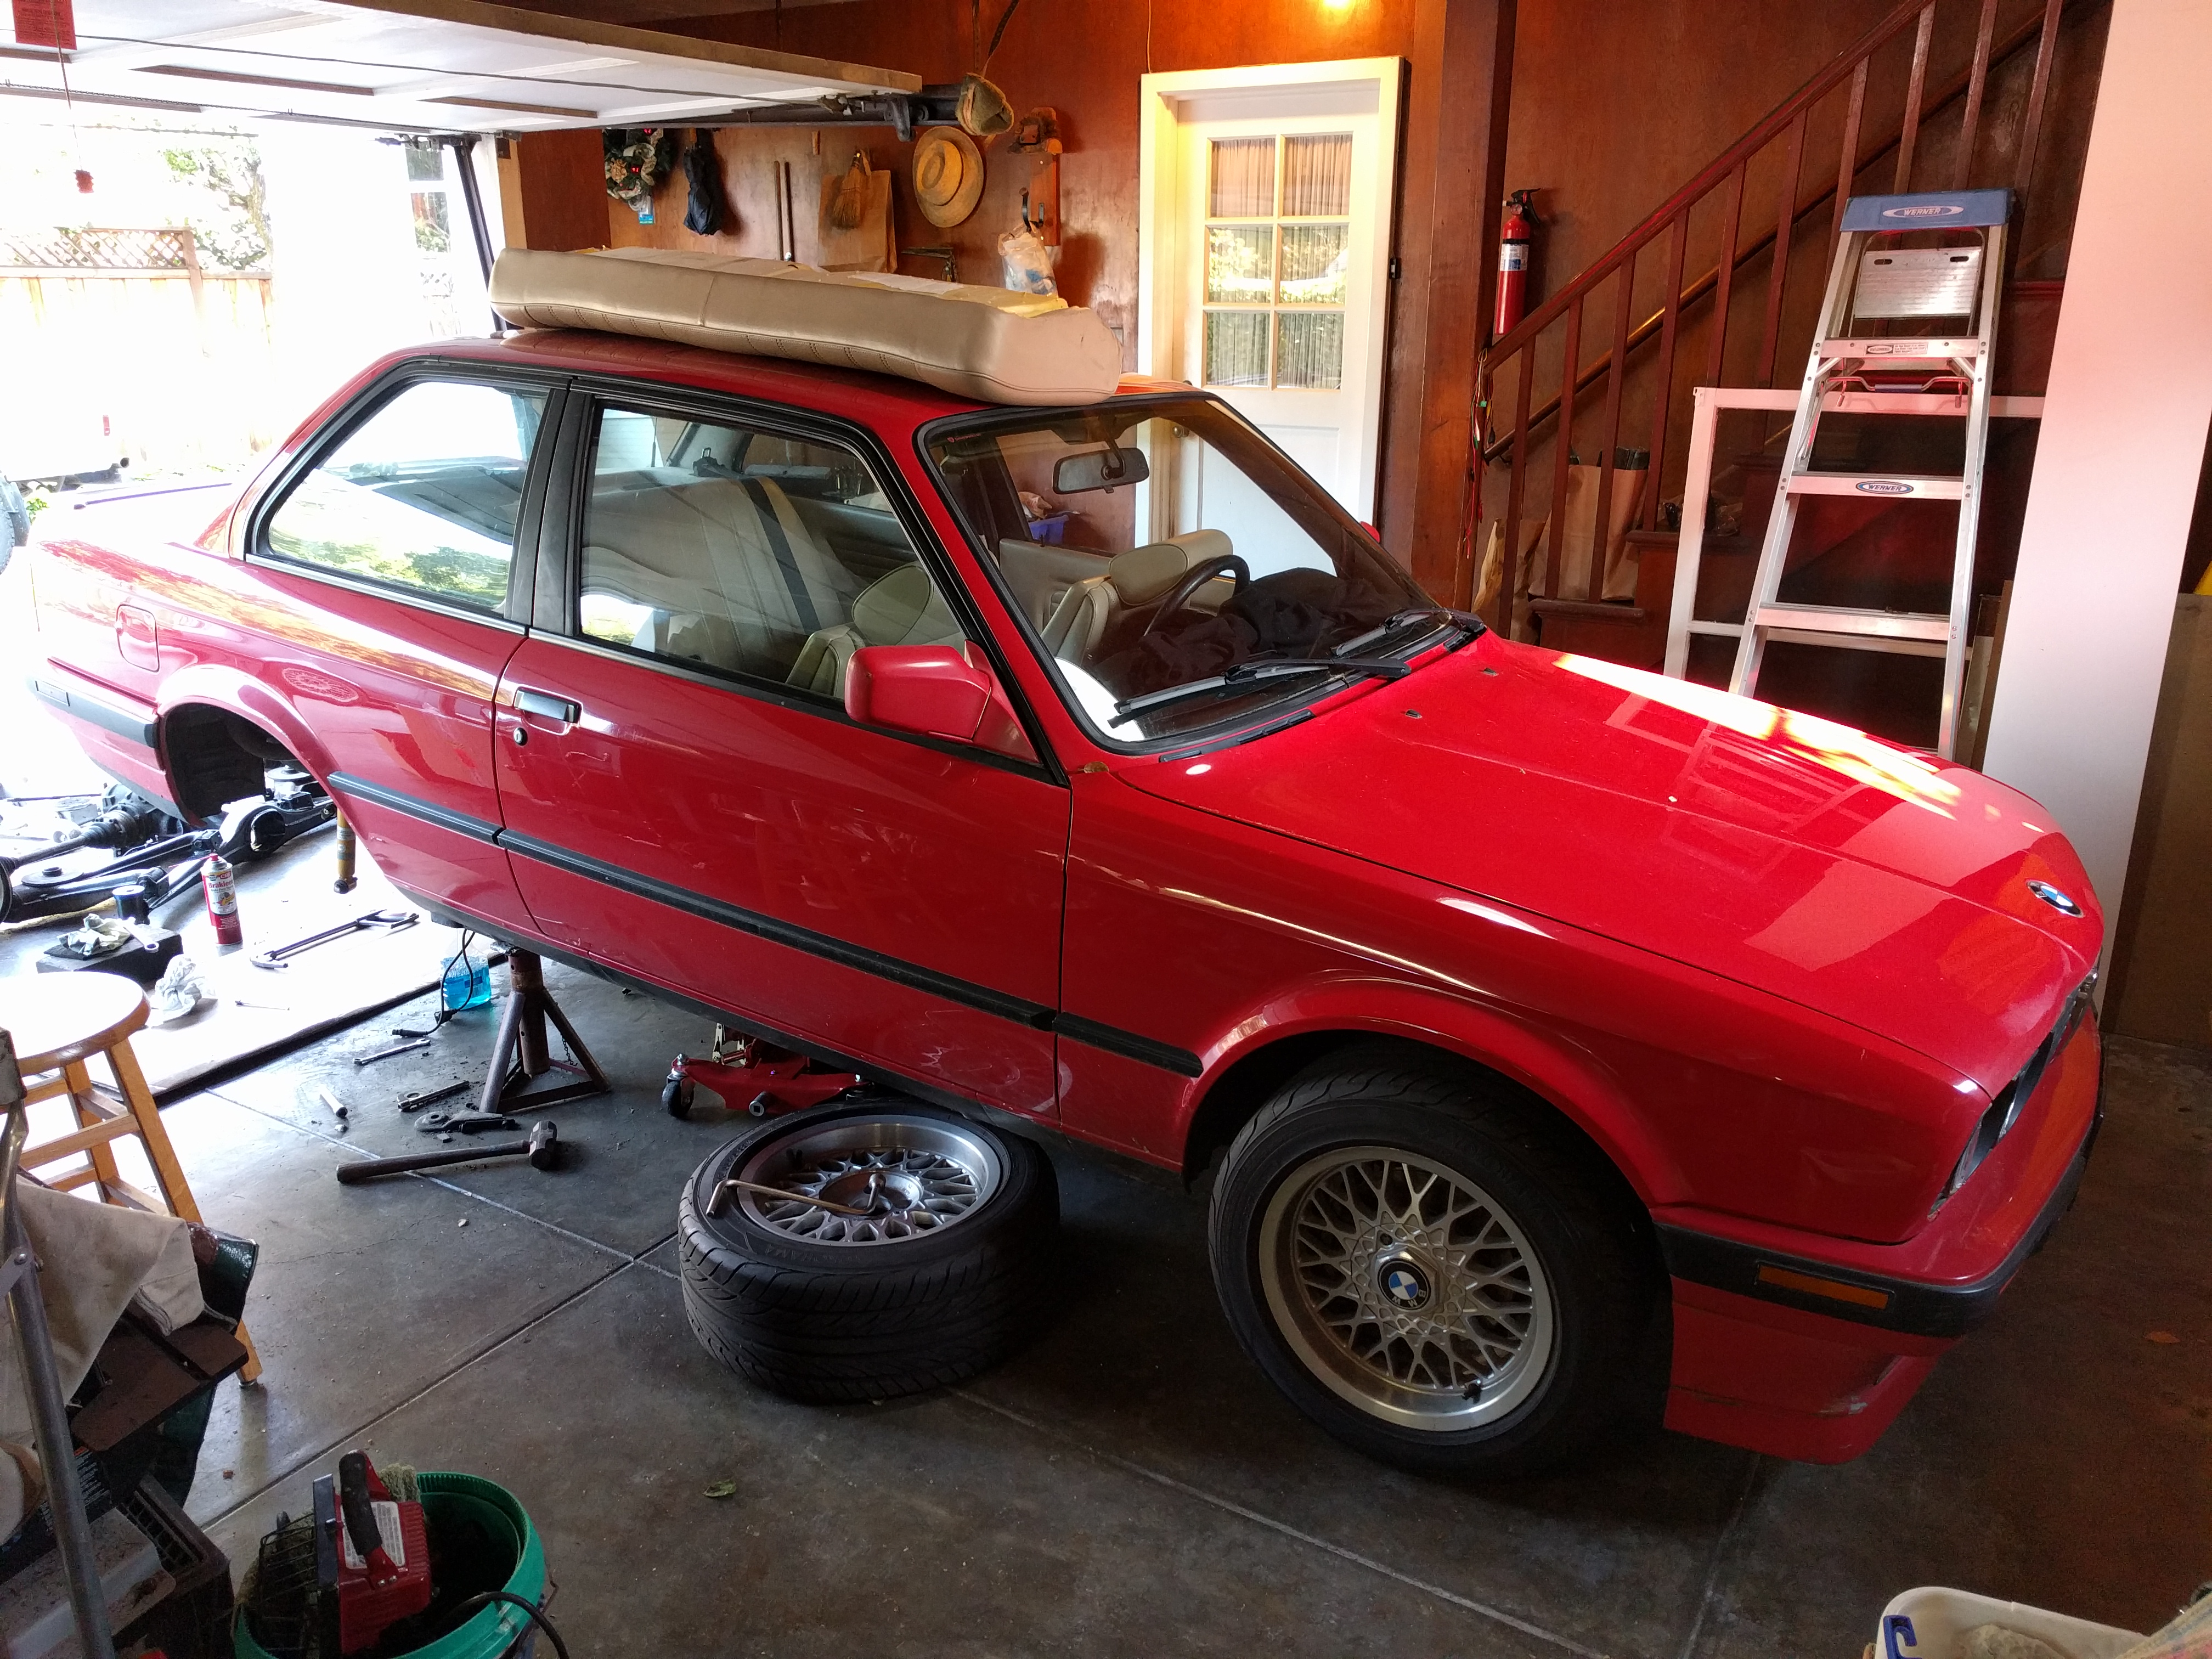
- The floor jack paired with a transmission jack was handy for getting the heavy suspension into place.
-
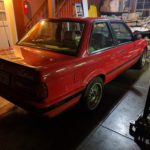
- Looking like a complete car again.
Reassemble and Forget What You’ve Done
Unfortunately once I was done with the rear suspension overhaul, I had to hop on an airplane immediately after work the next day, so there was no time to test out my hard work. In fairness, Willum’s cars have the same rear end bushings as I had installed, so I had a general sense how they should behave.
A week went by before I could work on the car again, but by the time I bled the brakes and was ready to fire up the car, the battery was dead. It was so dead that I had to yank it from the car and let the trickle charger infuse life back into. While the battery was being juiced up, this gave me the opportunity to put the muffler back on. After struggling to get one of the rubber mounts to cooperate, frustration set in and the situation was “solved” using bailing wire and zip ties. Does the exhaust look sloppy? Absolutely. Does the exhaust function for now. Sure…we’ll go with that.
-
- Freiburger and Dulcich would be proud. “Don’t hit the Dart!”
-

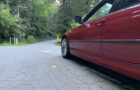
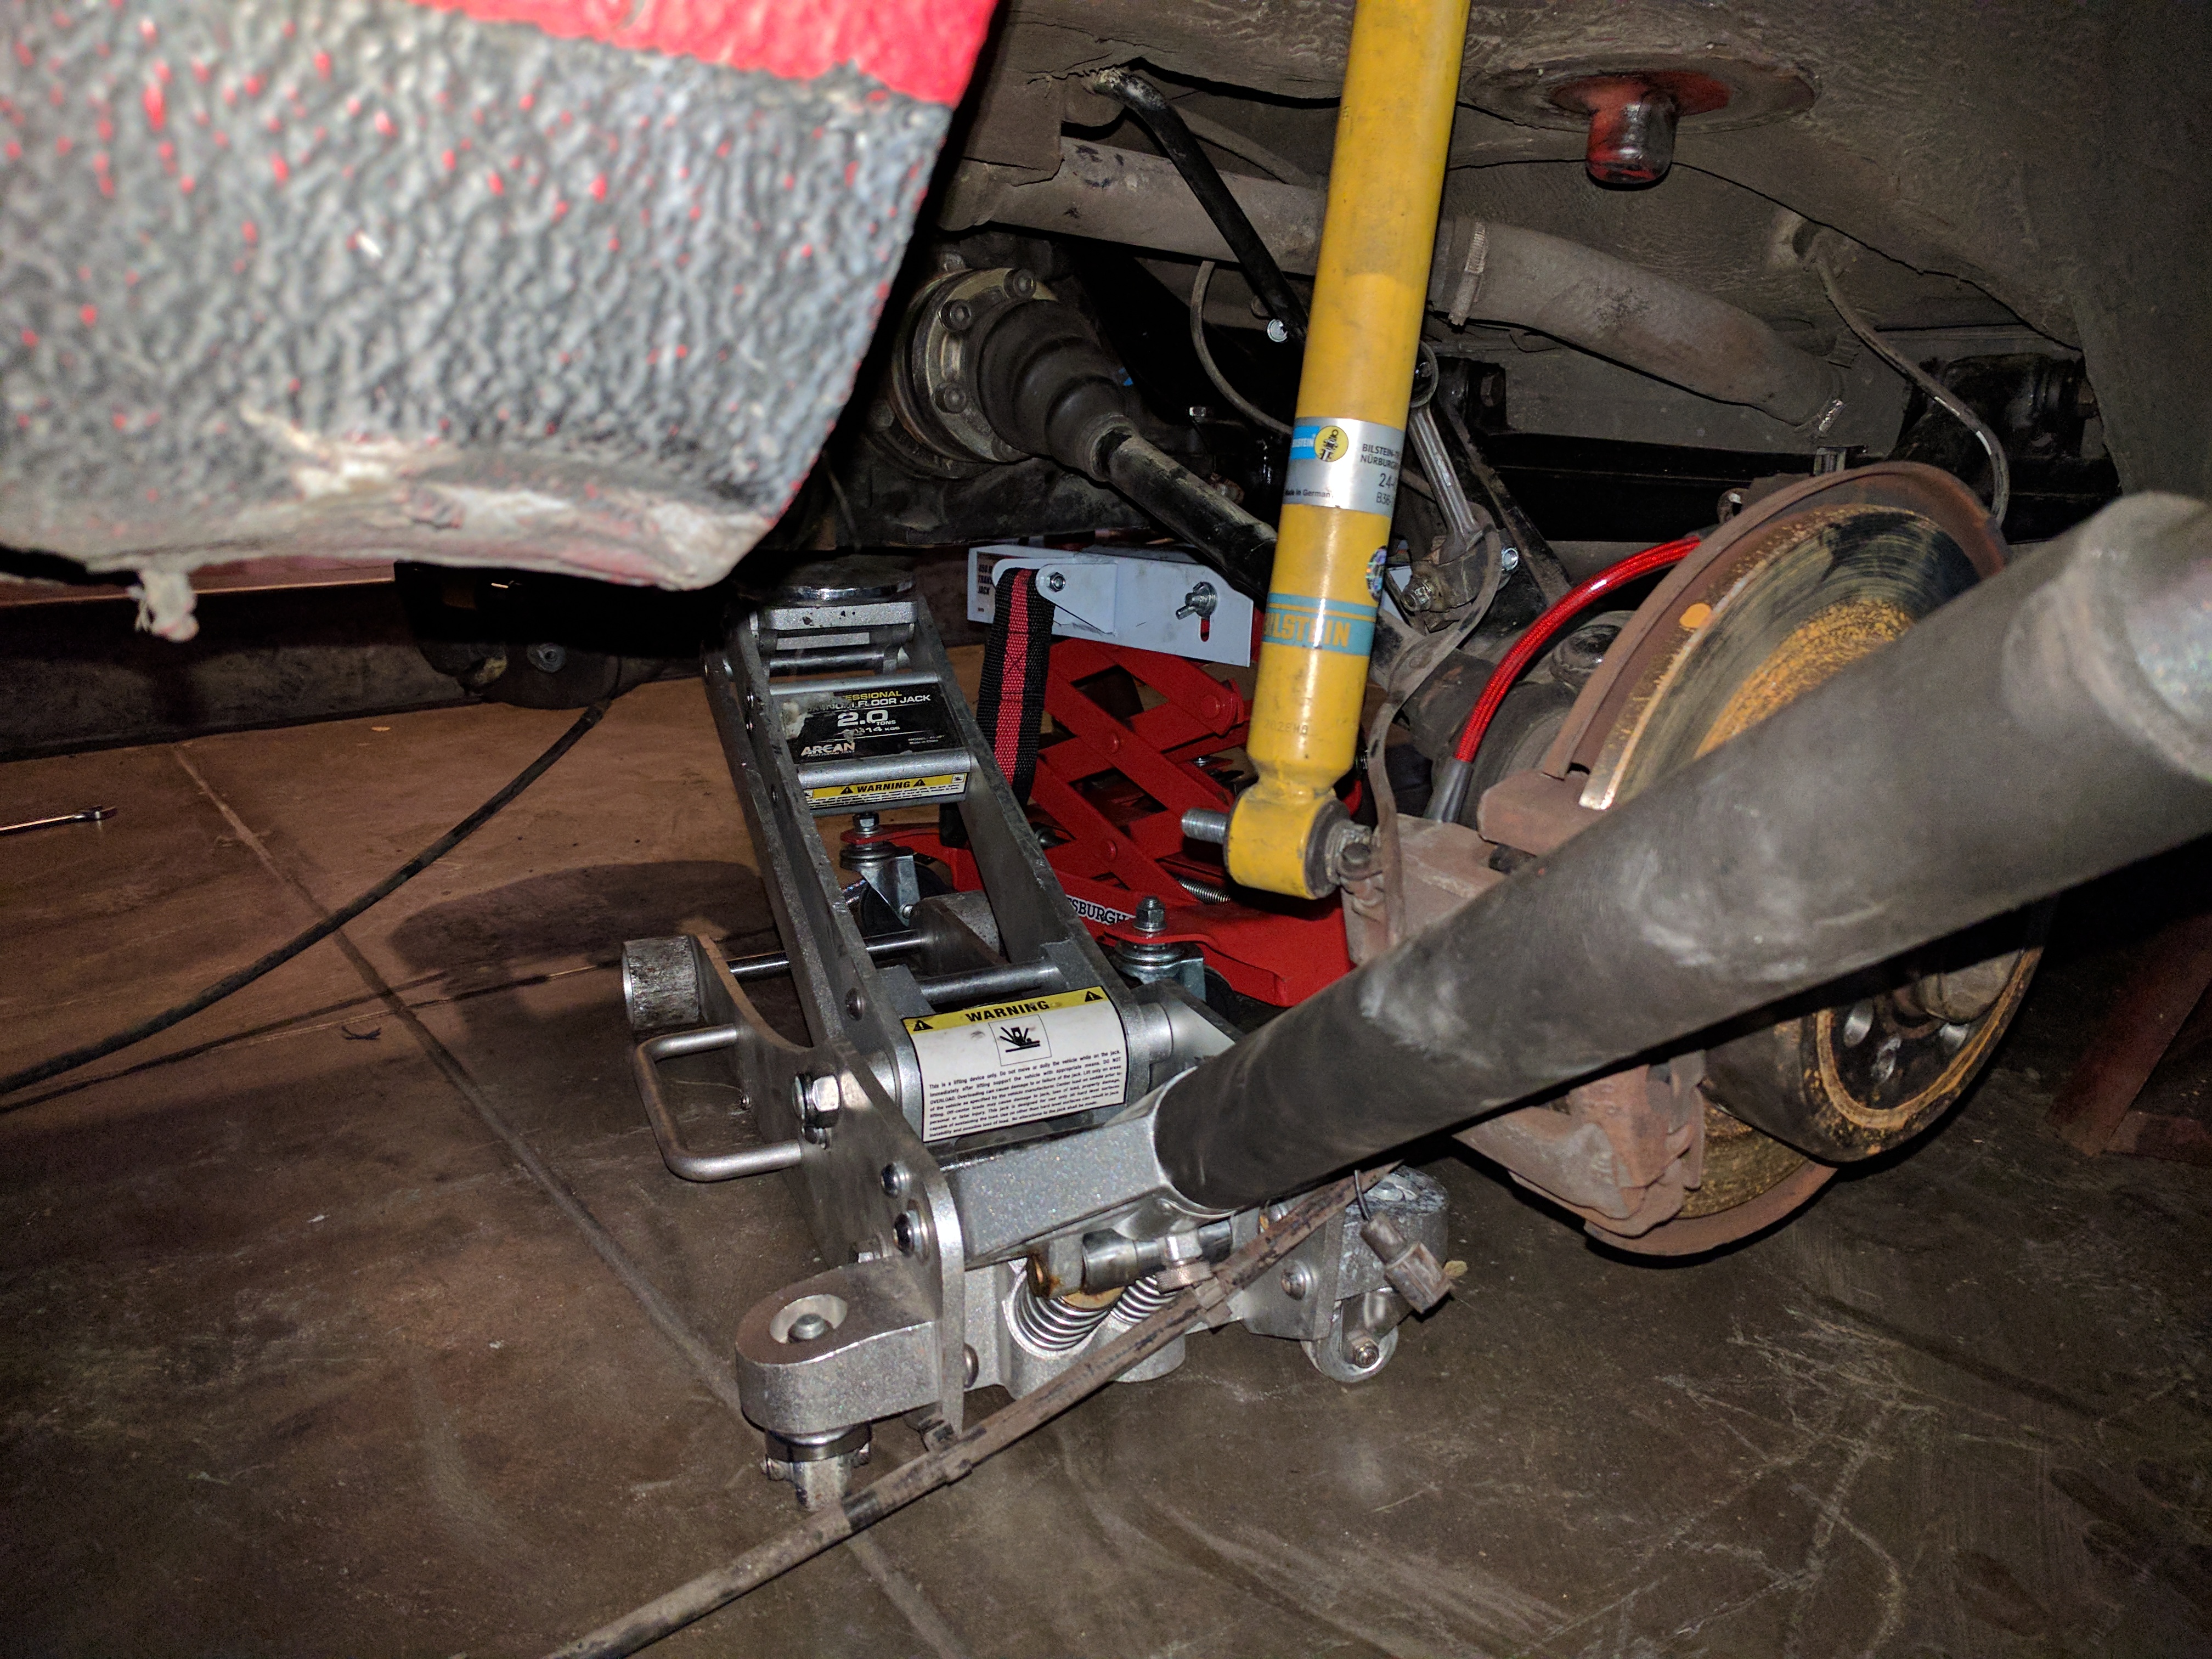
- Back in action and on the verge of destruction.
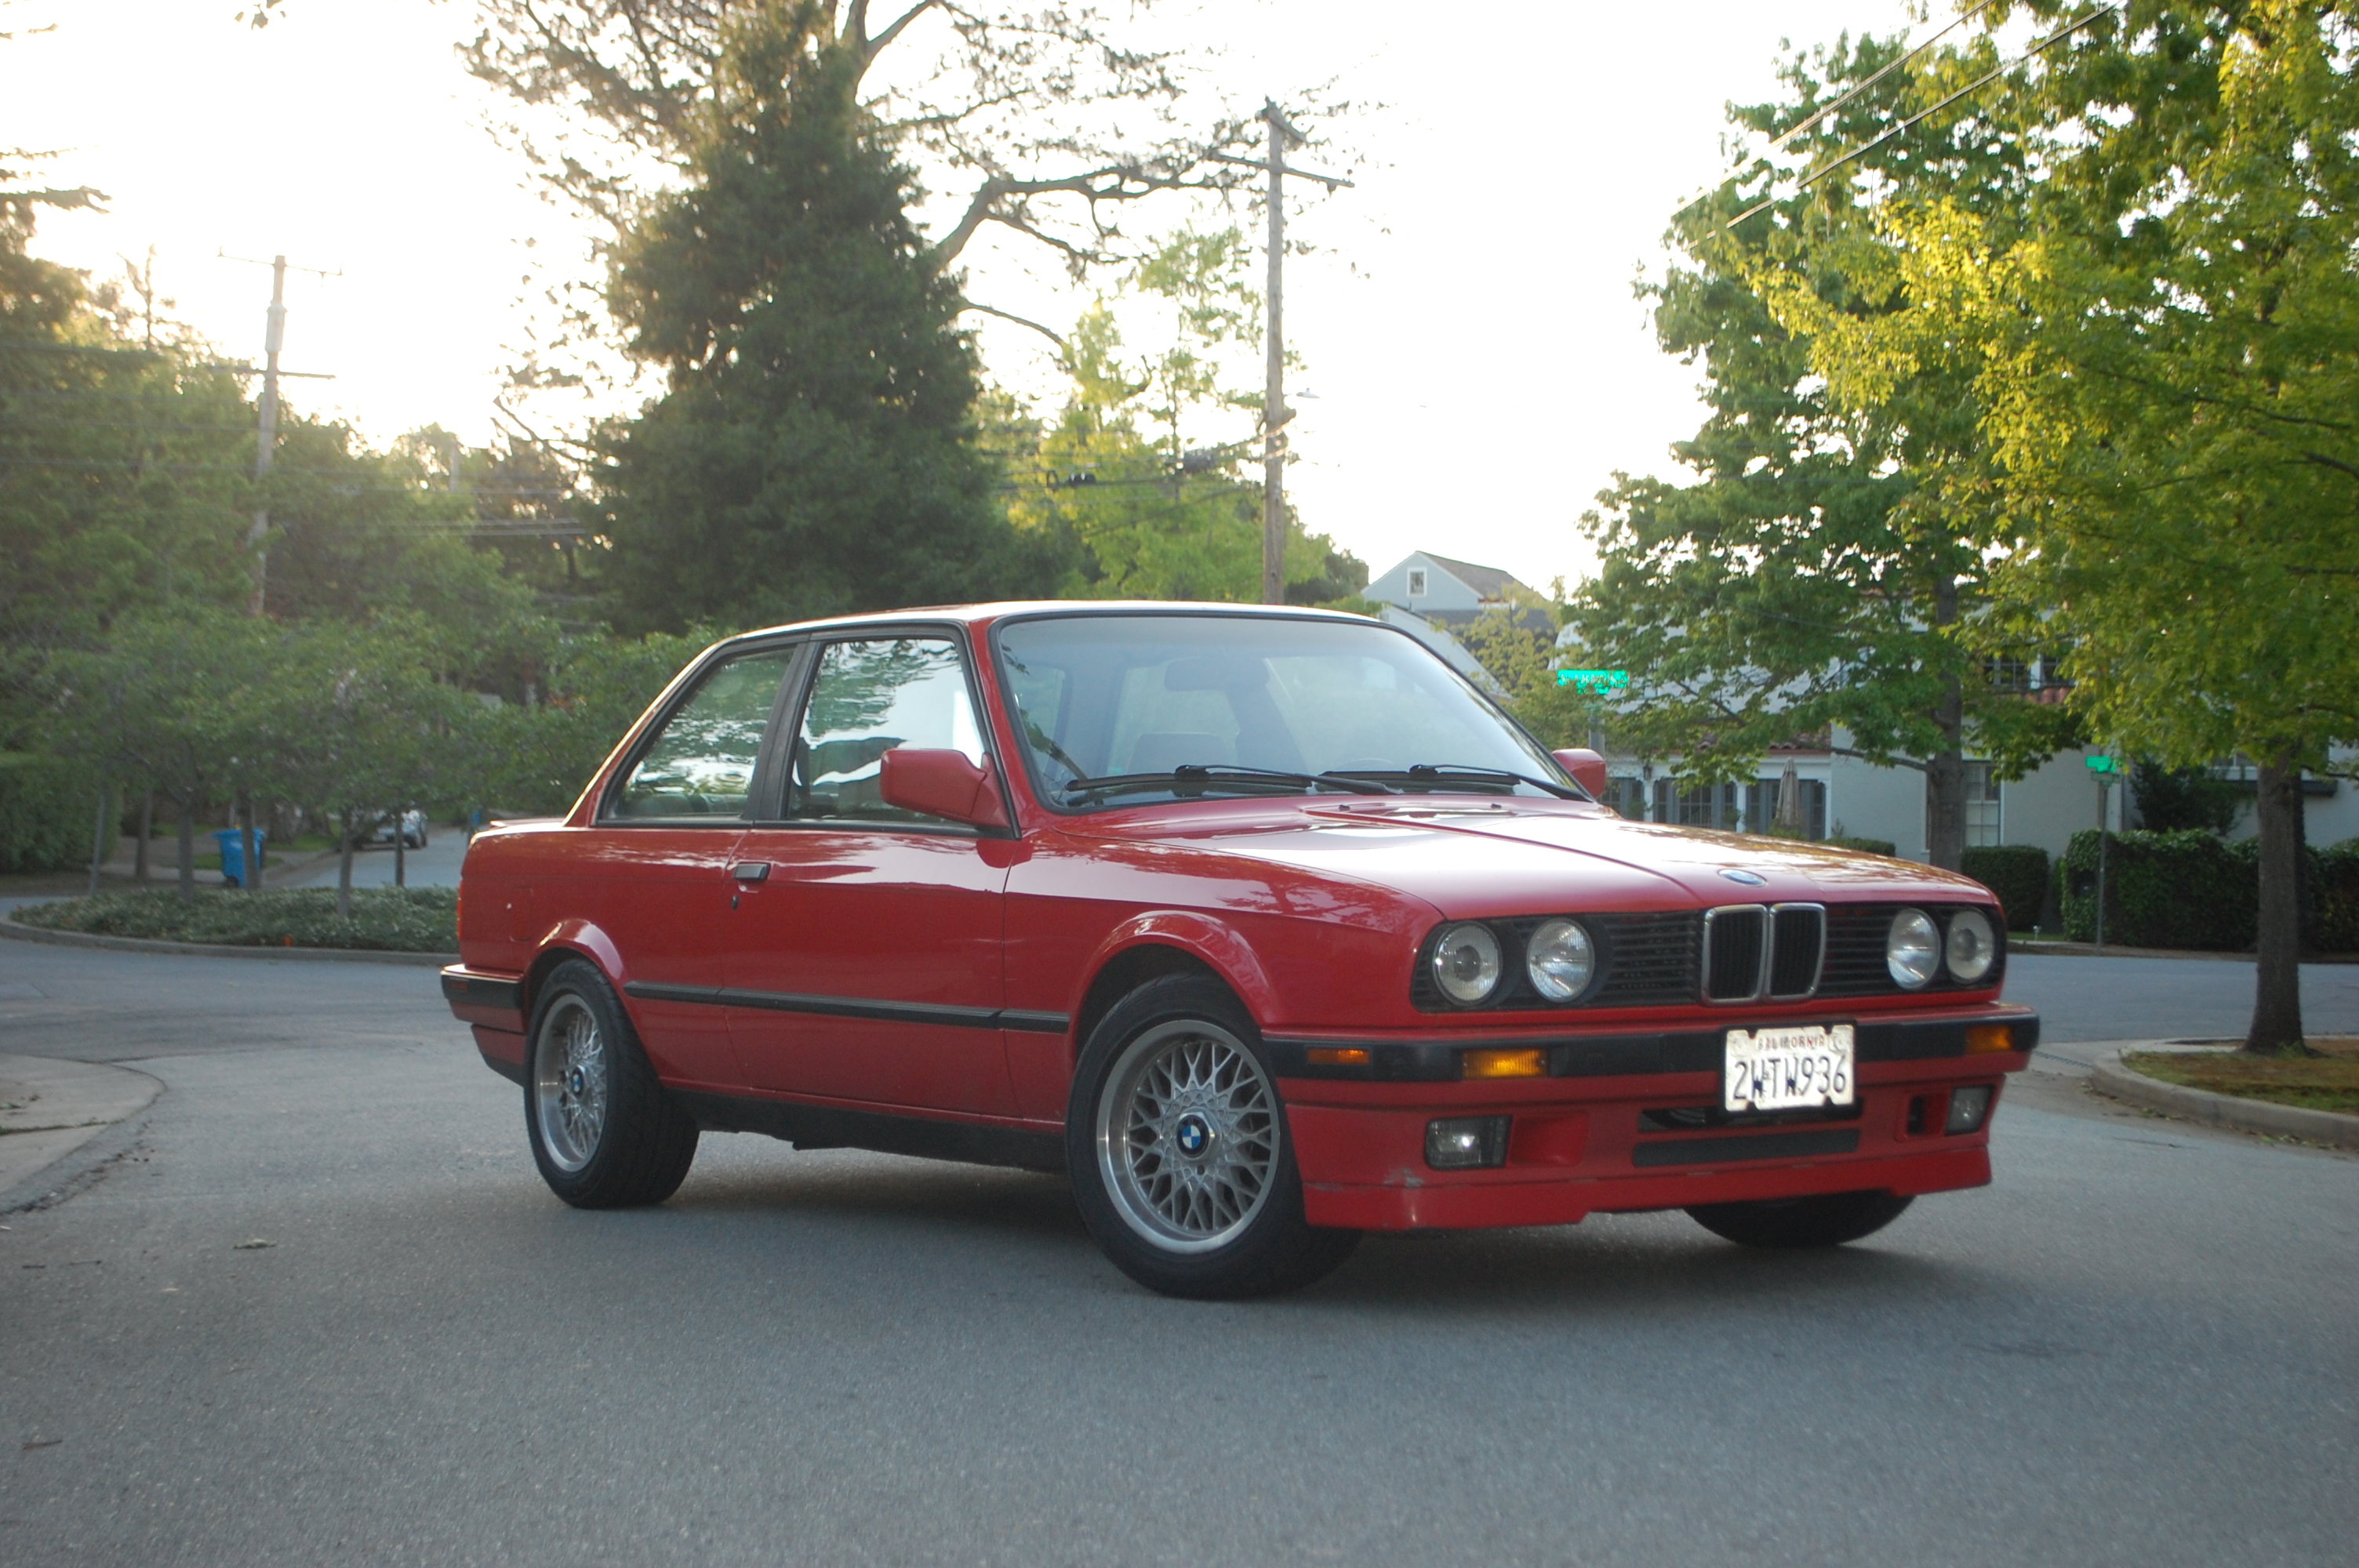
With everything buttoned up, the battery was reinstalled and the car barked to life. Pulling out of the driveway, the rear end felt noticeably more taut. The uneven roads around the neighborhood proved the car rode a bit firmer. The ride is slightly harsher with the AKG 85A subframe bushings, but that’s only because the old rubber ones were so worn out.
Overall I’m content with the refreshed rear end. Driving the car through some of the twisty roads near home has shown me how planted the rear end has become, making the car more predictable at higher speeds. Best of all, the rear suspension ride quality is still civil and free of any strange clunking noises.
The brake lines were also a welcome improvement, as noticed through the firmer brake pedal. To be fair, almost any set of new brake lines (stainless or rubber) is going to feel good in comparison to 25 year old parts. For street driving, I probably went overboard, but at least the Garagistic lines are red like the car!
The red-mobile seems to be a never-ending project, but I can live with that. Things are coming together, and it’ll be a fun little screamer if all goes according to plan. For now though, I’ll just enjoy my sorted suspension. Not because I don’t want to do further upgrades, but my arms are still sore from lifting that heavy subframe into place. I just hope nobody asks me to do another one of these anytime soon because I am exhausted, but I suppose that comes with the territory of owning an e30. If I knew I was going to be this tired, I would have been better off pledging for a fraternity. At least they feed you beer. “Thank you sir, may I have another.”
-JC
Feel like tackling your e30’s rear subframe? Here are the upgraded parts we used:
Garagistic Stainless Steel Brake Lines