One word: Plastics. No, I’m not giving advice from 1967 concerning an industry with a great future, but rather that most cars built within the last 20 years are chock full of plastic panels that cover virtually anything and everything. If you’re the type of person that just hops in the car and drives off to work, then you have nothing to worry about and you can continue to explain how your upcoming app that translates dog barks into French is just what the market needed.
Cross Country Shipping
Over the years, the factory plastic underpanels get killed in action, typically fighting the great wars of steep angled driveways and parking stops. The plastic “pork chops” as they’re called aren’t very durable, but they do add a mild layer of protection for the underside of the engine. When these underpanels are no longer present, the belts are exposed to water and road grime, so no forging rivers unless you want to hear the wail of wet belts.
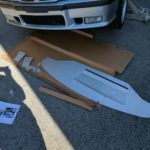
- The underpanel with all the associated hardware and optional radiator baffle.
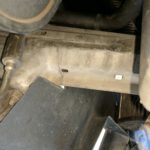
- Here are the slots in the frame rail for the plastic screw inserts. Some cars may require drilling the second slot.
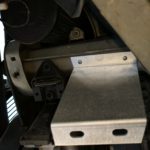
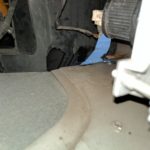
- The hanger bracket installed into position. Hard to see, but the flat side points towards the front, and the bottom bend faces inward.
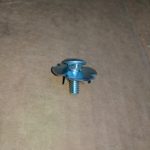
- This is the carriage bolt and anchor combo used to secure the panel to the bumper itself.
There are several options to replace the factory under panel with a more durable solution, but Motion Motorsport of Massachusetts seems to be the current favorite. Like most of the underpanels, it’s intended for an M3 style front bumper. You can order the aluminum panel by itself, or for an extra 37 clams you can add the radiator baffle which is said to reduce coolant temps by up to 15 degrees on a race track. With all my intense city driving of dodging pot holes and Uber drivers that think double-parking is an acceptable practice, I will most certainly see the benefits (uh…no). At least it looks cool.
Installing the Overkill
The panel is as wide as the bumper it sits under, and packaging is just as large. Included are a set of instructions and all the hardware needed to complete the install. To get started, you need to pop the plastic screw inserts into place. Locate the square slots on the underside of the front frame rails. Supposedly 1995 M3’s and non-M cars have only 1 slot on each rail, so you may have drill additional holes. My car is a 1996 328is, and both slots were present, meaning there’s no guarantee what you may find. The hanger brackets are oriented with the flat edge facing forward, and the lower face pointed inwards towards the motor. Use the supplied screws to mount the hanger brackets to the frame rails.
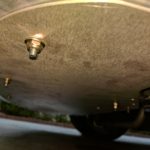
- Once the hardware is tightened down, the anchors dig into the plastic of the bumper for sturdy mounting. Purists beware!
- Nyloc nuts go on the bottom of the carriage bolts to make the panel sit snug against the bottom of the bumper.
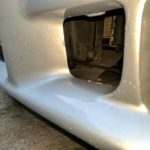
- If you look closely, you’ll see the baffle that will force more airflow into the radiator. On a street car, this is simply bling.
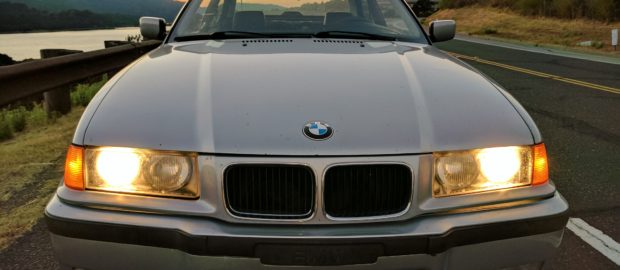
- Out for a cruise.
If your panel doesn’t have the radiator baffle, then you can move on. Since I opted for the baffle, I had to mount it to the underpanel before moving onto the next steps. The baffle is merely an angled piece of aluminum with predrilled holes that are riveted into slotted holes on the panel itself. You’ll need to punch out the opening for the auxiliary fan connector, then rivet the baffle onto the panel. The slotted mounting holes allow you to adjust the positioning. I simply put mine in the center as my test fit didn’t show any interference, but every car is different.
Using four bolts and four nuts, hang the panel onto newly installed rear frame hangers. Now it’s drill time. Equipped with a power drill and ¼” drill bit, line up the panel under the bumper and use the holes in the panel as pilot holes into the bumper. It’s ok to be generous with the size of the holes which will help with any last minute fitment issues. An option is to drill the lower fender liners as an extra mounting point, but probably not worth the hassle if yours are chewed up like mine were from wider wheels.
This is where things get a bit fiddly. For each hole, you’ll need a carriage bolt, an anchor, and a nyloc nut with a washer. With the panel drooped, the carriage bolt and anchor are fed down into the bumper’s drilled holes. The metal underpanel will be lifted into position and the nut and washer can be threaded onto the protruding threads. Keep everything loose until all the carriage bolts are in position, then you can go about tightening everything down. The anchors on the inside of the bumper have teeth that will dig into the plastic when tightening the nyloc nuts. Don’t forget to tighten the rear hanger nuts too!
Alright, alright, alright. Everything is tightened into position and we’re ready to hit the road. After giving the bumper a quick tug, it’s very clear the underpanel isn’t going anywhere. The downside to this is the bumper seems like it has to be removed if you want to access anything in the general vicinity, but it’s really just a few nuts and screws. I’m ok with that compromise.
Road Ready
On the surface streets, the only tangible benefit to the underpanel is knowing the undersides of the accessories aren’t vulnerable to road debris. The freeway speedway though is where I noticed a nice difference. By no means is the e36 an aerodynamic car. Between all the squares and rectangles, it could only be deemed streamline when compared to an 80s Volvo. That being said, the wind pounds the poor Bimmer at high speeds. Now with Motion Motorsport underpanel is in place, the front end seems to have gained more stability from properly directed airflow. For most of my driving this won’t be a concern, but long trips on I-5 should be a little smoother. Toss in a set of offset control arm bushings for extra caster, and the e36’s suspension should be pretty dialed.
For the track junkies, I think this is a cost effective solution for keeping the front end in check, and Motion Motorsport sells an adjustable splitter made to work with underpanel in case you need to go extra fast. On the street, the underpanel is more than up to the task of daily driving. The bumper has become more of a structural element and should stay intact during hasty parking jobs. If I can get my OBD2 reader to work properly, I should be able to pull live coolant temperature readings from the ECU and verify whether the baffle makes a difference in street cars. Overall I’m pleased with the end result. The best part though is that’s I’ve saved myself a trip to the stealership parts counter for a piece of overpriced plastic. Until it’s Saturday afternoon and everything else is closed. “Will that be credit or debit, sir?”
-JC
Interested in installing an underpanel for your e36? Here’s the one we used:

