
As long as you’re semi-handy with a wrench, doing basic repairs on most cars isn’t too daunting. By contrast, exotic supercars instill fear that you’re not authorized to do anything but drive the car and add fuel to the tank unless you’re a certified technician. When Mr. Kyle said he purchased and wanted to install a set of R-Tuned carbon fiber side blades for his R8, it was time to educate myself in the wide world of Audi parts diagrams.
The R8 is a striking car right off the showroom floor, so it’s tough to improve upon the looks of the Four Rings’ flagship. Nevertheless, swapping side blades still remains popular within the R8 community. It’s been done time and time again, so we thought it was worth giving it a go. While the raging bull Audi isn’t the typical canvas to try our hands at amateur body work, it shouldn’t be too complicated, right?
Don’t Touch!
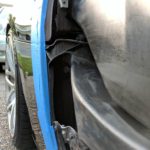
The internet strongly suggests starting with the driver’s side blade, as that’s the simpler side. There’s two Torx bolts in the vent area (one down low, and one up top under a plastic cover). With the bolts removed, the only thing keeping the blade mounted are 4 guide pins and some double-stick tape. If you value the paint, taping up the surrounding area is strongly encouraged in case sharp objects are prone to becoming projectiles. With some careful, but forceful tugging, the side blade can be freed from the car.
-
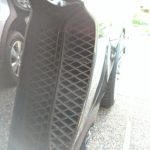
- Removal of the blade starts with the Torx screws inside the side blade.
-
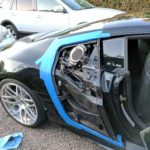
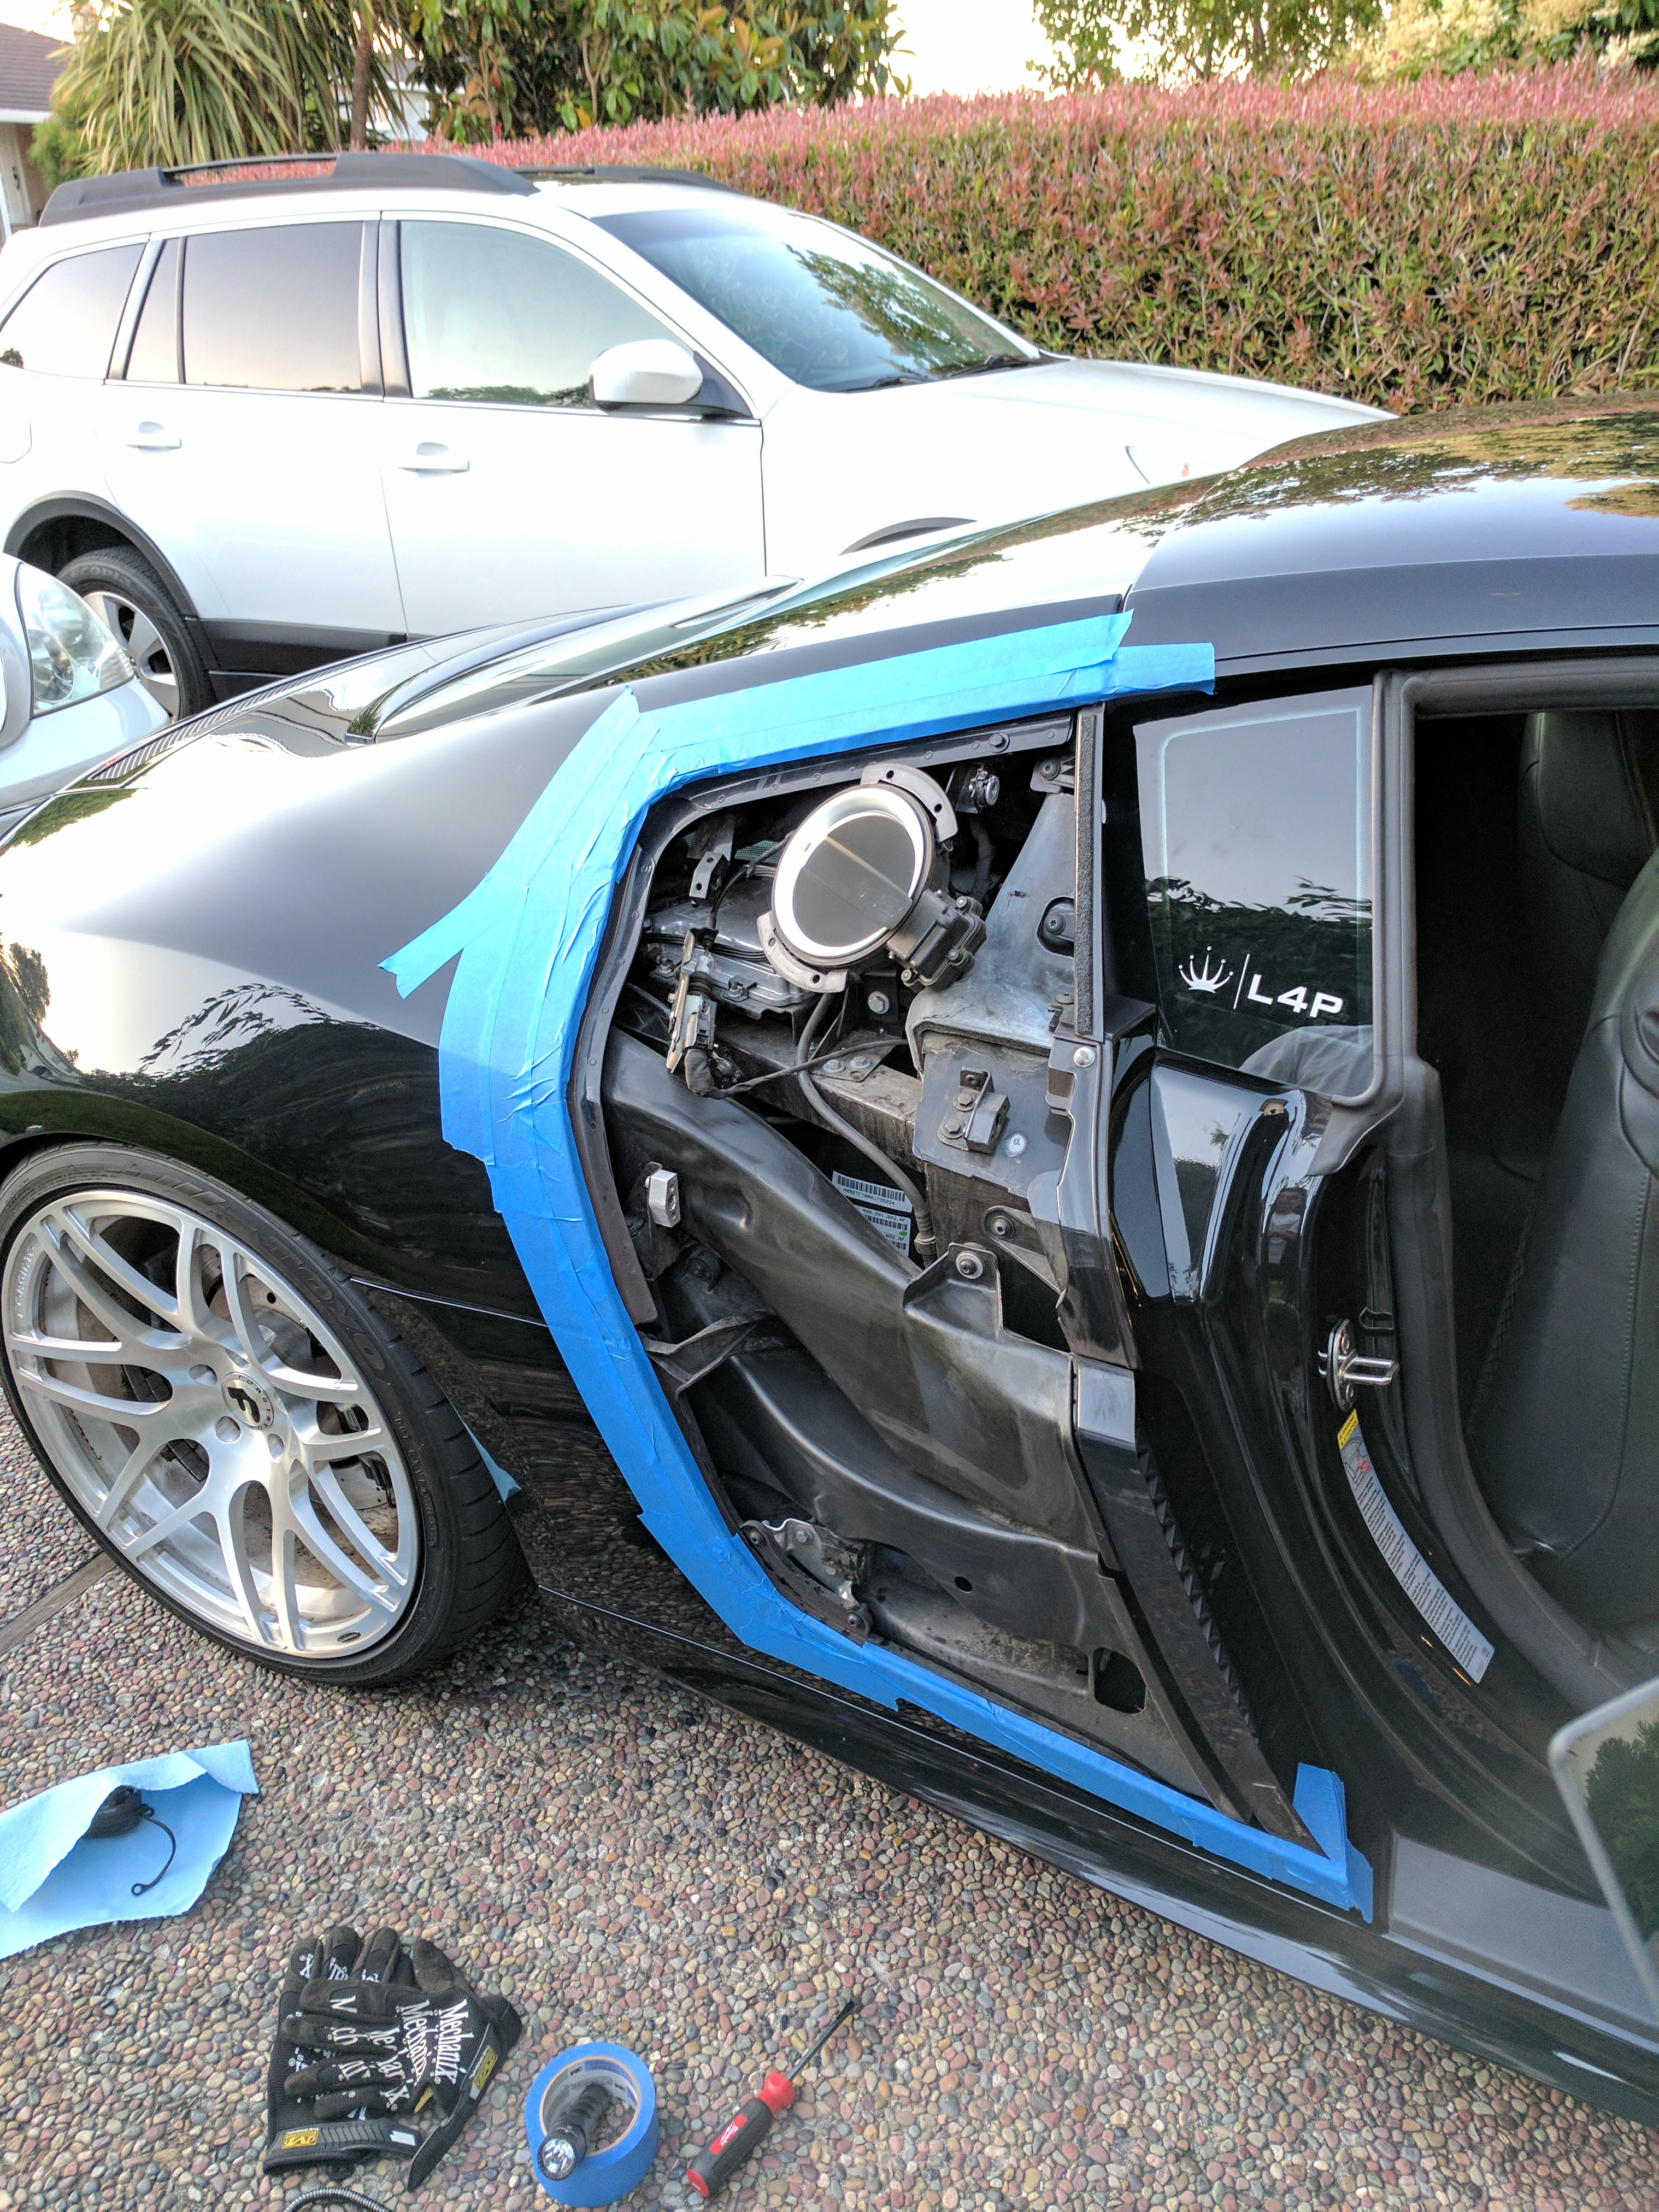
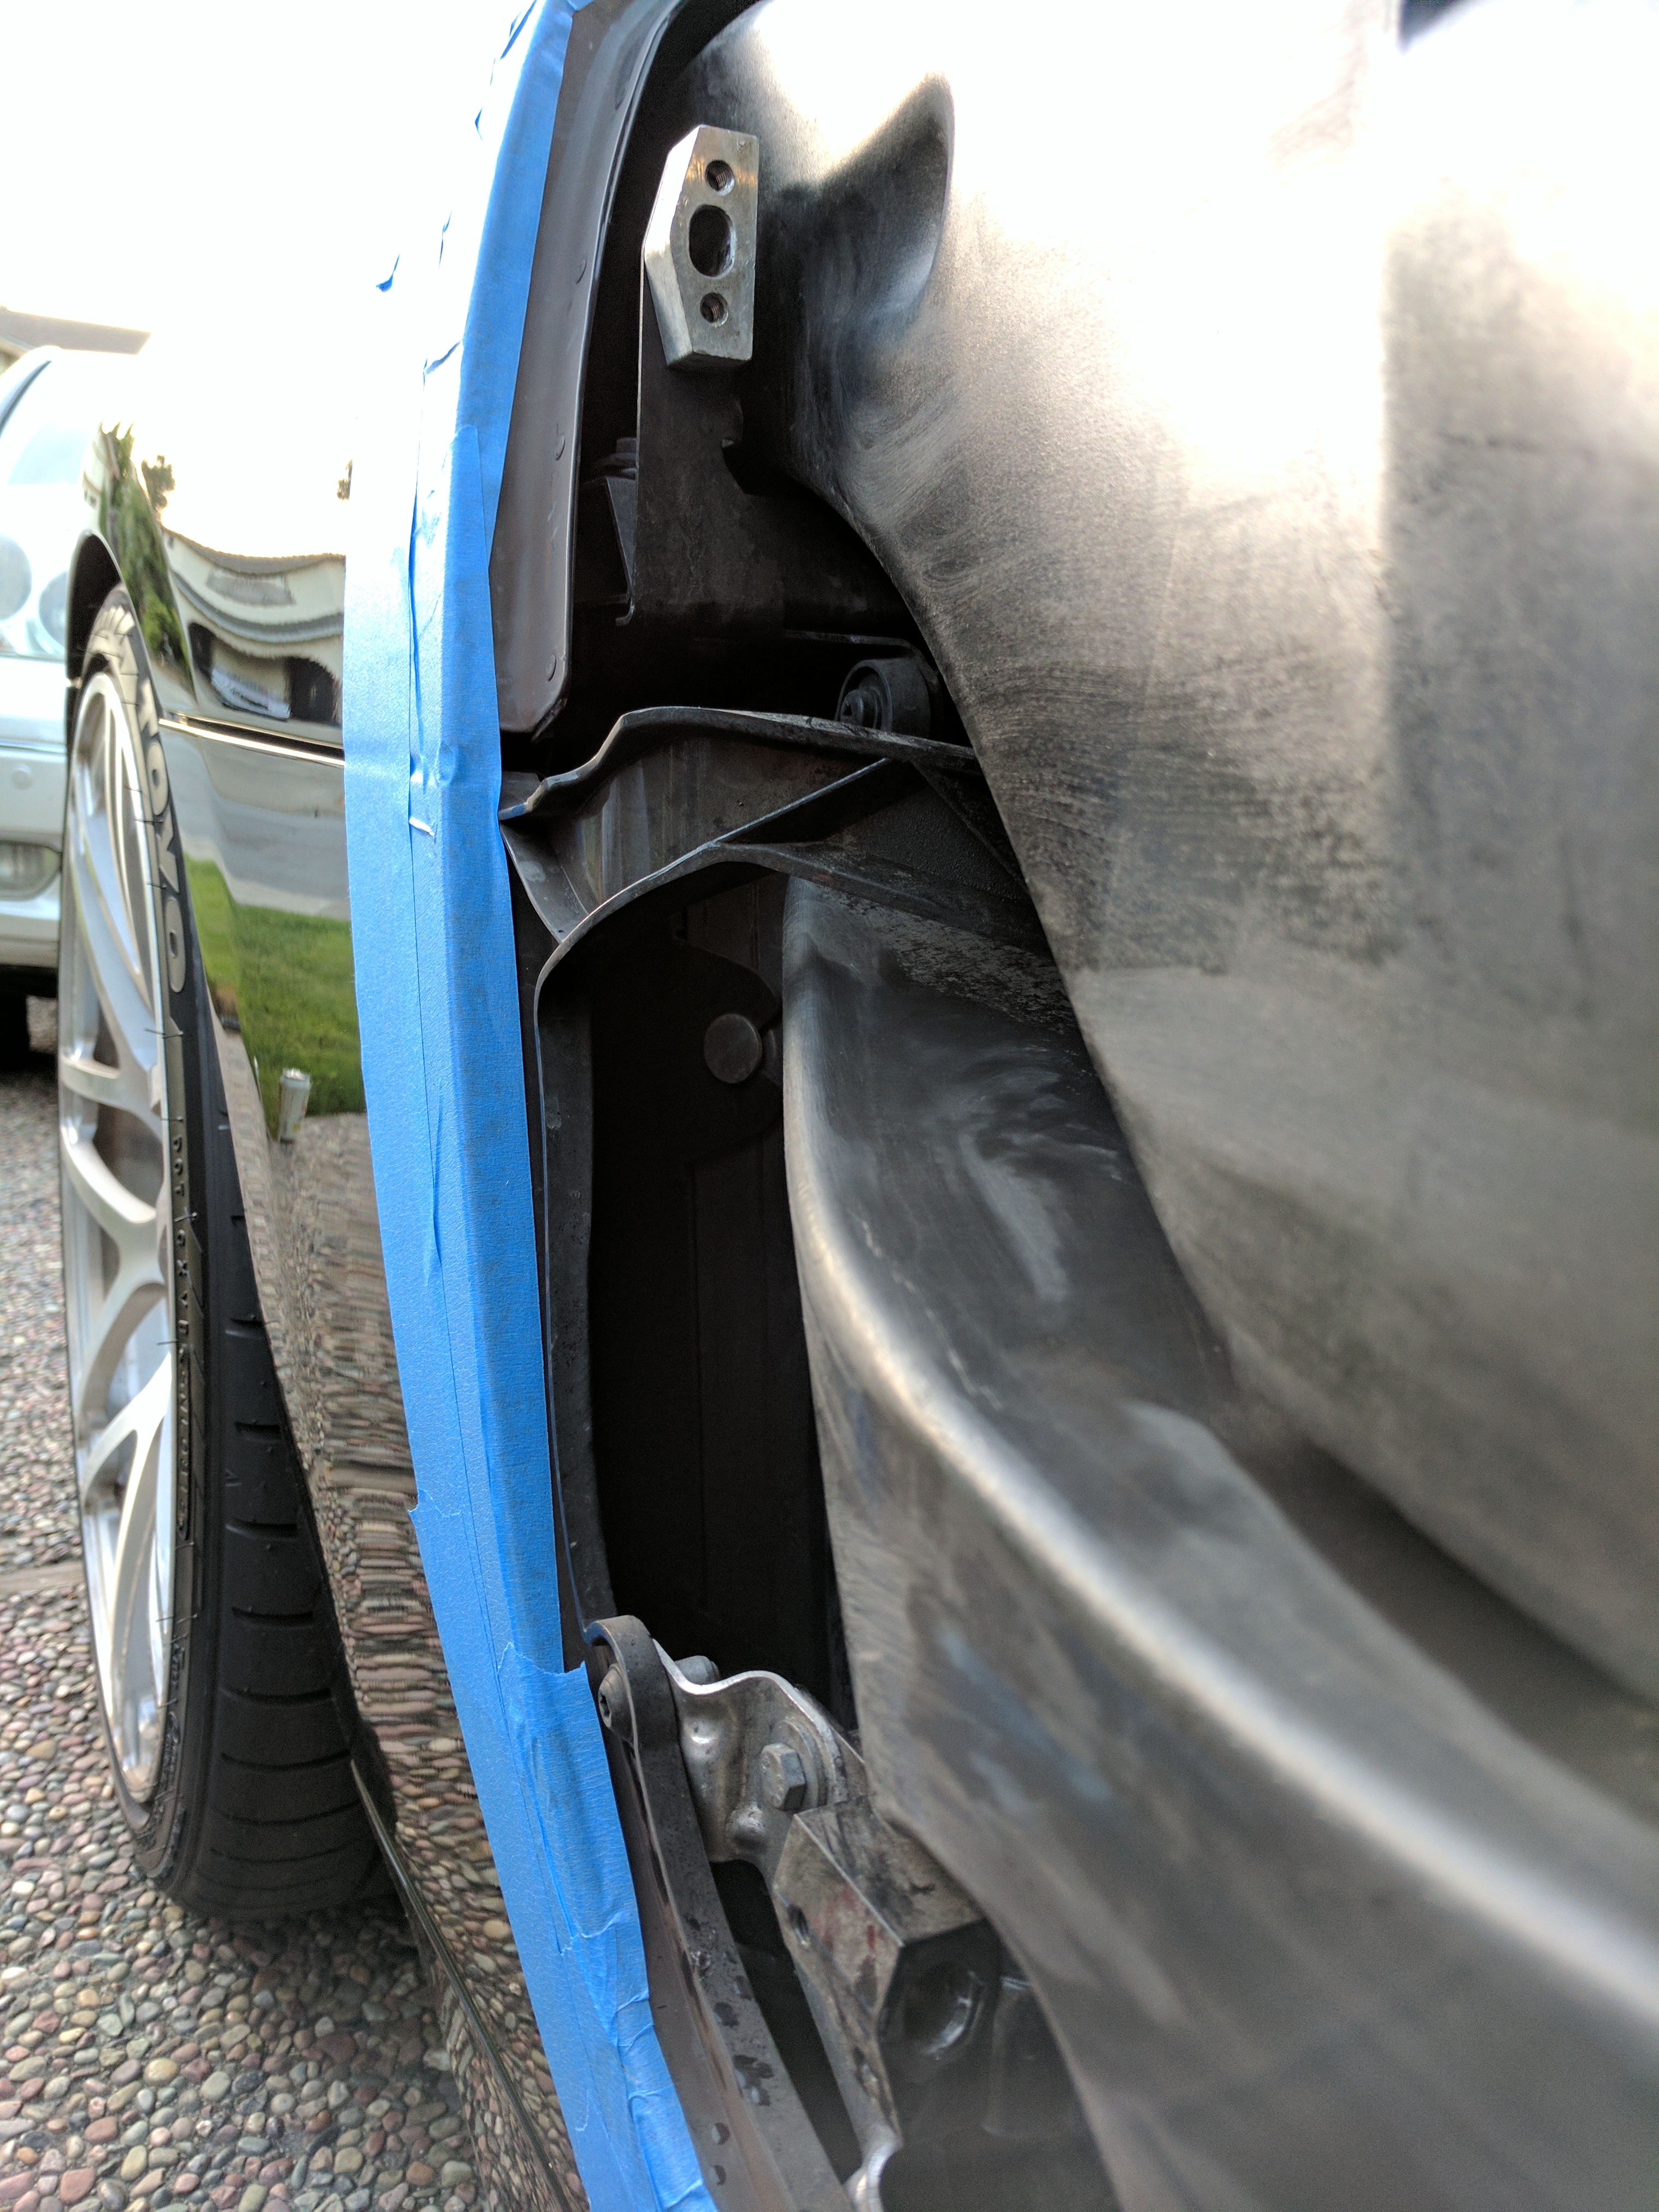
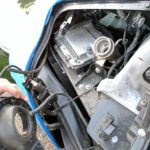
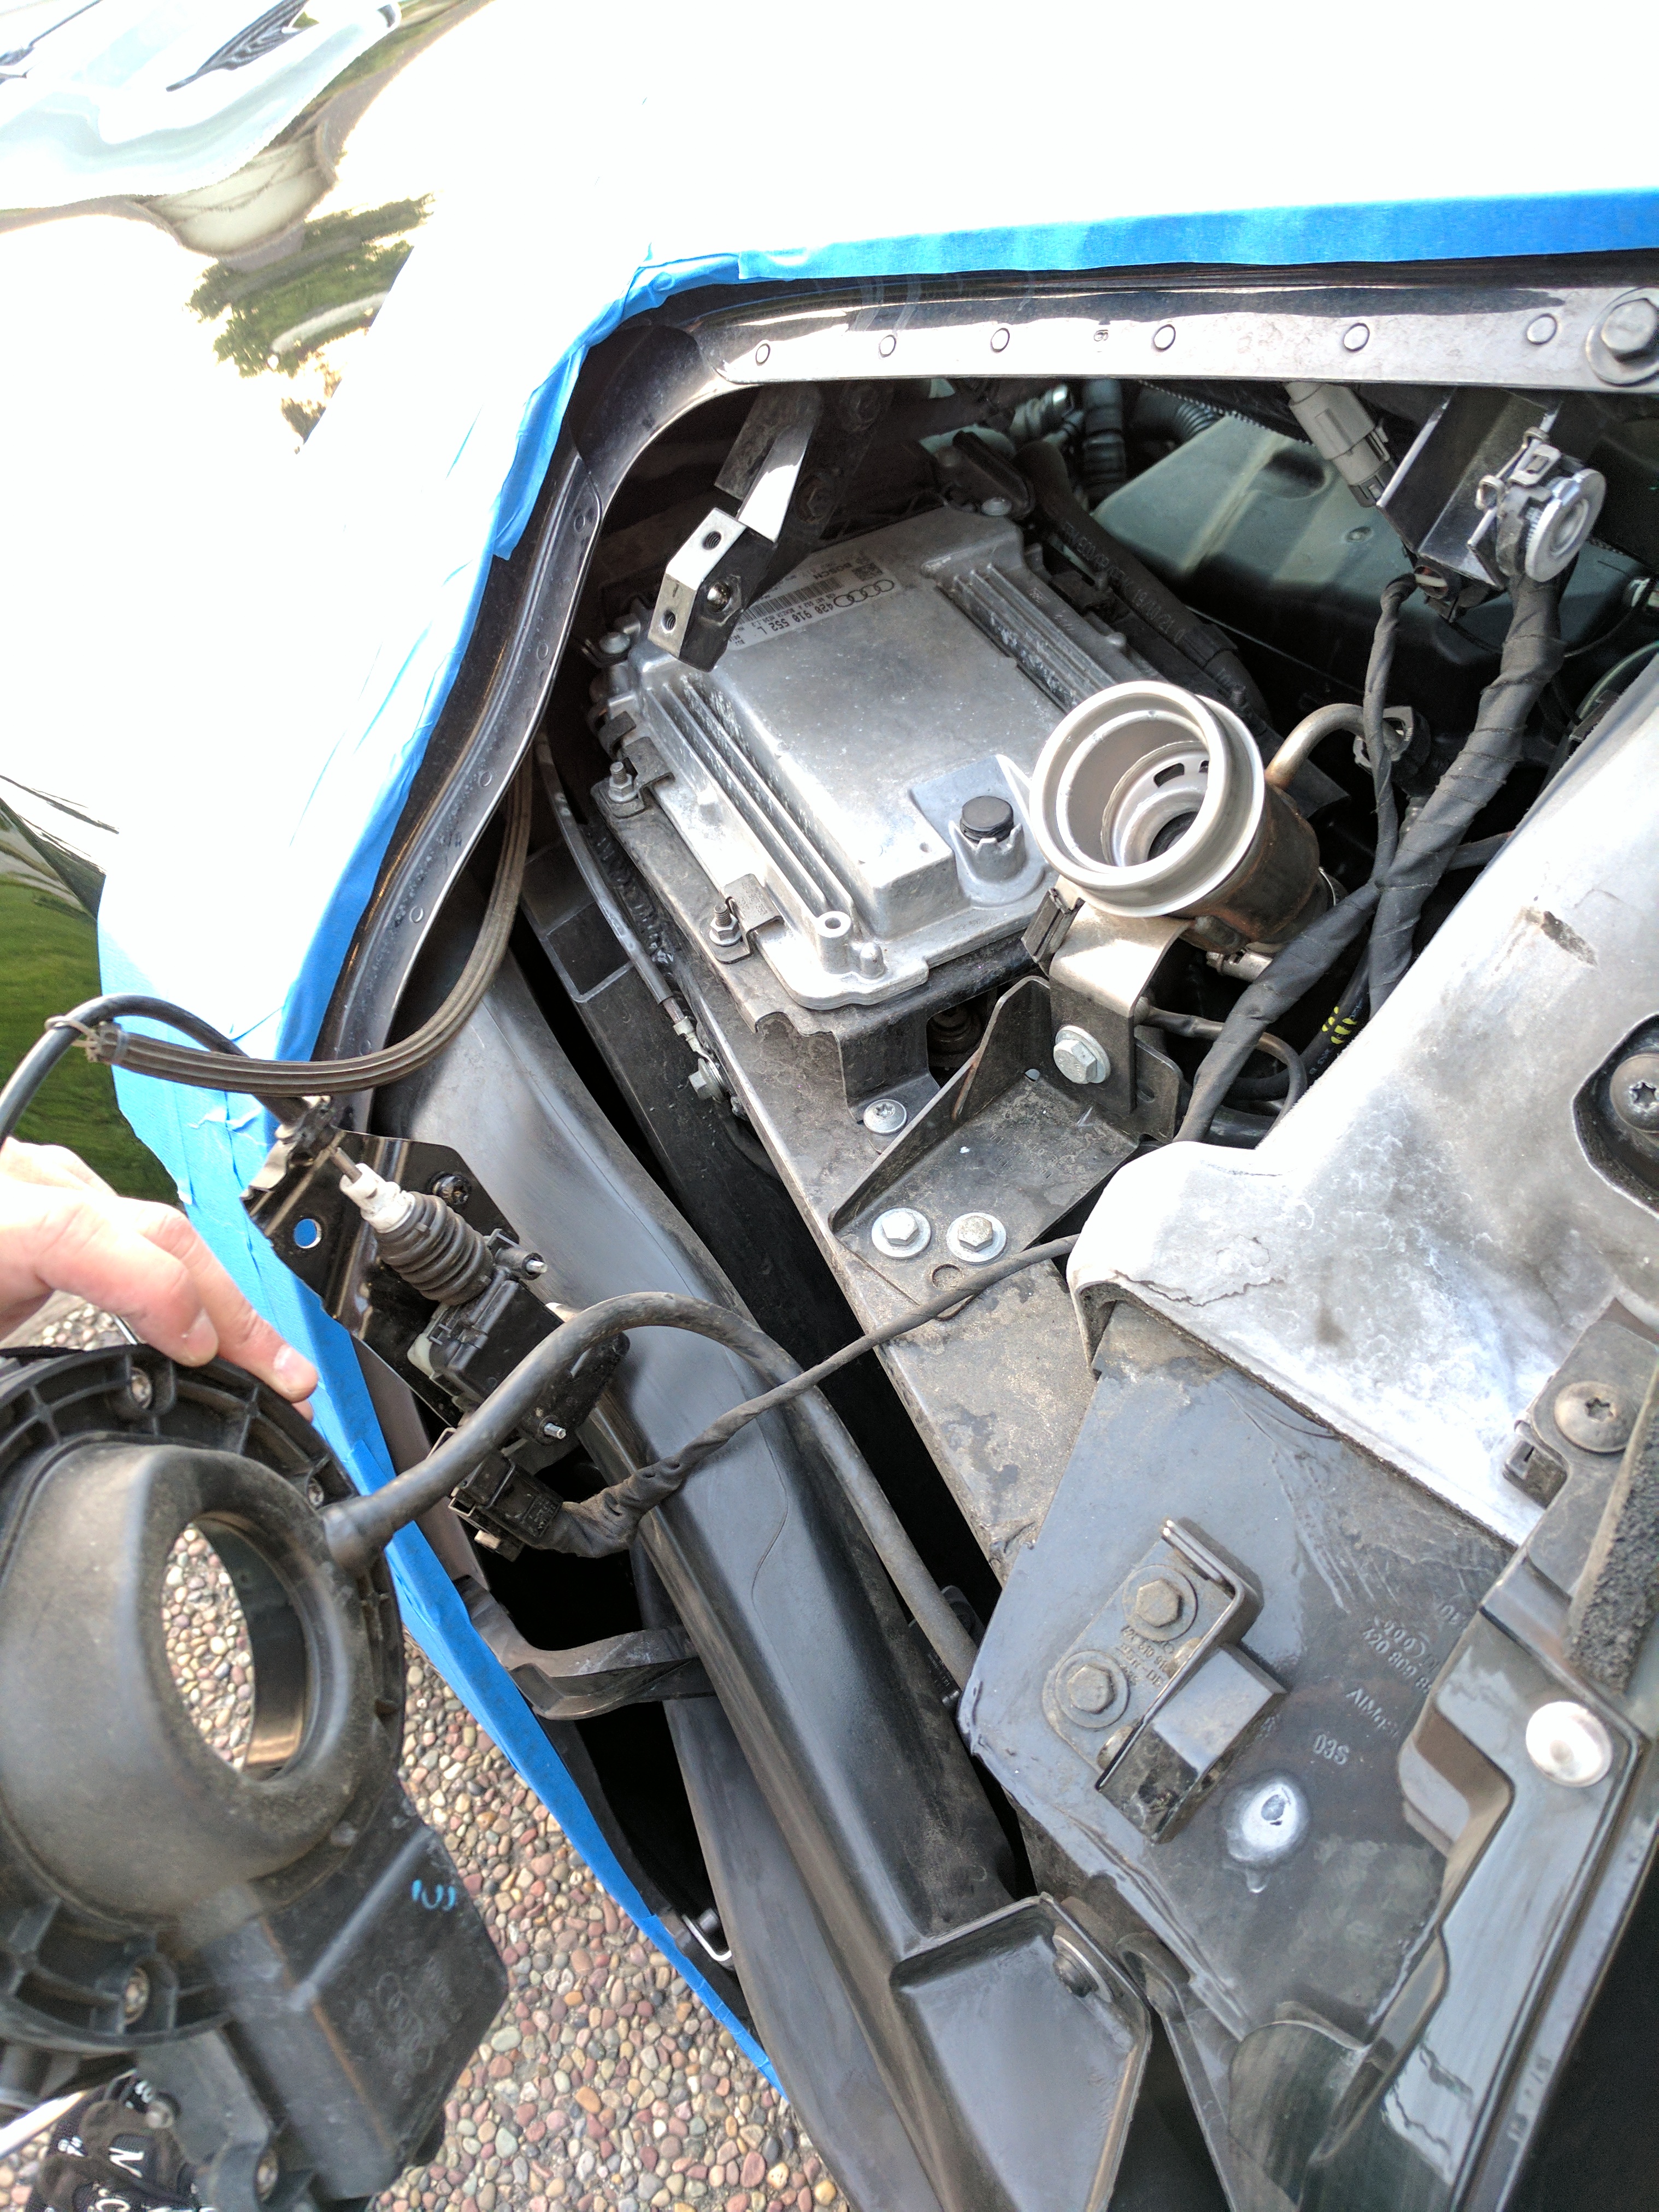
- Once you finally free the blade from the car, this is what you see. Holy complicated Batman!
-
- Here you can see where the screws mount to the body.
-

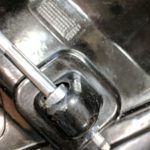
- The filler cap has two brackets that secure it to the blade itself.

-
- Don’t lose anything, or it’ll be lost forever.
With the factory side blade removed, there’s a few bits that need to be moved over to the new carbon fiber replacements. The guide pins have to be transferred to the new panel, so a 15mm and 17mm socket are used to remove and remount them. When tightening the pins on the carbon parts, don’t go overboard as you can cause stress cracks if not careful. There’s a total of four per side. Add a strip of double stick tape to the bottom of the blade and it’s ready to go back on the car.
-

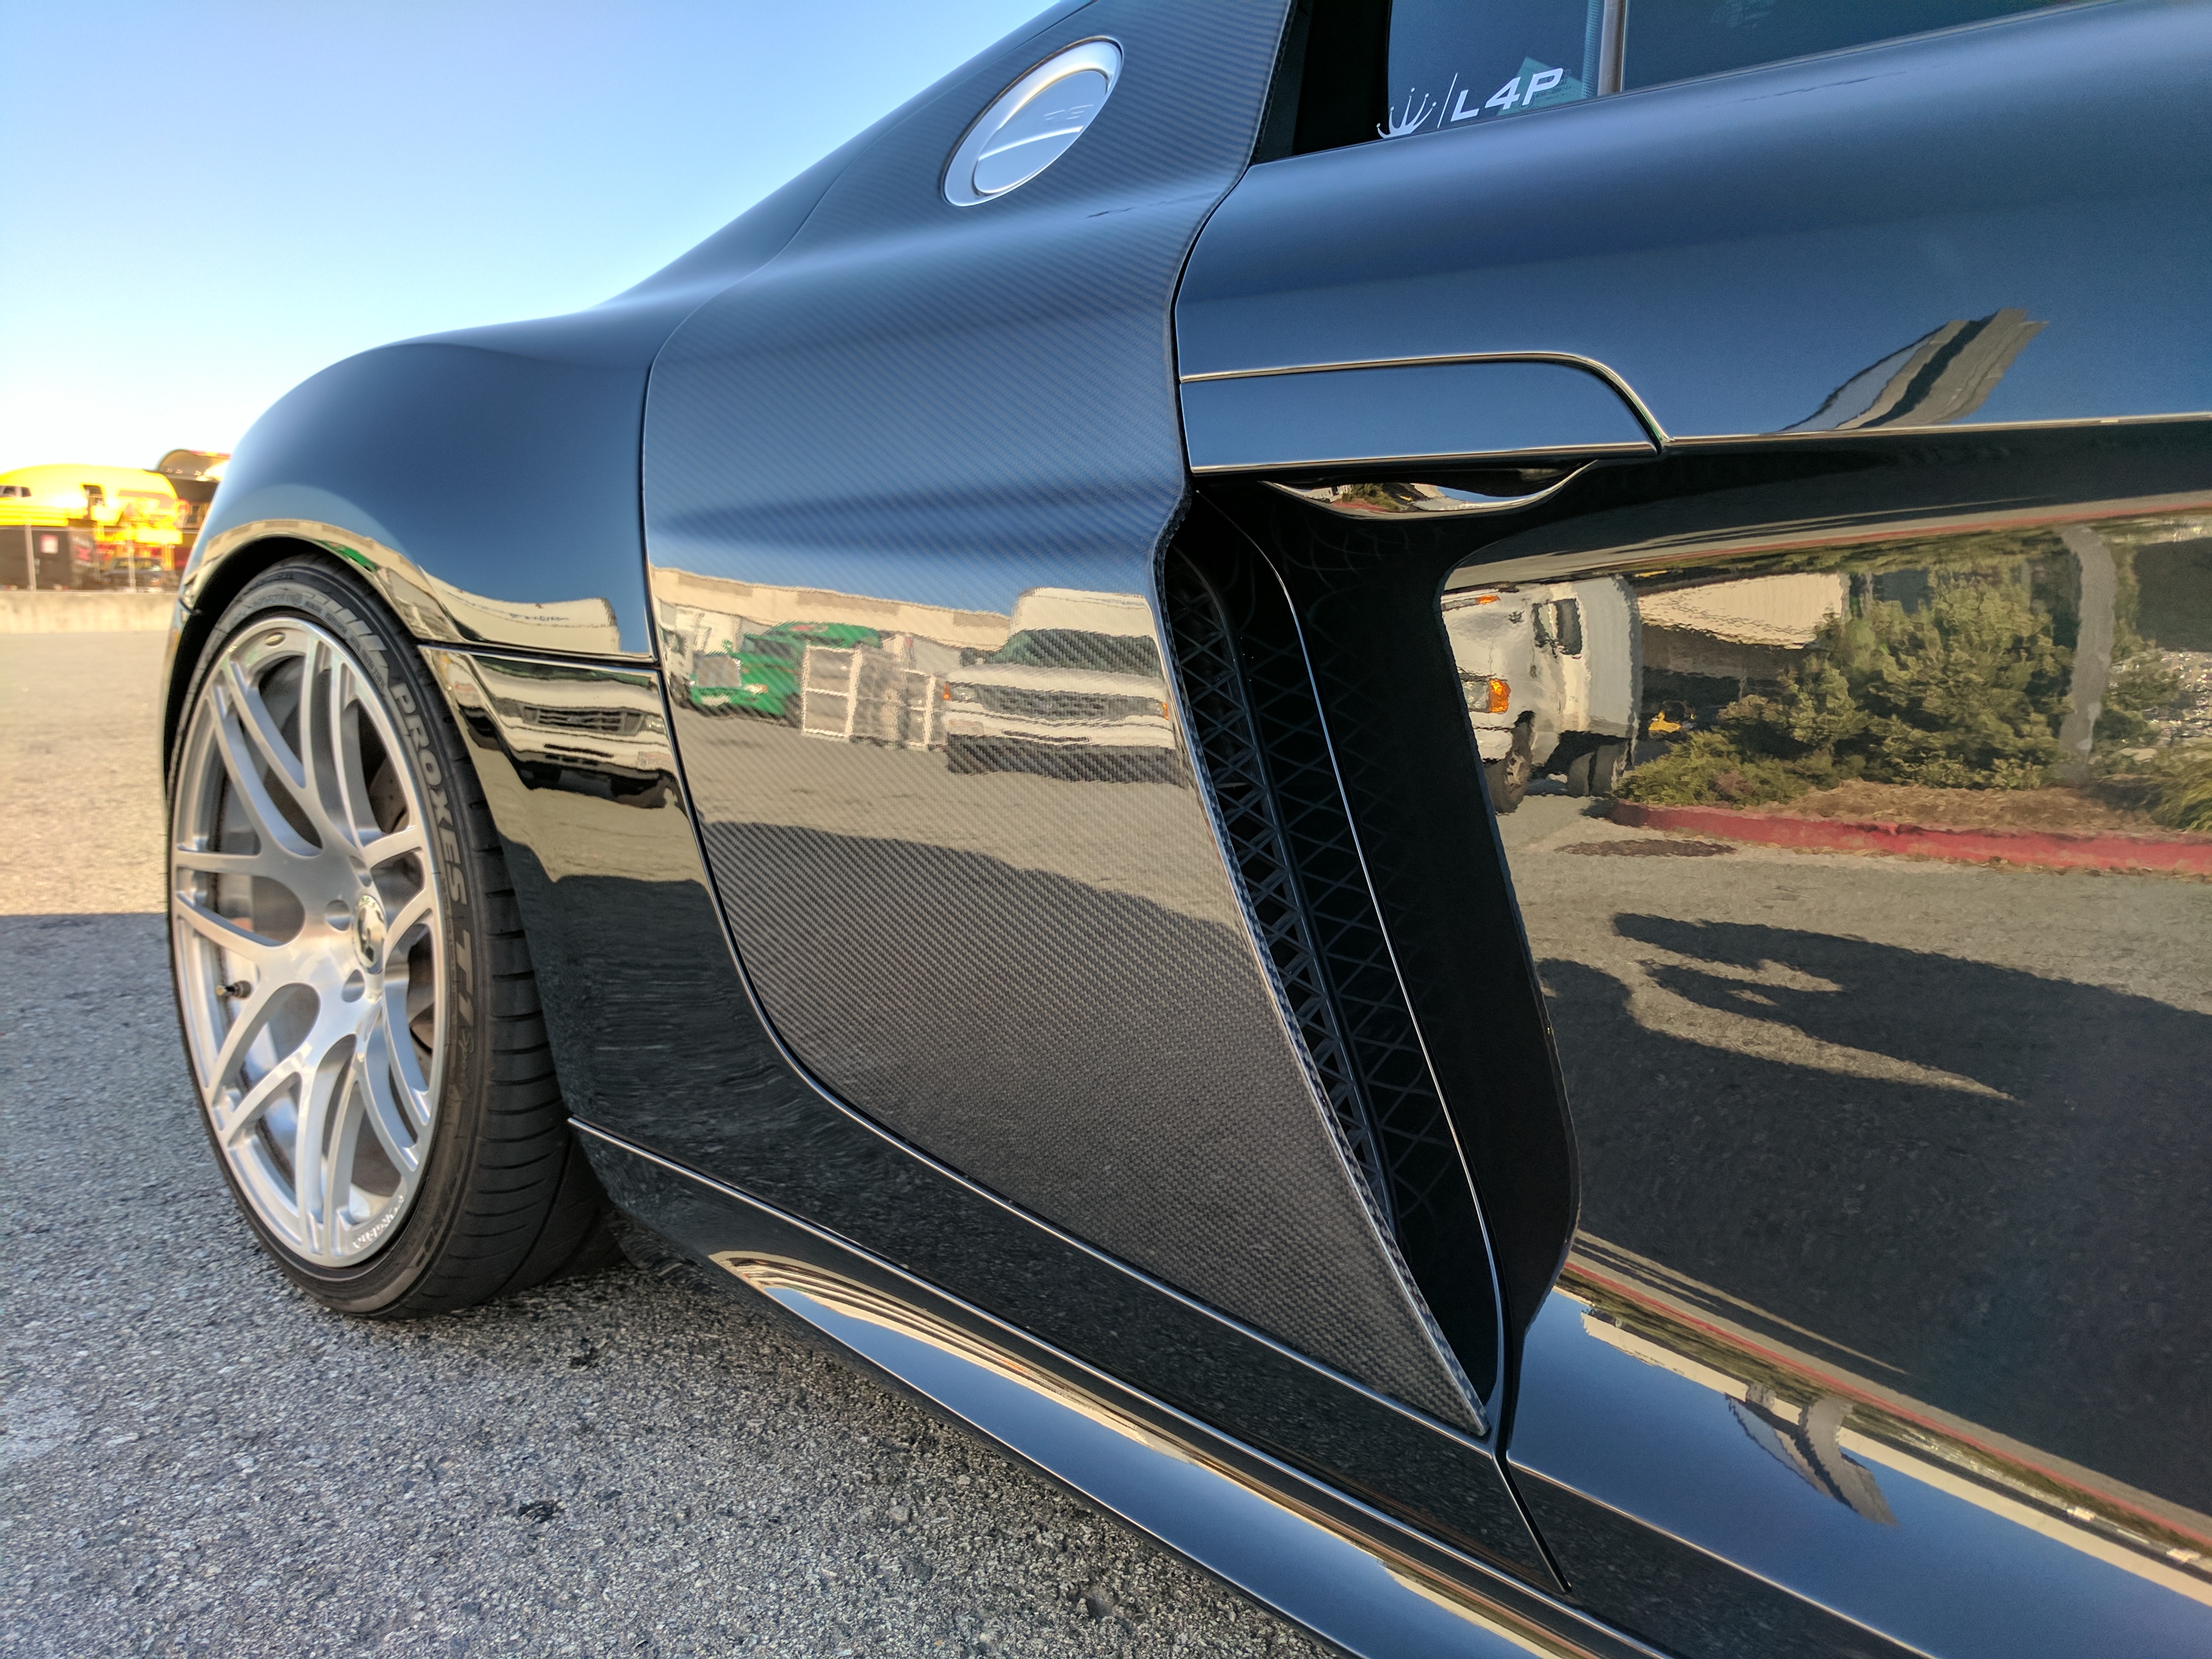
- The R-Tuned carbon fiber side blade is nicely made piece.
-
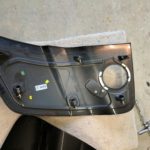
- Here’s what the back side of the stock blade looks like for reference.
-
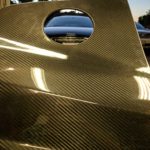
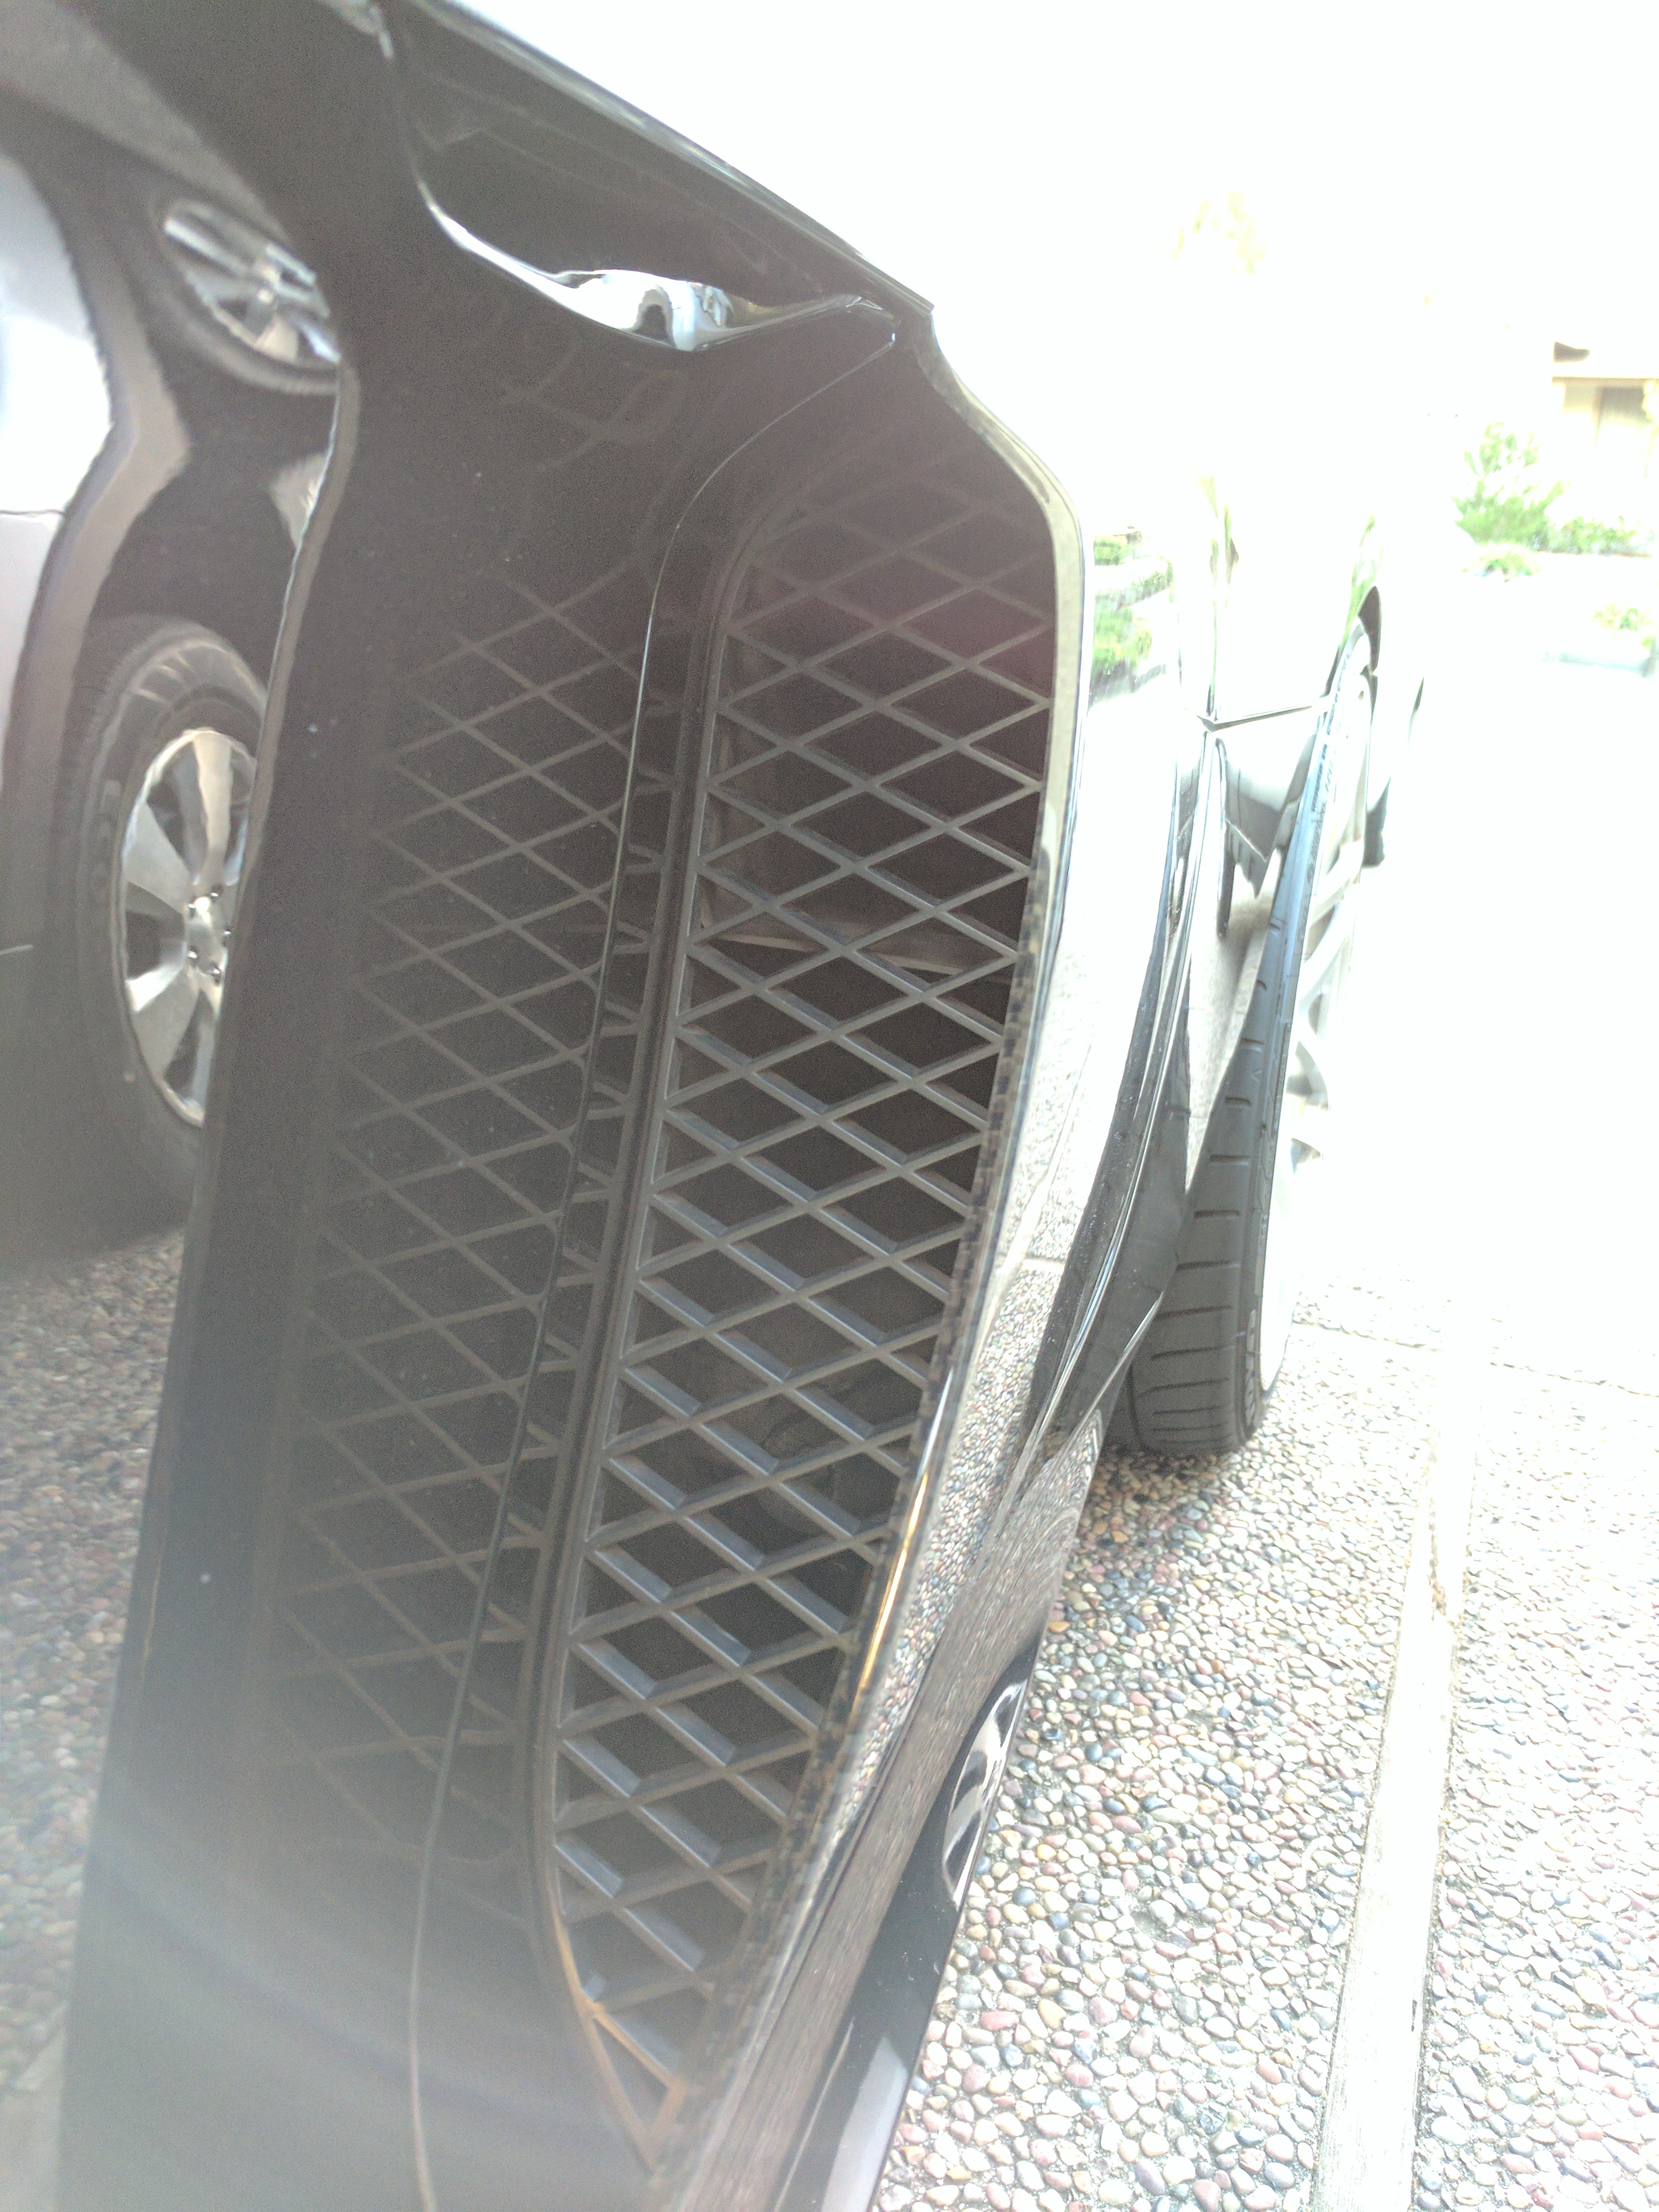
- A closeup of the carbon weave.
-
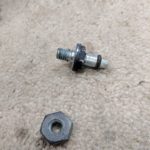
- Here is what one of the guide pins looks like. A nut keeps it secure to the panel itself, while the O-ring provides a snug fit into the car’s body.
-
- Clearances are tight, but a 15mm and 17mm socket can be used to tighten the pins into position.
The passenger side has the added challenge of the filler cap being in the way. This is where an extra set of hands comes in, because one person needs to hold the side blade away from the car so the other person can undo the 4 nuts holding it in place. From there, the filler cap assembly can be left on the car and the parts swapping begins. With the mounting hardware transferred over, grab your friend again and the second round of the game Twister commences to get the new passenger side blade put back on the car.
Grand Plans
When dealing with body panels, OEM is always going to fit the best (except for British Leyland). On the other hand, the carbon fiber panels can be hit or miss depending on the molding process. In the case of the side blade, the back layer is sandwiched to the outward facing side, so if any measurement is the slightest bit off, the final product is going to match the precision of your local kindergarten arts and crafts hour. Then again, some people may like the idea of interpretive pasta mosaics…hold the tomato sauce though. Thankfully the R-Tuned carbon fiber blades were molded carefully off Genuine R8 pieces, so fitment and panel gaps are spot-on. Crisis averted.
-

- Both ready for terminal velocity. I think the big one is a little quicker though.

-

- Think they’ll let us on the runway?

-
- Fitment matches the OE blades.
-

- The Raudiest.

Do they make a huge difference? Aside from shedding a few pounds, this is chiefly a cosmetic alteration. Even paired with the subdued black exterior, the R-Tuned blades have most definitely added an aggressive flair to the mid-ship German. As Kyle collects more carbon exterior bits, everything will start to make sense. Canards are in place on the front bumper, and a ducktail spoiler is in transit. Soon enough the R8 will look like it’s ready for the Goldrush Rally. Now is probably a good time to cut that check to the 11-99 Foundation.
-JC
Want to see other carbon fiber bits R-Tuned makes for the R8? Check them out here.

![Soundtrack Remastered [Project Audi R8]](https://drivewerks.co/wp-content/uploads/2017/09/DSC00274-140x90.jpg)