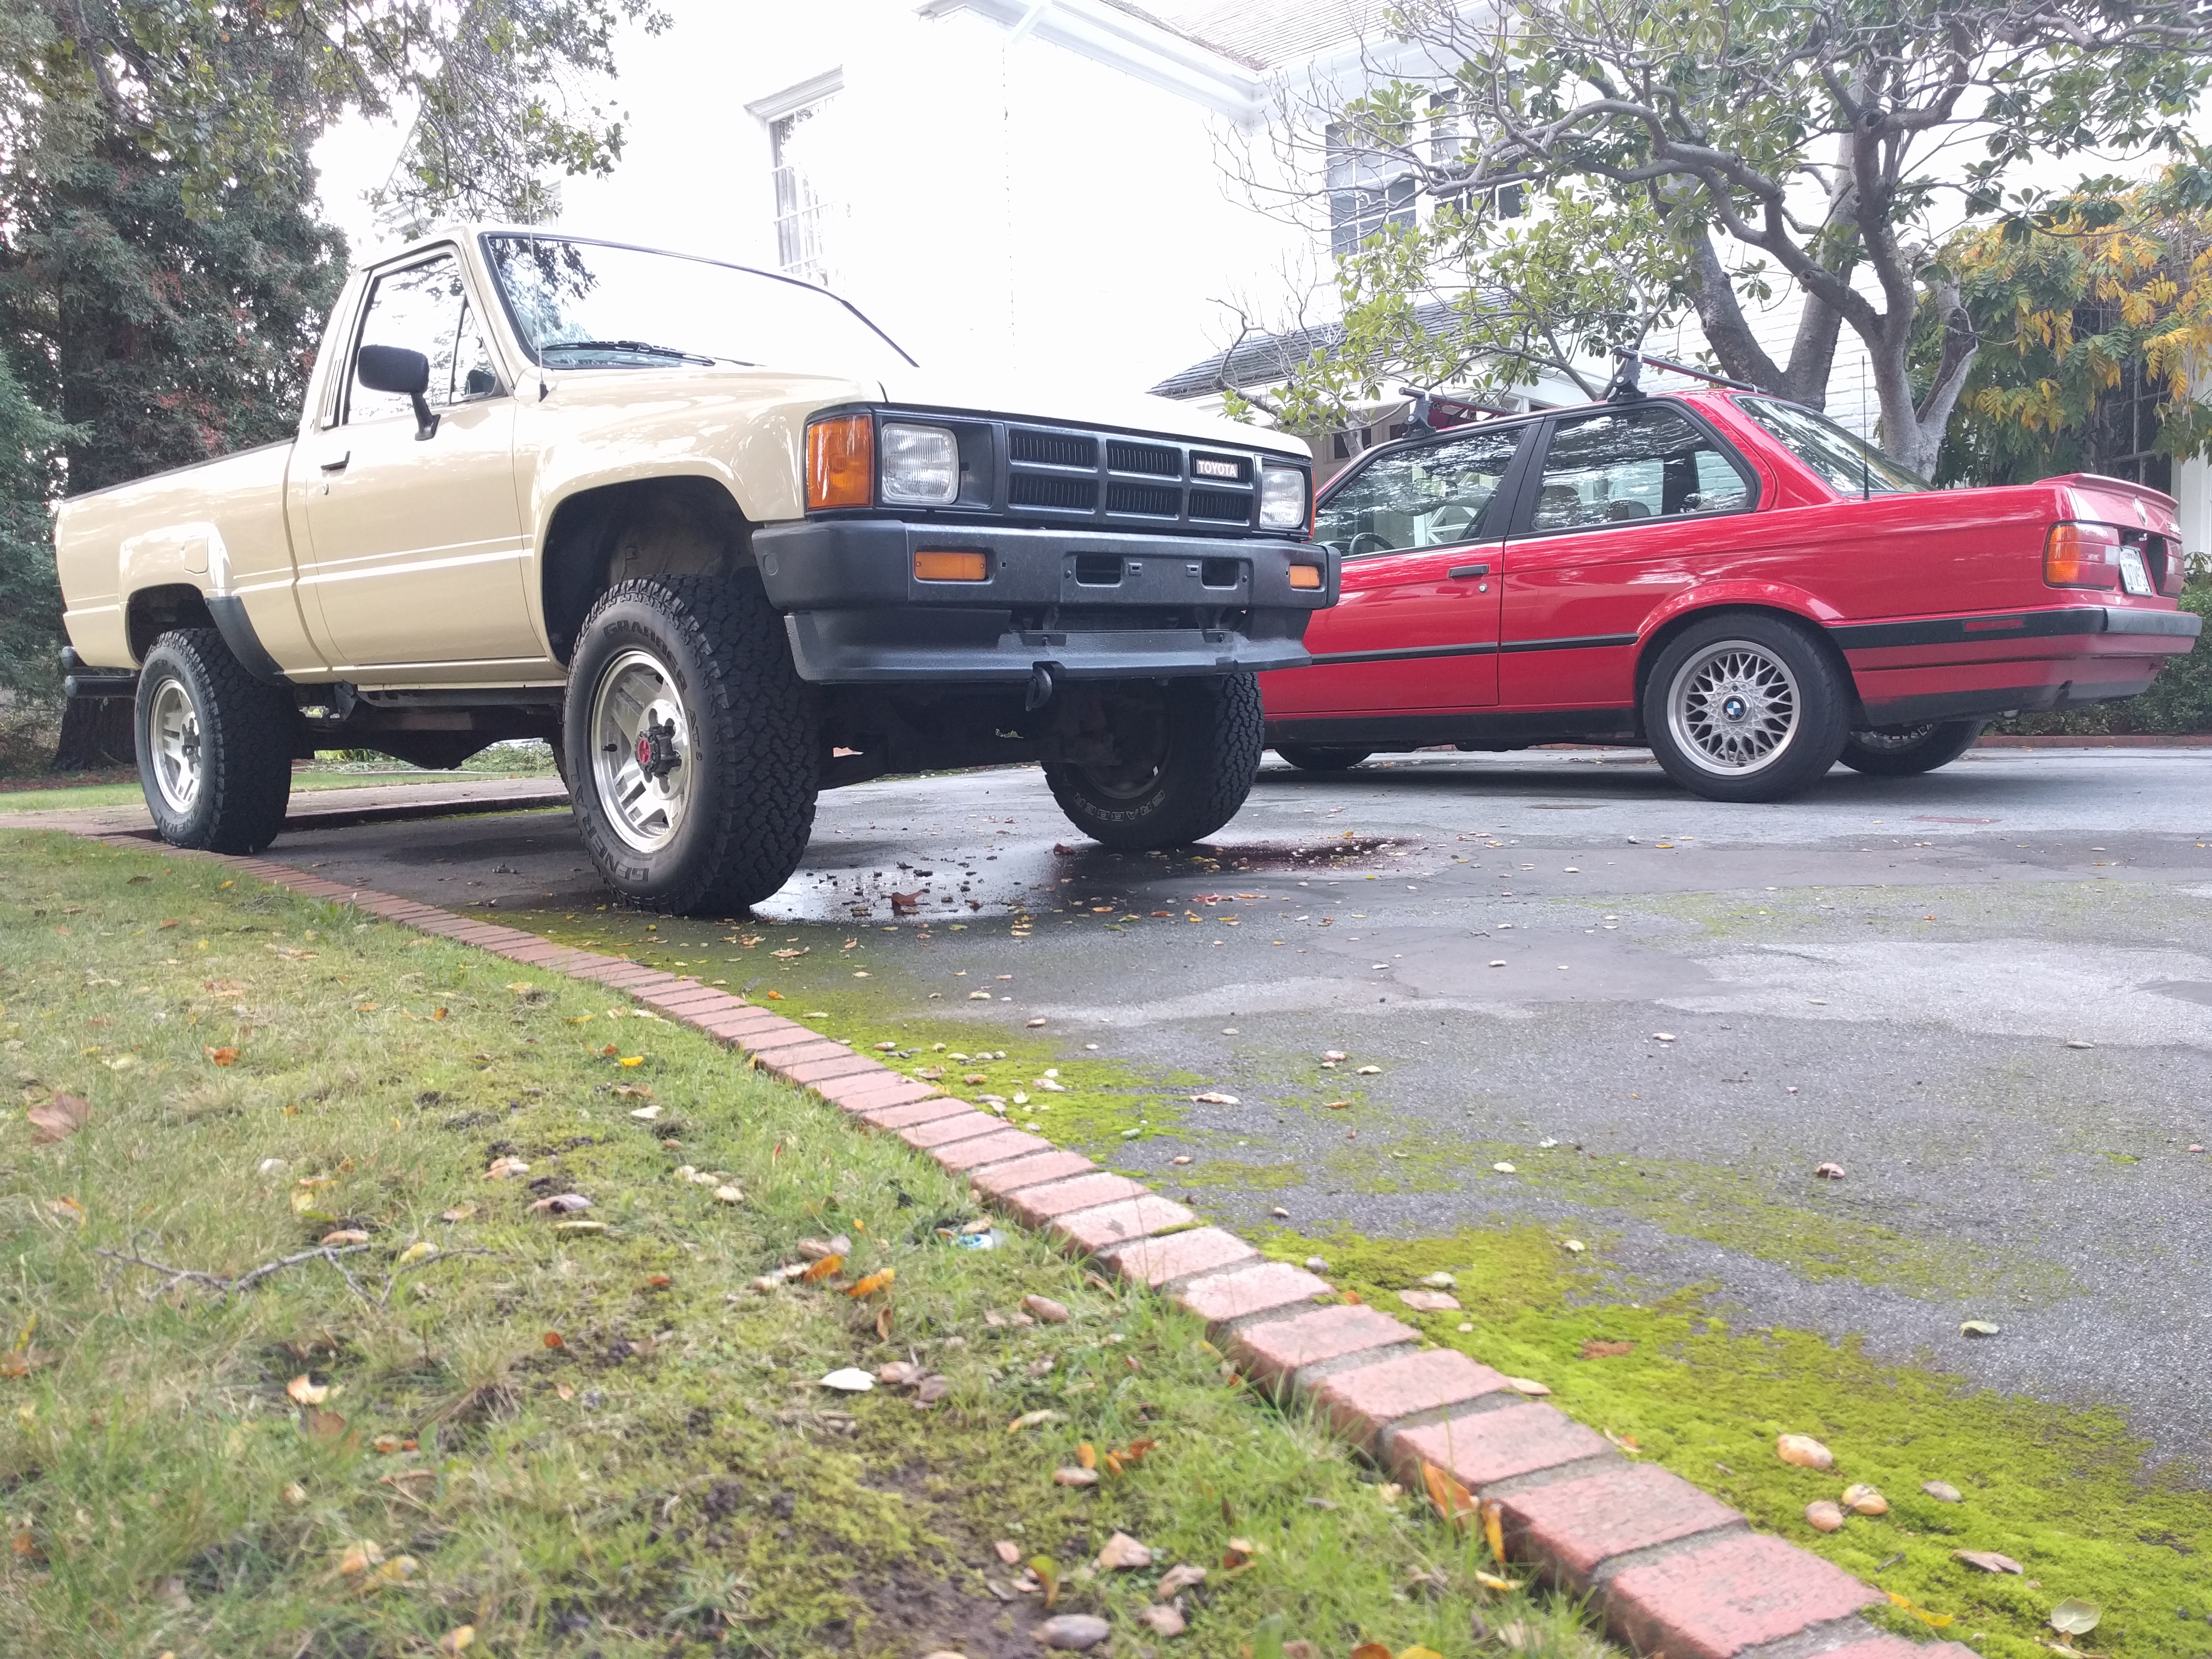
The pickup truck might be the unsung hero of hauling things around, but that doesn’t mean we haven’t considered making a few upgrades. When a mysterious box showed up with four tubes that merged into one, we knew the ’86 Toyota 4×4 was getting a header upgrade.
At the factory, the 2.4 liter 22R engine was rated at 112 horses, and supposedly 140 lb.-ft. of torque. I can assure you that if the truck was still making all of its power after three Indiana Jones flicks and a questionable fourth installment, it’s still going to get outrun by even the most basic of modern econoboxes. Any bump in power is going to be very welcome for the little yellow pickup.
Improving the Flow
For our purposes, we went with LCE’s street header kit. It’s supposed to give a 10-15 horsepower bump according to their literature, but more importantly it’s CARB approved. This is a big to-do for California residents, as vehicles built after 1975 still require smog testing for registration renewal. Long story short, if an engine component isn’t stock or CARB certified, you run the risk of failing the visual test regardless if you sail through the sniffer portion. Another fine example of Kalifornia’s red tape.
-
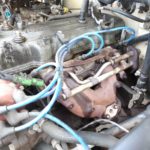
- The stock exhaust manifold in the process of removal.
-

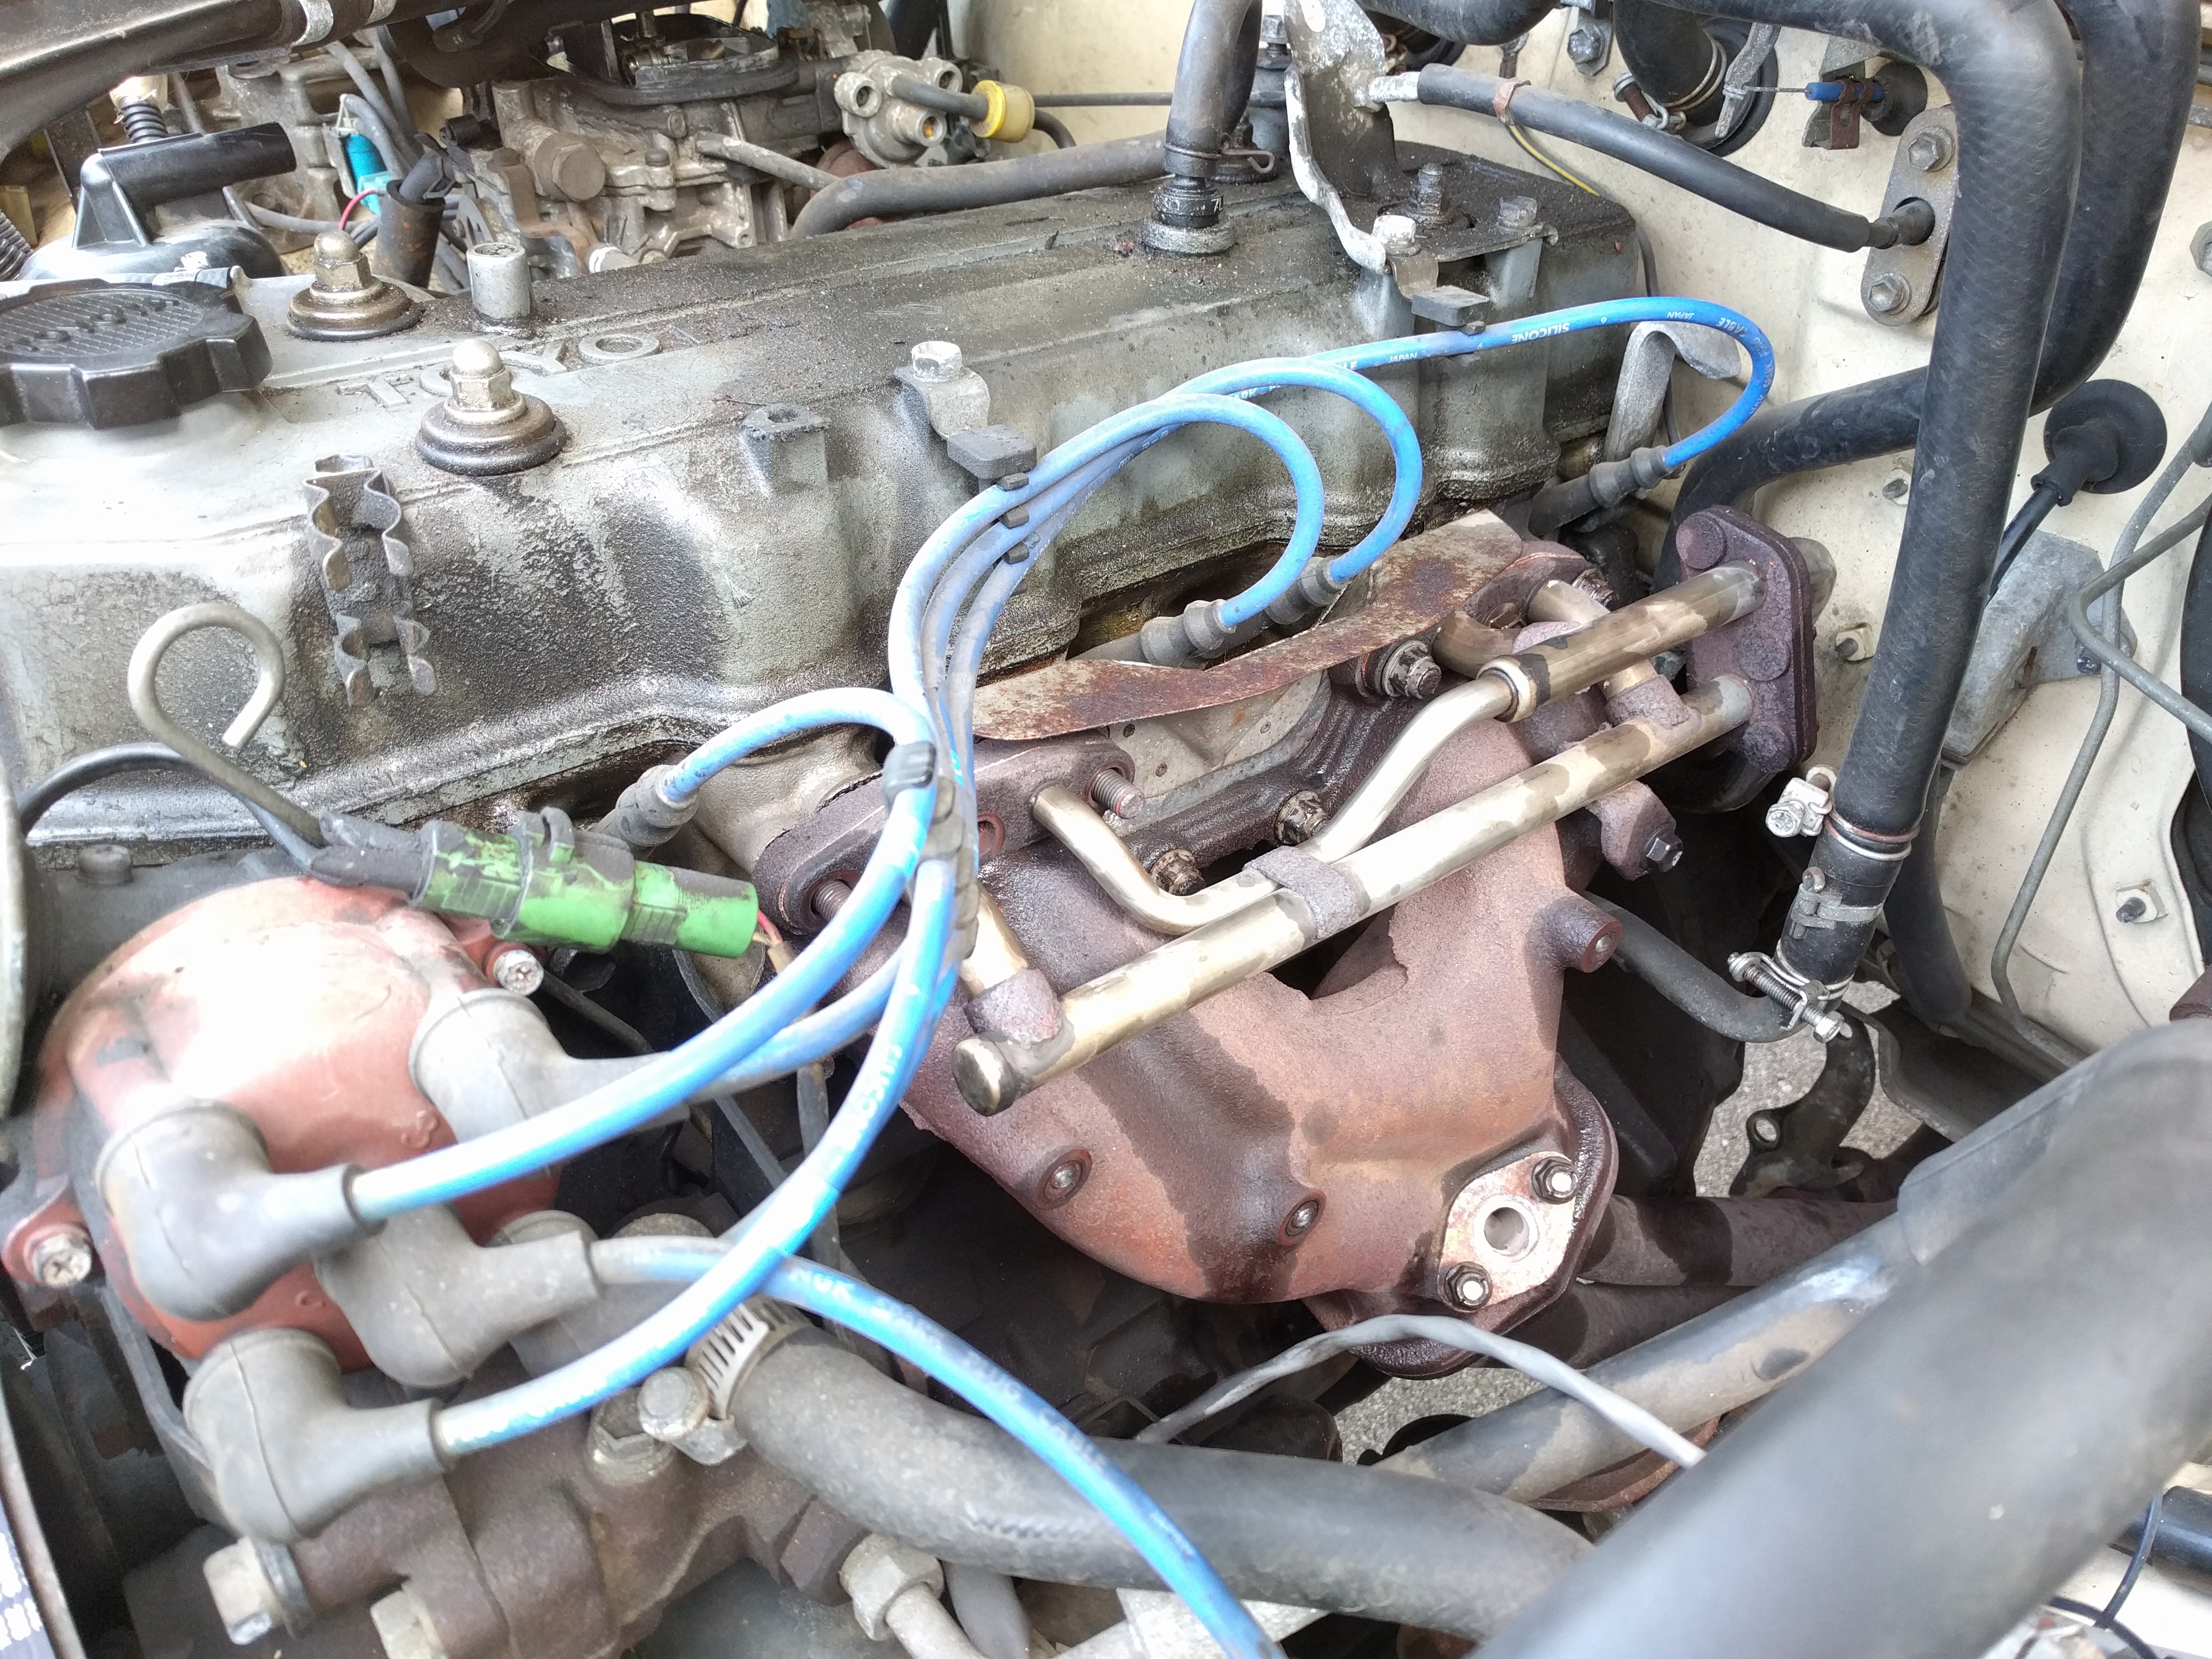
- After cutting the downpipe, the stock exhaust manifold could be removed. Cast Iron construction makes this unit extra heavy.
-
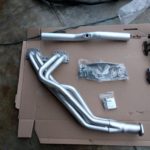
- What we were waiting for all along: The LCE street header kit. Alos much lighter than the stock unit.
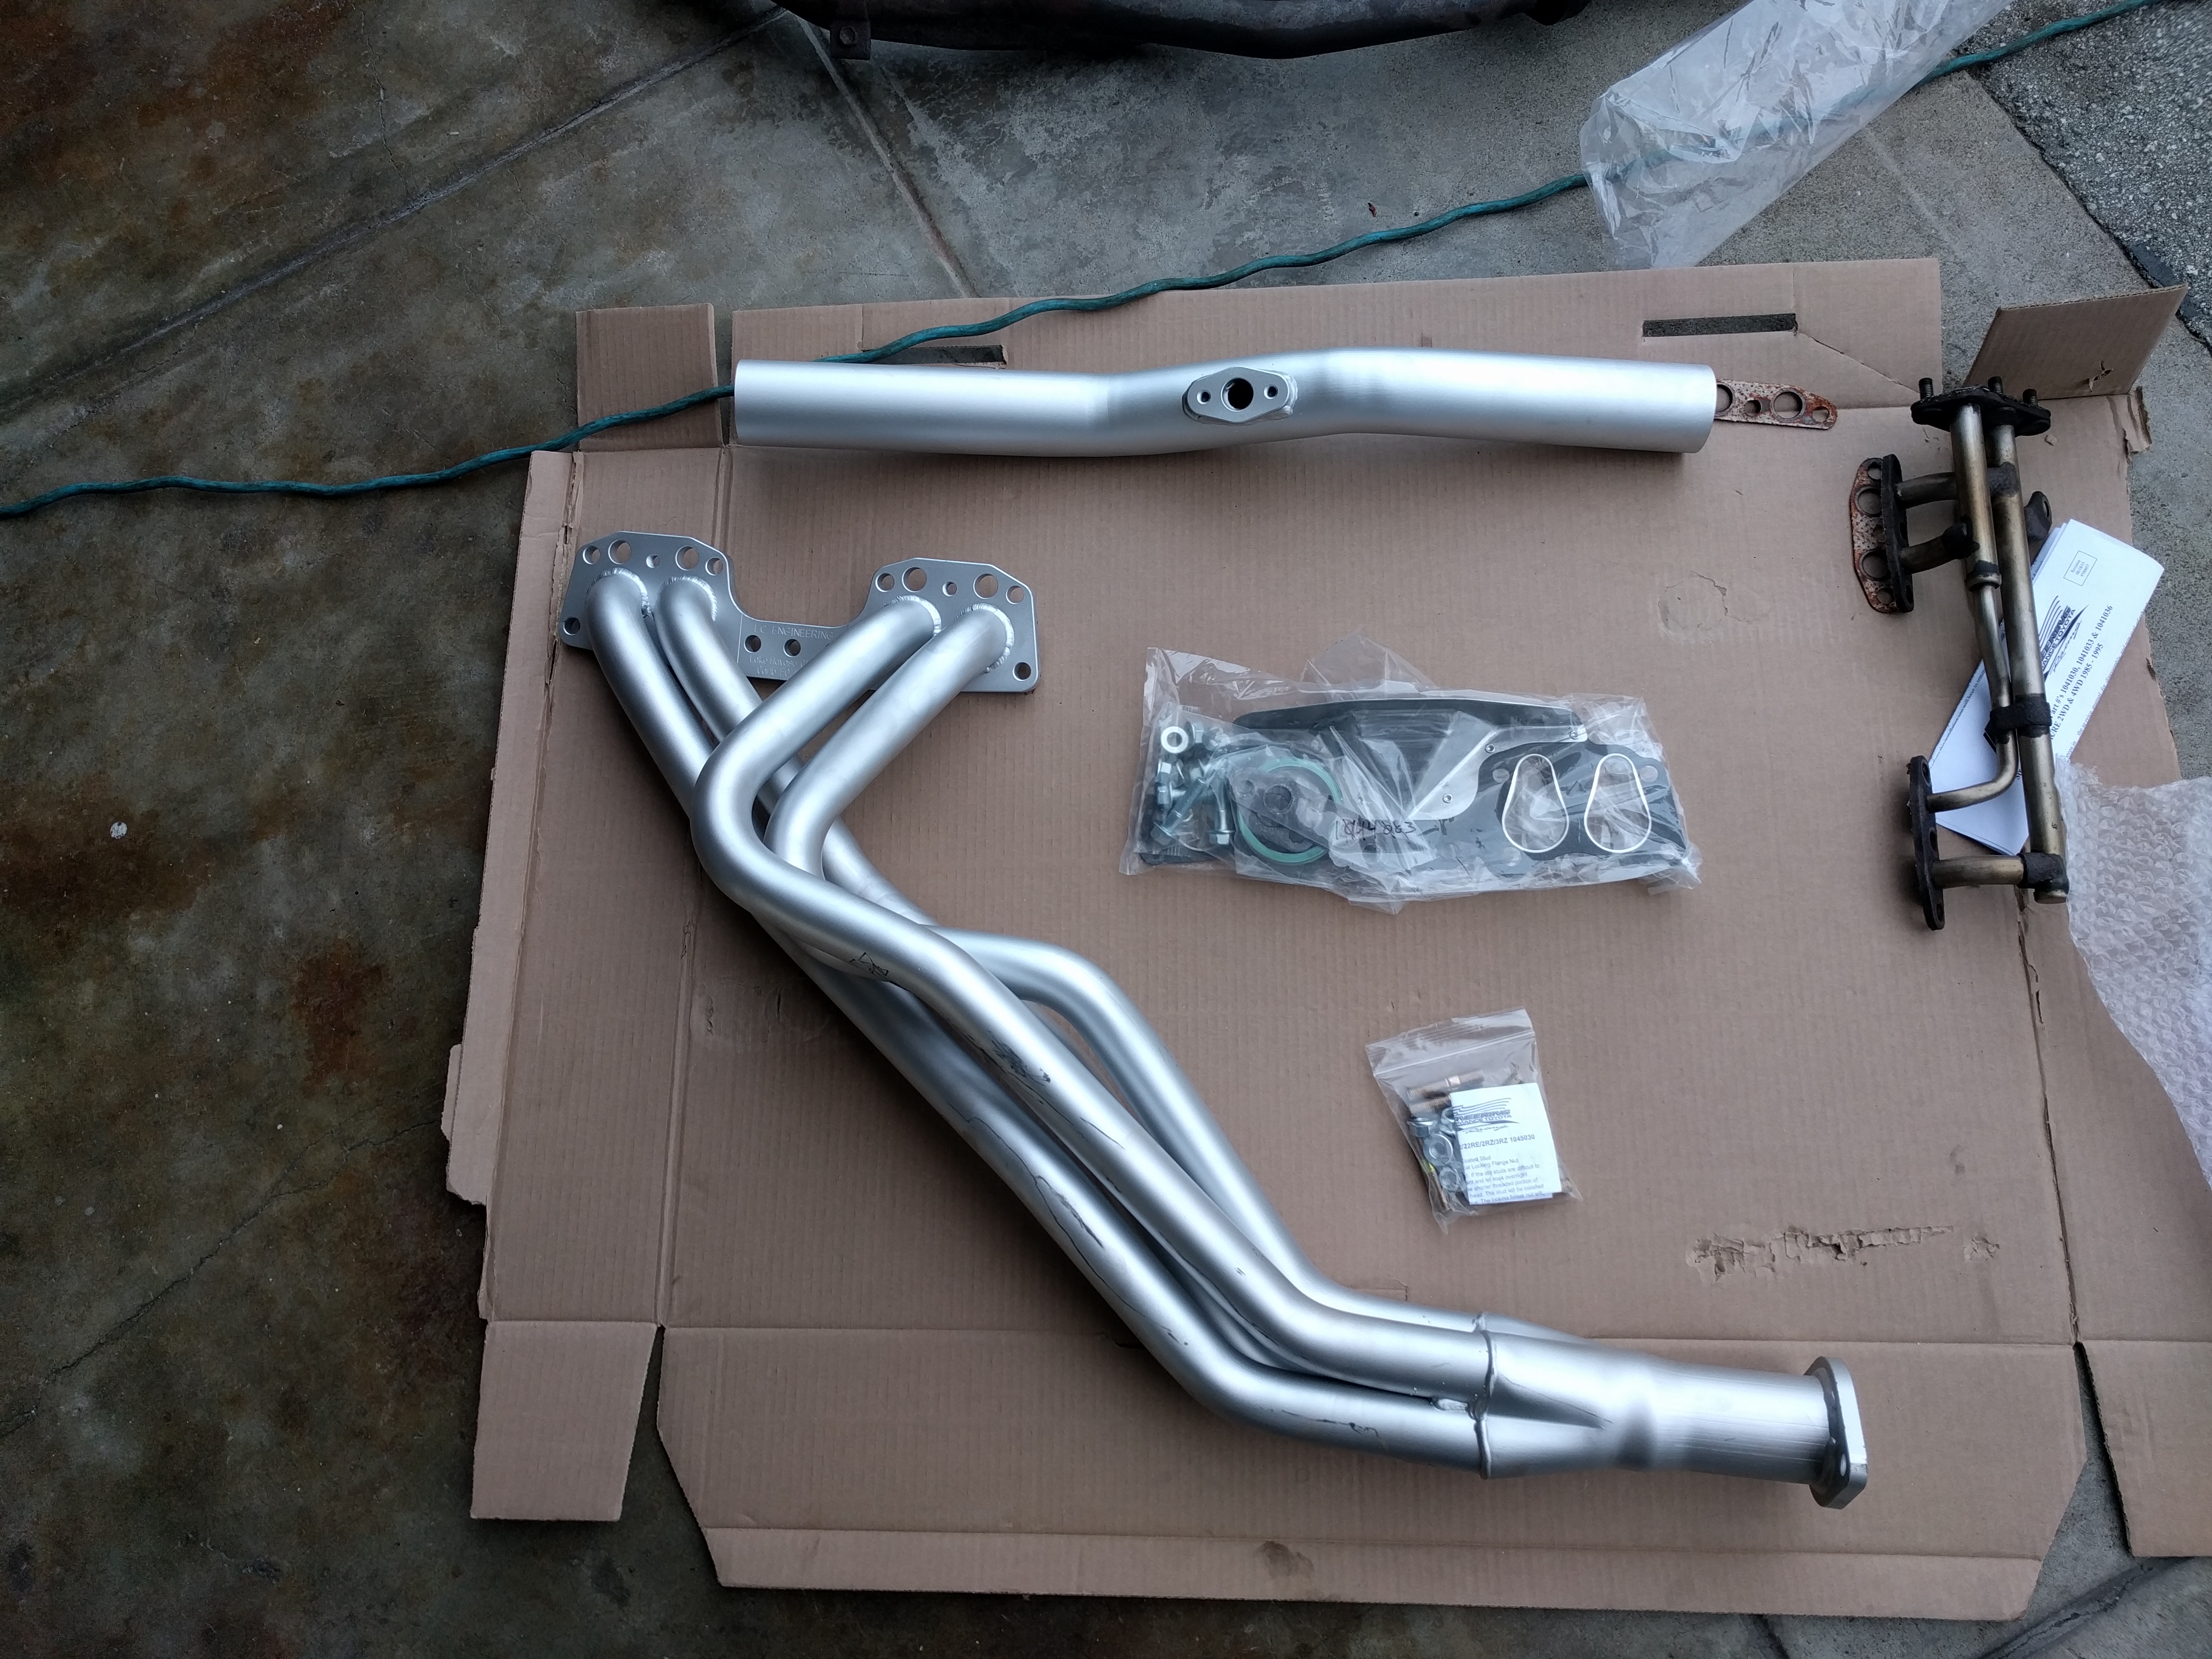
The header kit comes in a couple of guises, ranging from merely the header itself, or you can really let the wallet open freely and spring for the whole enchilada, which adds a custom Magnaflow exhaust combo. While it would be cool to have a new bark to the 22R, the rest of the truck is bone stock and we have plenty of loud cars as things stand. Our kit was strictly for the header and lower connecting pipe because we plan to keep the exhisting catalytic converter and stock muffler. As a side note, a new EGR pipe gasket was purchased at the local Toyota dealer because the old one was trashed. The rest of the gaskets and hardware you need are included with the kit.
Teardown of the existing manifold setup started with generous applications of Liquid Wrench. Out came the toolbox and to town we went undoing the stock exhaust manifold bolts. Most of the stubborn bolts broke loose once we upped our leverage with the 1/2 inch drive sockets. On the stock exhaust manifold, the oxygen sensor sits up top, so we had to remove the sensor and set it aside for later.
Dale, No Power Tools!
The fun part came when we tried to unbolt the stock manifold from the collector. Nope! Just like the false hopes of recent campaign promises, it wasn’t going to happen. In the garage sits a section of power tools that I’m usually asked, “Are you authorized to operate that?” Known for its problem solving abilities, the SAWZALL was used to cut off the down pipe. With the chop made, we were able to free the heavy cast iron manifold and ancillary piping from the engine bay.
With the old bits off the truck, the new parts were unboxed and ready to be bolted up. The header and its gaskets fit very nicely, which shows that LCE put a lot of time engineering a quality product. Once the header was bolted up, we attached the EGR piping and moved our way down to the midsection.
-
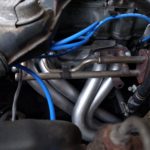
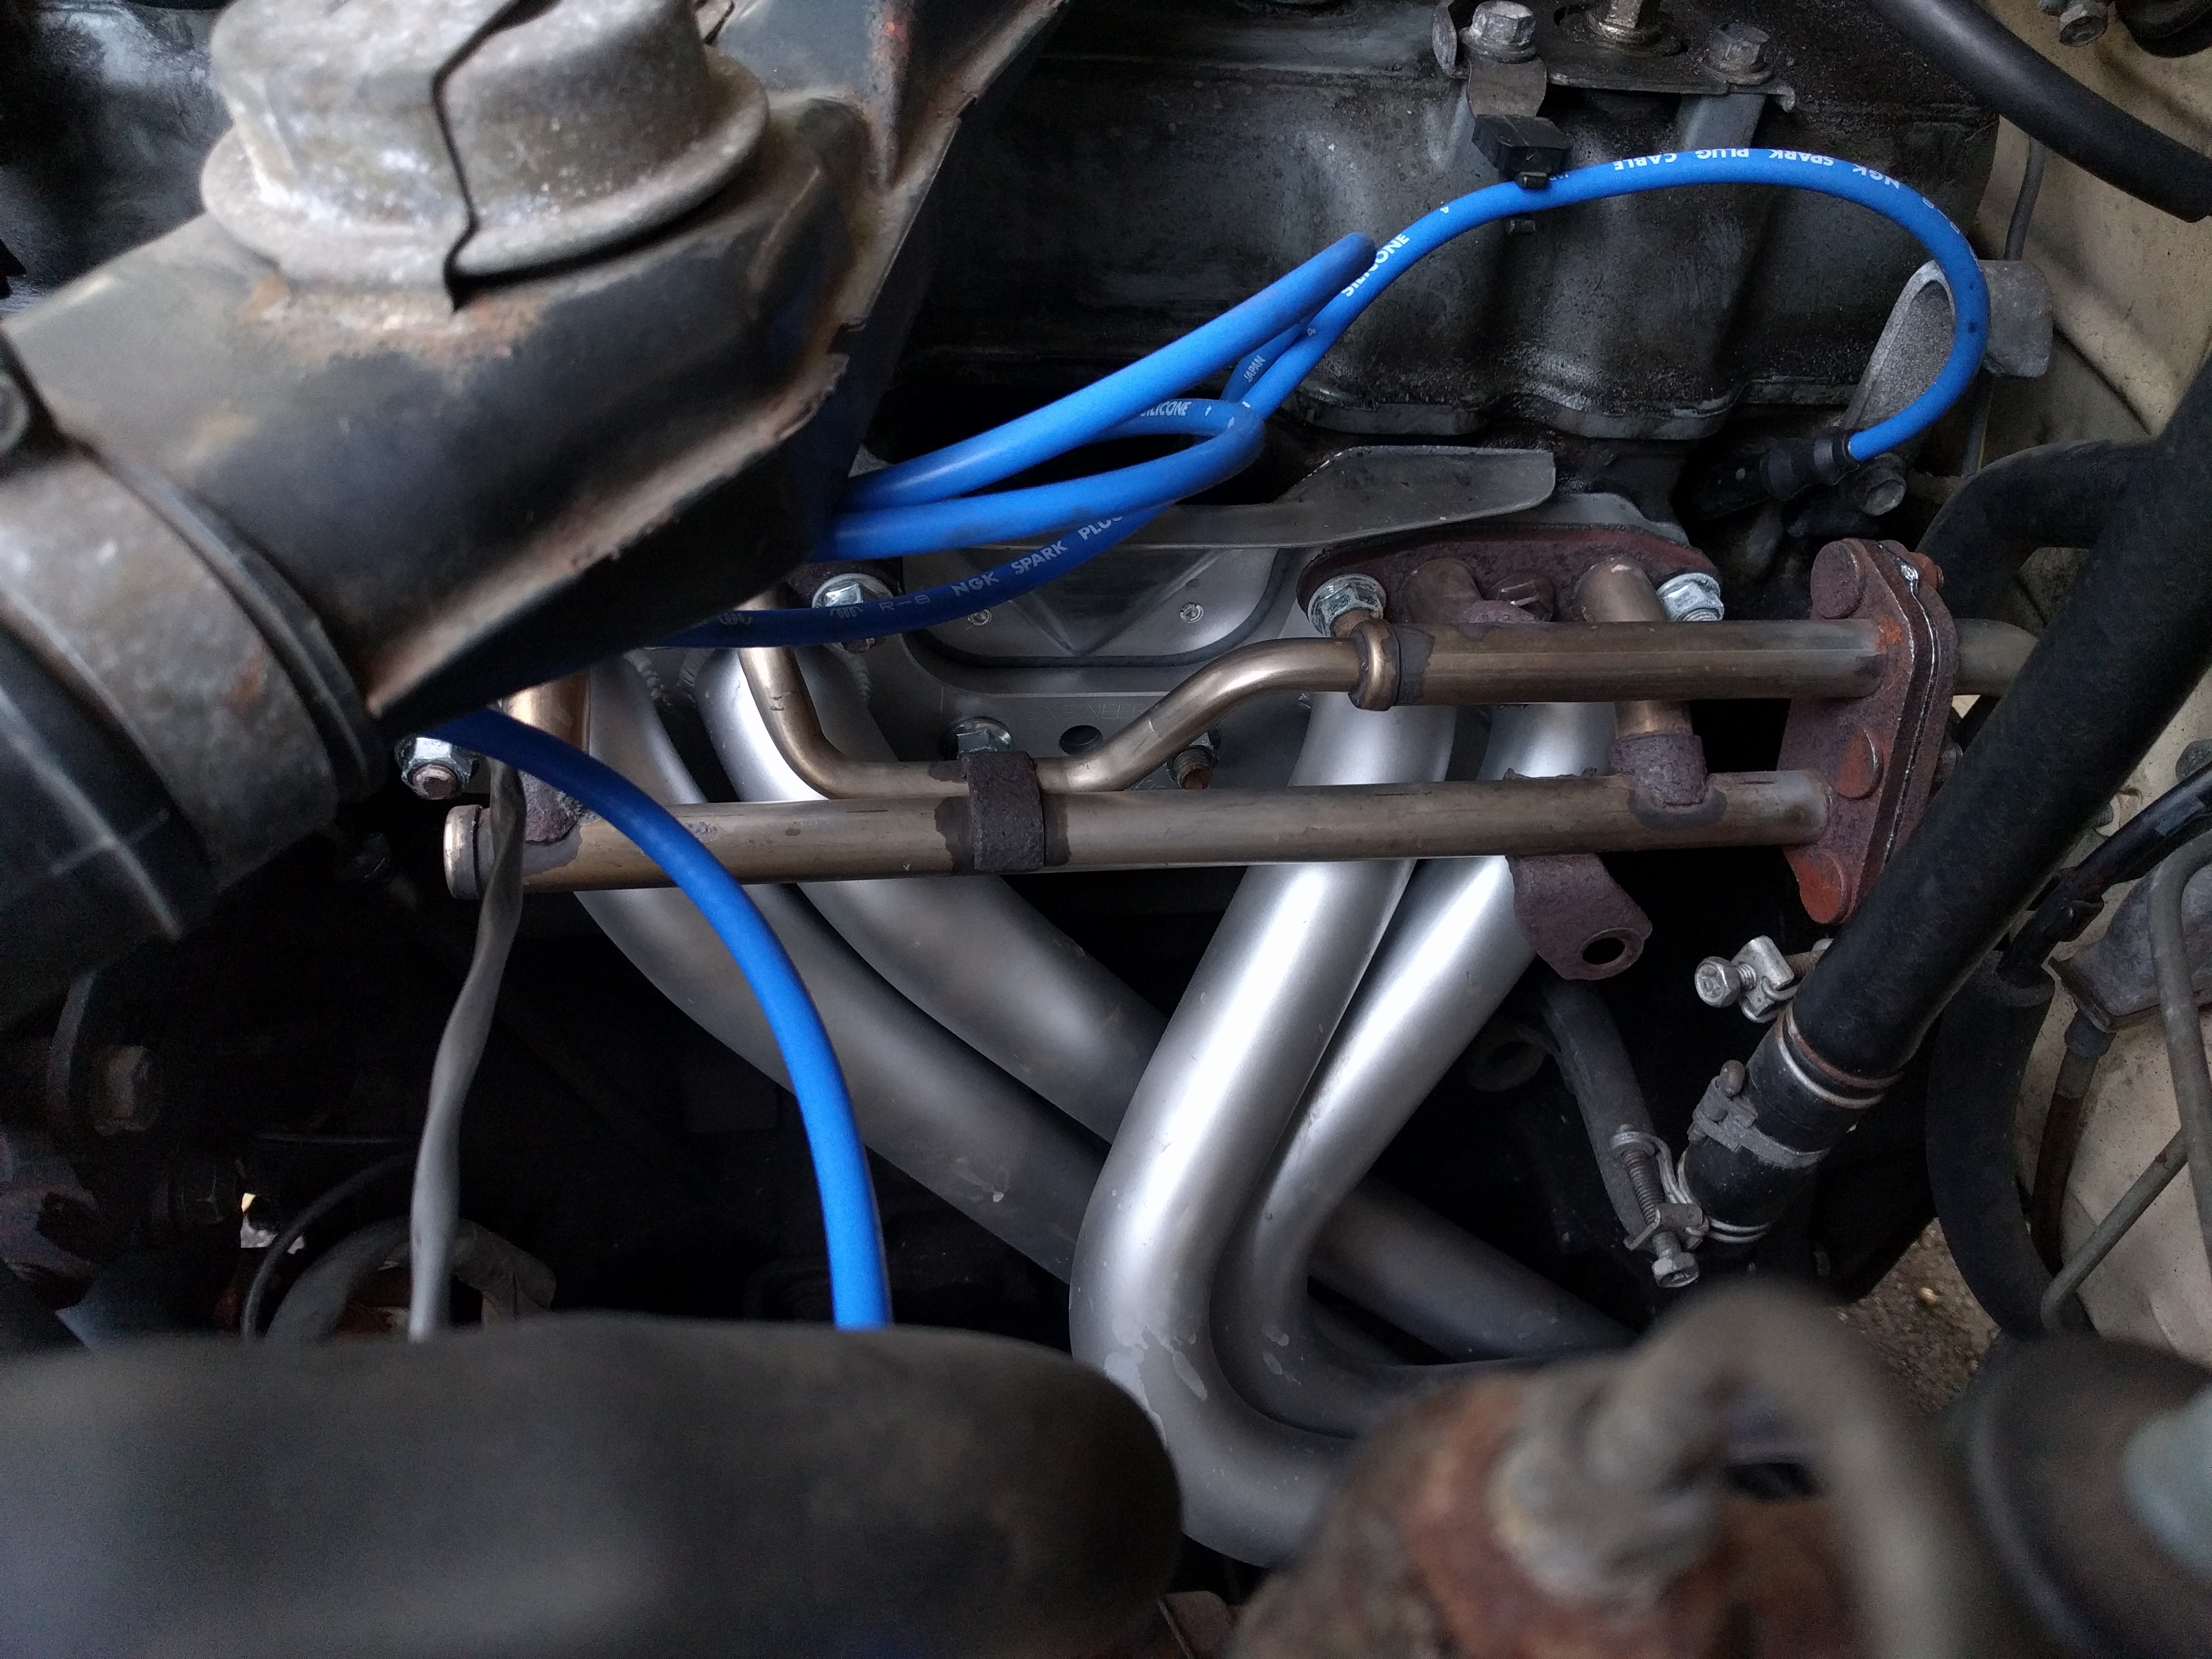
- The new LCE header neatly installed. It performs as good as it looks!
-

- You can see the new location of the O2 sensor for better exhaust gas readings. Note the weld at the back of the cat where it was moved back into the correct stock location.
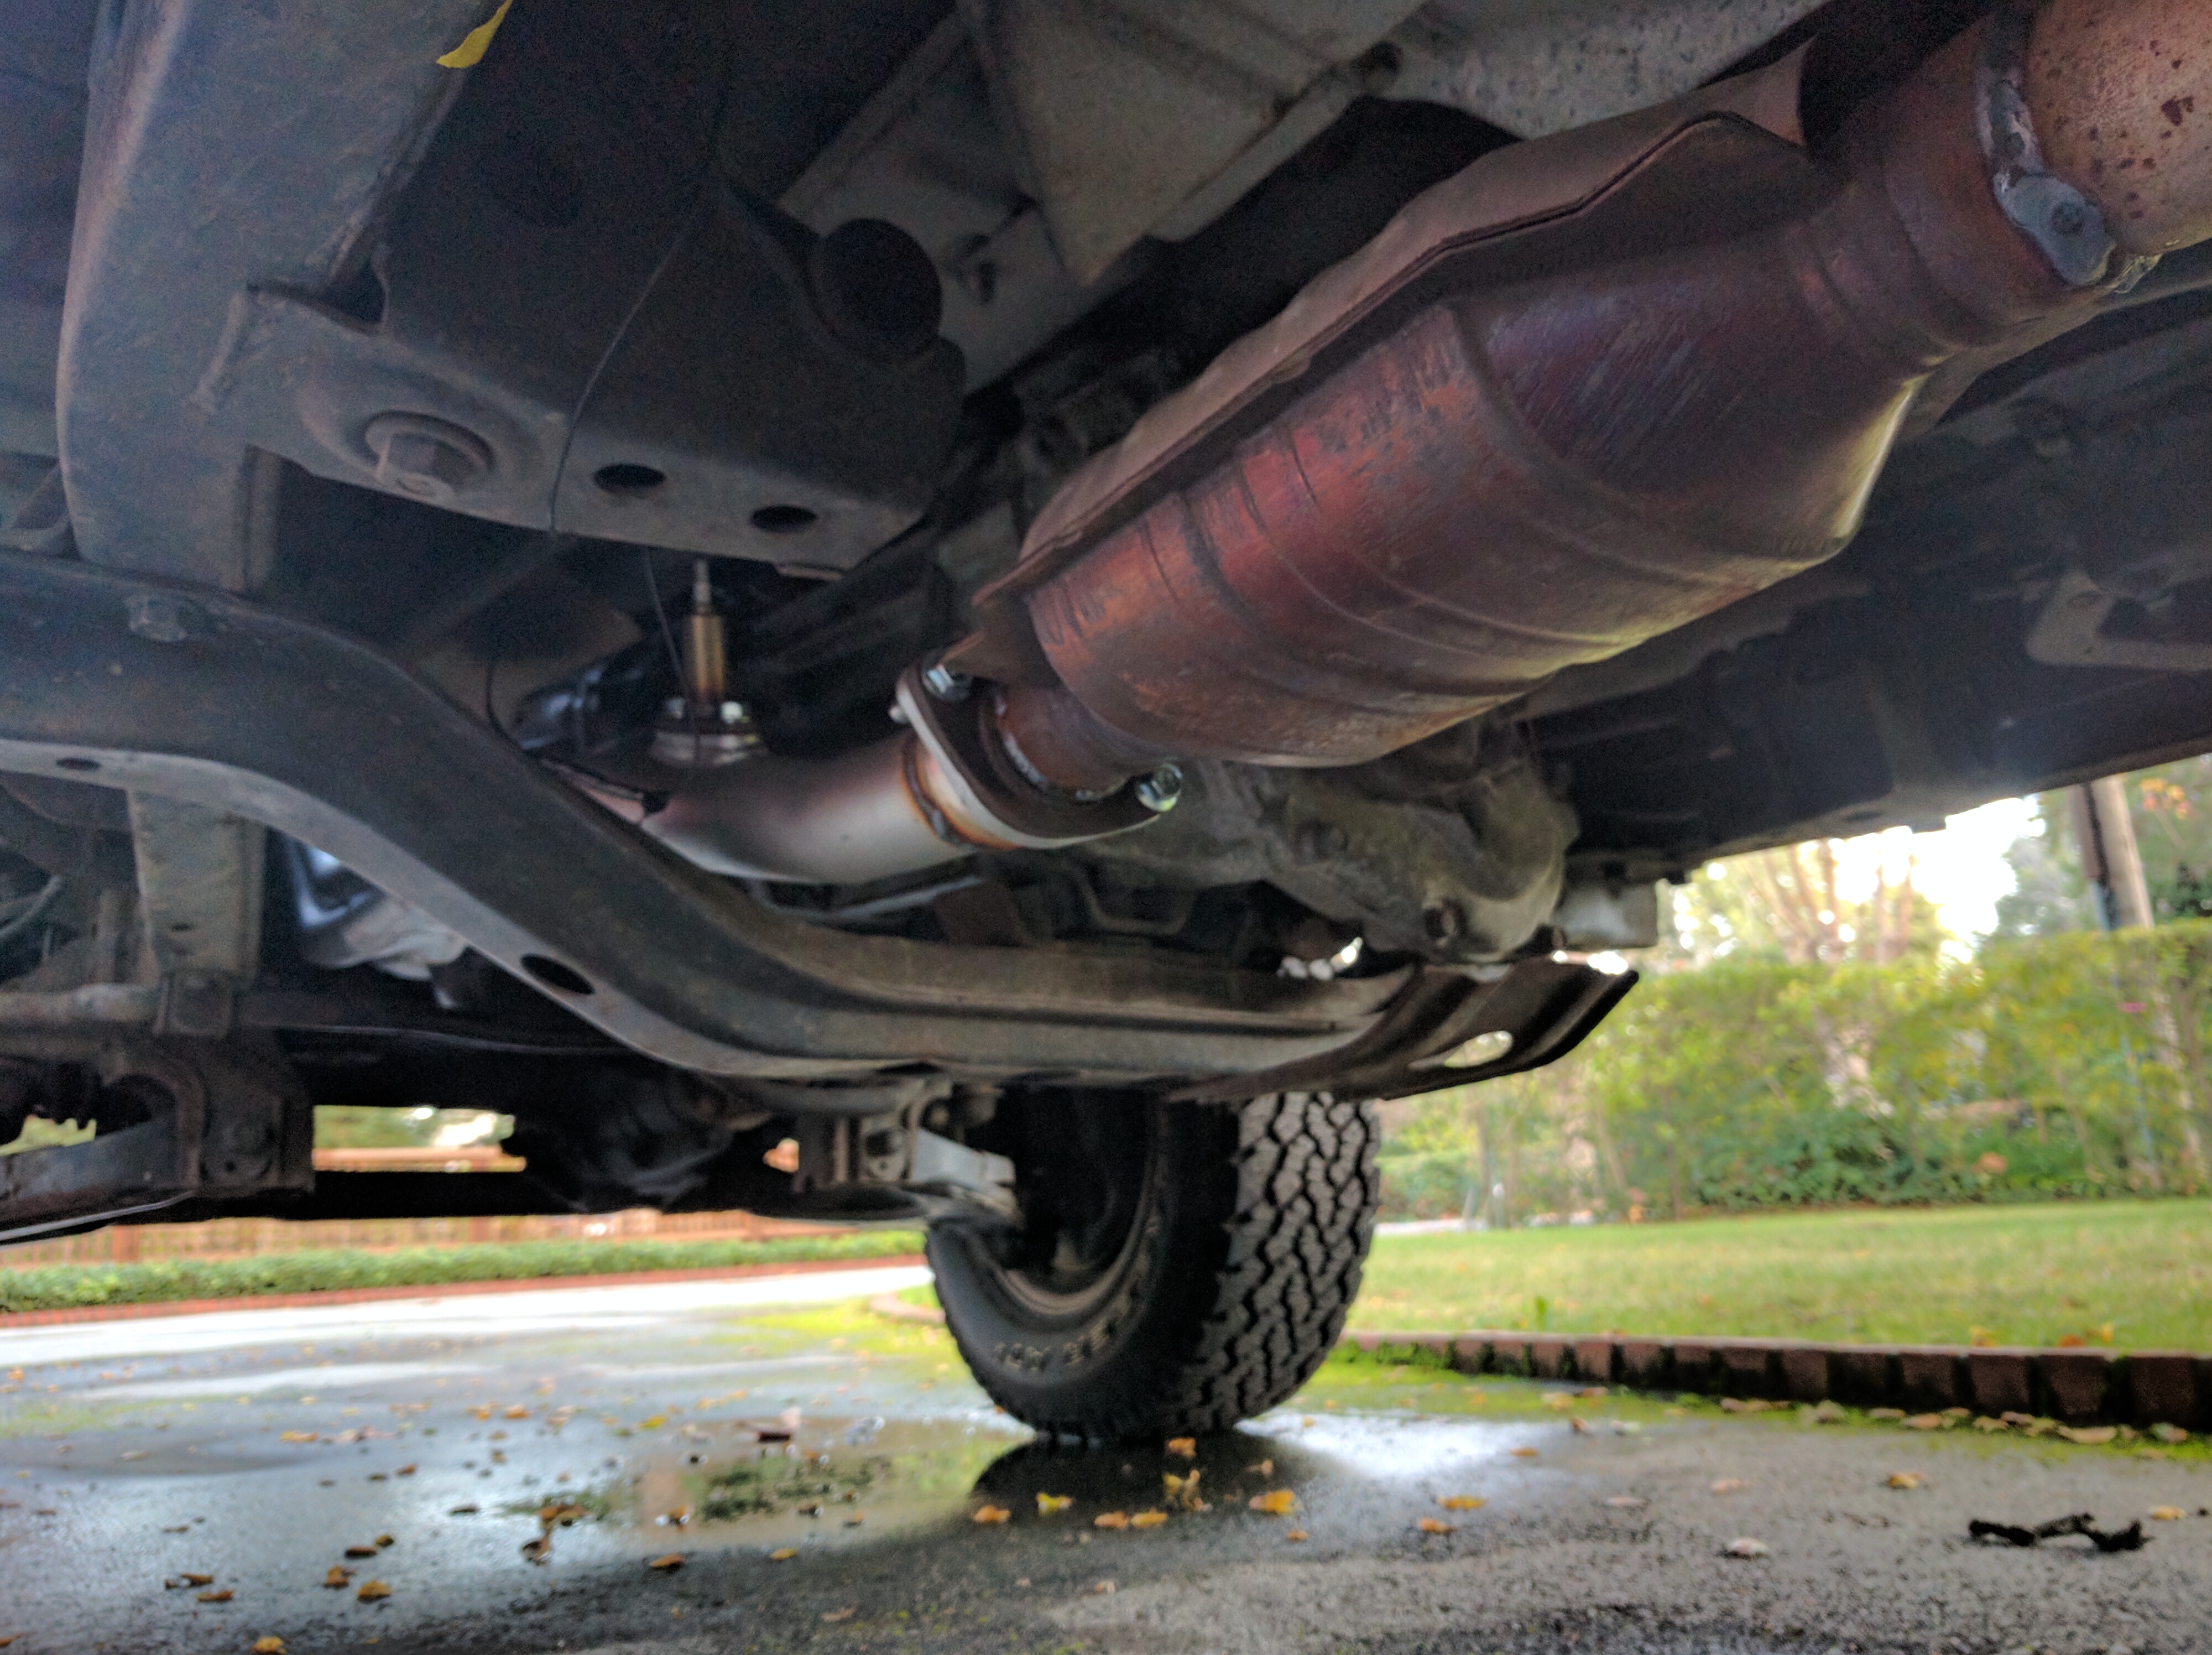
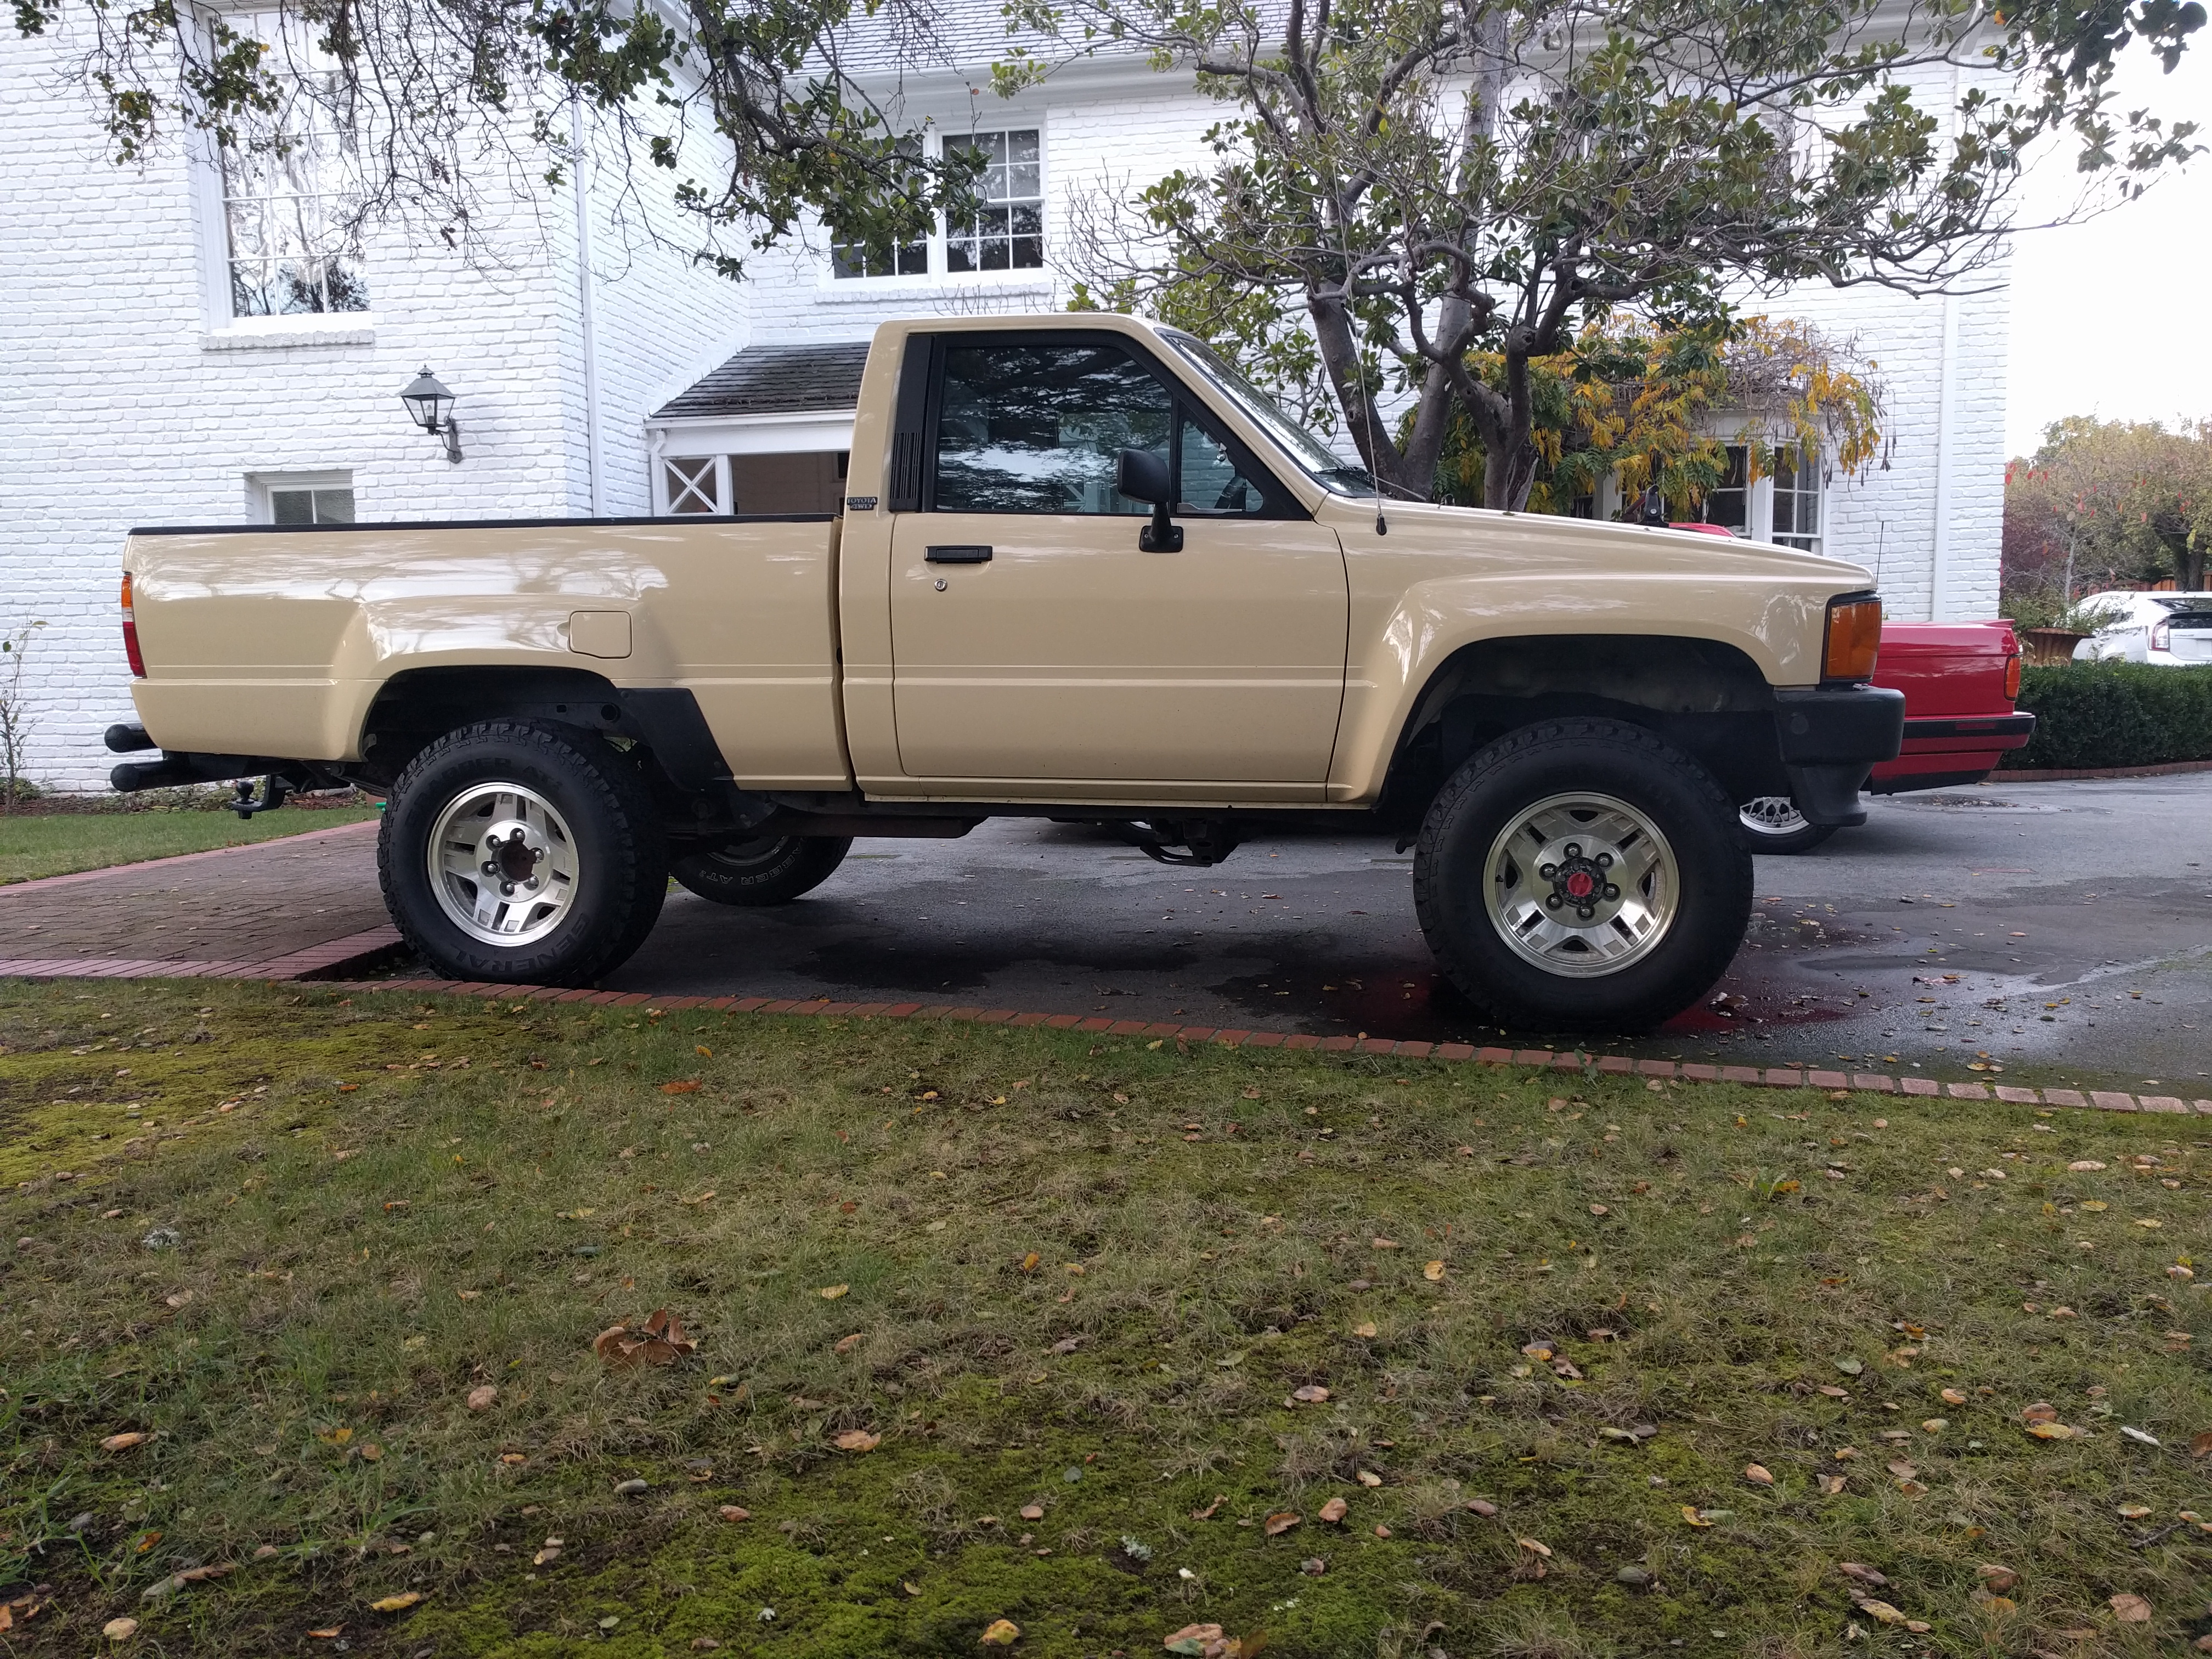
-

- Despite 30 years on the road, the Toyota cleans up well.
The LCE header relocates the O2 sensor farther downstream in the exhaust, so you must extend the single wire running to the sensor using the supplied length of wiring. The idea behind this is to get a more accurate exhaust reading, in turn making the engine run more efficiently. Trying to install the pre-cat piping was where we ran into problems. While the LCE setup is made to work with the stock muffler and cat, the pickup had the cat replaced at some point in its life, so it sat farther forward than in the stock location, which meant our pre-cat downpipe was too long. Not to worry, as a cheap and easy trip to the exhaust shop moved the cat back where it should be and the remaining pipe could be bolted into place. We were back in action.
Old and Improved
Firing up the truck brought a slightly louder, but still mellow exhaust tone. Immediately noticeable was the smoother revving nature of the engine. With the stock setup, acceleration from low RPMs was usually a jerky process and power dropped off not long after. Instead of acting like a tractor, the pickup now zips through each of the gears with solid low end grunt. I guess the stock manifold was that restrictive. By no means has the 22R become a muscle machine, but the header made enough of a difference to be noticed right away. The drivability improvement alone has made this upgrade worth it. We may even see an MPG increase if we take it easy on the go-pedal.
Overall, I’m very impressed with the LCE 22R street header upgrade. Headers that are relatively budget friendly tend to have poor fitment, but for once that’s not the case. It’s nice to have a simple bolt-on part that produces immediate results without any downsides. This upgrade is an absolute must for anyone who is a fan of these famed Toyota pickups.
With the header install complete, we thought there wasn’t anything left to do to our favorite 4×4, but the 1st gear synchro decided it was done with the corporate lifestyle and wanted to pursue a freelance career. Needless to say, a rebuilt transmission is in the near future. And to think you can buy a new car with a warranty…pshh.
-JC
Here’s the header setup we used for those interested:


![[Project Toyota 4×4] Transition of the Transmission](https://drivewerks.co/wp-content/uploads/2017/03/IMG_20170309_170158-140x90.jpg)
![[Project Toyota 4×4] The 22R Finally Warms Up To Us](https://drivewerks.co/wp-content/uploads/2016/09/DSC_0692-140x90.jpg)